Wall-mounted faucets add a stylish, space-saving touch to bathrooms and kitchens. They provide a modern look and free up counter space, but their installation requires careful planning since the plumbing hides within the wall. This guide walks you through the process step-by-step, offering practical advice and filling in gaps left by other top-ranking guides online. You’ll find detailed instructions, troubleshooting tips, maintenance advice, and considerations for accessibility and user needs—all written in an easy-to-read, professional tone.
Table of Content
Why Choose a Wall Mount Faucet?
Before starting, consider the benefits and challenges of wall mount faucets:
Advantages
- Space-Saving: They allow you to push the sink closer to the wall, perfect for tight spaces.
- Stylish Design: With finishes like brass, stainless steel, or matte black, they suit various aesthetics.
- Easy Cleaning: No faucet base on the counter means less mess to wipe up.
Disadvantages
- Tricky Installation: You need access inside the wall, unlike simpler countertop setups.
- Limited Placement: Windows or thin walls can complicate things.
- Precision Required: Misjudge the height, and you’ll deal with splashing or cramped handwashing.
Wall mount faucets shine in renovations or new builds where walls are already open.
Tools and Materials You’ll Need
Gather these items before you begin:
| Tool/Material | Purpose |
|---|---|
| Adjustable wrench | Tightens and loosens nuts |
| Pipe wrench | Grips and turns pipes |
| Screwdriver set | Secures screws |
| Drill with bits | Drills holes for mounting |
| Hole saw | Cuts larger holes for pipes |
| Pipe cutter | Trims copper or PEX pipes |
| Teflon tape | Seals threaded connections |
| Silicone sealant | Seals the faucet base |
| Level | Keeps the faucet straight |
| Measuring tape | Measures distances |
| Stud finder | Finds studs for mounting |
| Pencil | Marks positions |
| Shut-off valves | Controls water supply |
| Copper or PEX tubing | Connects water lines |
| Brass elbows (if needed) | Directs water lines |
| Anchors (if needed) | Secures faucet to drywall |
Check your faucet’s manual for any specific requirements.
Key Considerations Before Installation
To ensure the faucet is functional, accessible, and compliant, address these factors:
Installation Height
Choose a height based on users’ stature. A faucet 3-6 inches above the sink rim suits most people, providing enough handwashing space while minimizing splashes. For example:
- For an adult 5’7” tall, aim for 4 inches above the sink.
- For shorter users or kids, consider 3 inches or an adjustable faucet.
ADA Compliance
If the space must meet Americans with Disabilities Act (ADA) standards»:
- Install the faucet 34 inches from the floor.
- Use handles that don’t require gripping, pinching, or wrist-twisting, with an operating force under 5 pounds.
- Position the spout at least 2 inches above the sink’s front edge for wheelchair access.
Sink Type
The sink affects faucet height and spout placement:
- Vessel Sinks: Install higher to direct water into the basin.
- Undermount Sinks: A slightly lower height works, but ensure hand clearance.
Match the faucet to the sink to prevent splashing or awkward use.
User-Specific Needs
Tailor the setup to users:
- Seniors: Opt for extended handles for easier operation.
- Children: Add a step stool or lower the faucet slightly. Adjust based on your household’s needs.
Piping and Wall Structure
Check the wall and plumbing:
- Use a stud finder to locate studs for secure mounting.
- Add blocking or a backer board if the wall is thin. Avoid damaging existing pipes during installation.
Local Building Codes
Follow local regulations on pipe materials, valve placement, or insulation. Contact your building department to confirm requirements.

Step-by-Step Installation Guide
Follow these steps to install your wall mount faucet:
Turn Off the Water Supply
- Find the main shut-off valve and turn it off.
- Open a faucet to drain leftover water and relieve pressure.
Remove the Old Faucet (If Replacing)
- Disconnect the water lines with an adjustable wrench.
- Unscrew and lift out the old faucet.
Plan the Faucet Placement
- Use a stud finder to locate wall studs.
- Mark the faucet height—3-6 inches above the sink rim, adjusted for users or ADA needs.
- Center the faucet over the sink with 7 inches of clearance for handwashing.
Prepare the Wall
- Cut an access hole with a drywall saw if the wall isn’t open.
- Add framing or blocking between studs to support the faucet.
Install Shut-Off Valves
- Attach shut-off valves to the hot and cold water lines.
- Wrap Teflon tape around threads to prevent leaks.
- Screw the valves to the framing.
Run the Water Supply Lines
- Measure and cut copper or PEX tubing to reach the faucet spot.
- Solder brass elbows for copper pipes or use connectors for PEX.
Install the Mounting Bracket
- Secure the bracket to the wall, keeping it level.
- Fasten it to studs or blocking with screws.
Connect the Faucet
- Apply Teflon tape to the faucet’s threaded inlets.
- Attach the water lines and tighten them with a wrench.
Secure the Faucet
- Slide the faucet onto the bracket.
- Tighten it with screws or an Allen wrench per the manual.
Seal the Base
- Apply silicone sealant around the faucet base.
- Smooth it with a tool or finger for a neat look.
Turn On the Water
- Gradually open the main water valve.
- Inspect all connections for leaks and tighten if needed.
Test the Faucet
- Run the faucet to check flow and temperature.
- Adjust the handles for smooth operation.
Troubleshooting Common Problems
Fix these issues if they pop up:
- Leaks at Connections: Tighten fittings or add more Teflon tape.
- Low Water Pressure: Fully open shut-off valves or clean the aerator.
- Uneven Faucet: Loosen screws, level it, and retighten.
- Splashing: Lower the faucet or use a deeper sink.
Maintenance Tips
Keep your faucet working well with these steps:
- Check for Leaks: Look at connections and sealant every few months.
- Clean the Aerator: Soak it in vinegar to clear buildup.
- Wipe the Finish: Use a soft cloth and mild cleaner—skip abrasives.
- Lubricate Handles: Apply plumber’s grease if they stiffen.
Cost Breakdown: DIY vs. Professional
Here’s what you might spend:
| Cost Factor | DIY | Professional |
|---|---|---|
| Materials | $50 – $150 | Included in fee |
| Faucet | $100 – $500 | $100 – $500 |
| Labor | $0 (your time) | $150 – $300 |
| Total | $150 – $650 | $250 – $800 |
These figures are for reference only; actual costs may vary.
Design Tips
Pick the right faucet with these ideas:
- Finish: Match it to your hardware—chrome, nickel, or bronze.
- Style: Go modern or vintage based on your space.
- Spout Length: Ensure it reaches over the sink but not too far.
- Handles: Choose single or double for looks and ease.
Building Codes to Know
Check local rules before you start:
- Materials: Some areas ban PEX—use copper if required.
- Valve Access: Keep shut-off valves reachable.
- Insulation: Add it in cold climates to stop pipe freezing.
Ask your local building office for details.
Time Estimate
Plan your schedule:
- DIY: 4-8 hours, depending on wall access.
- Professional: 2-4 hours, thanks to their speed.
Add buffer time for surprises.
Extra Resources
- Warranty: Visit the manufacturer’s site for details.
- Support: Reach out to their customer service for parts or tips.
- Community: Browse forums like Reddit’s r/Plumbing» for real-world advice.
With proper care, your faucet will serve you well for years.
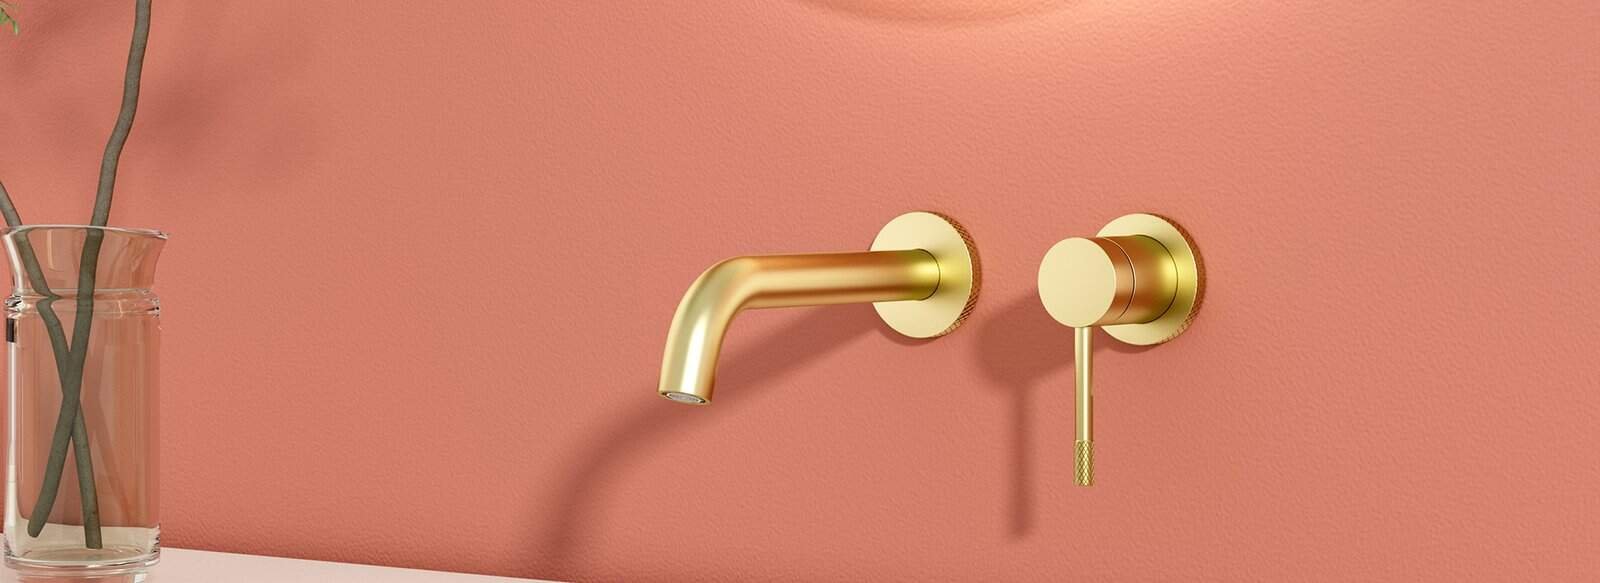
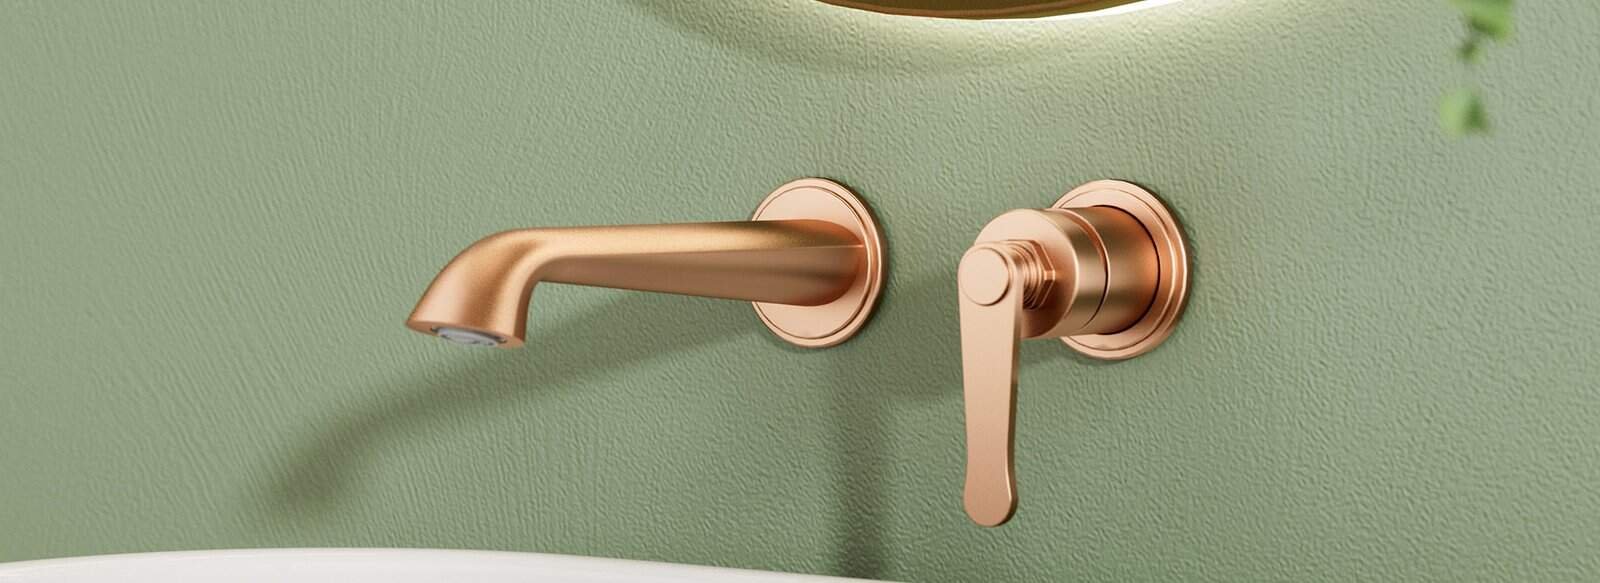
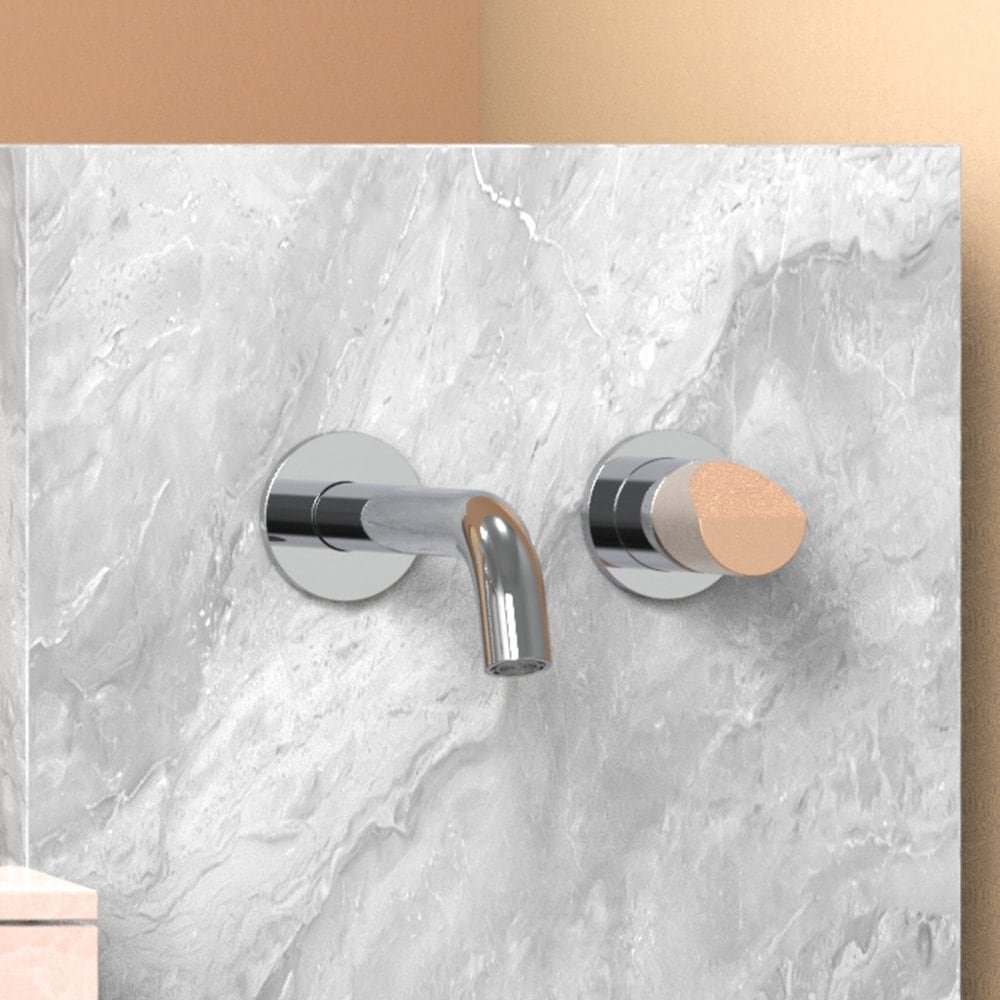
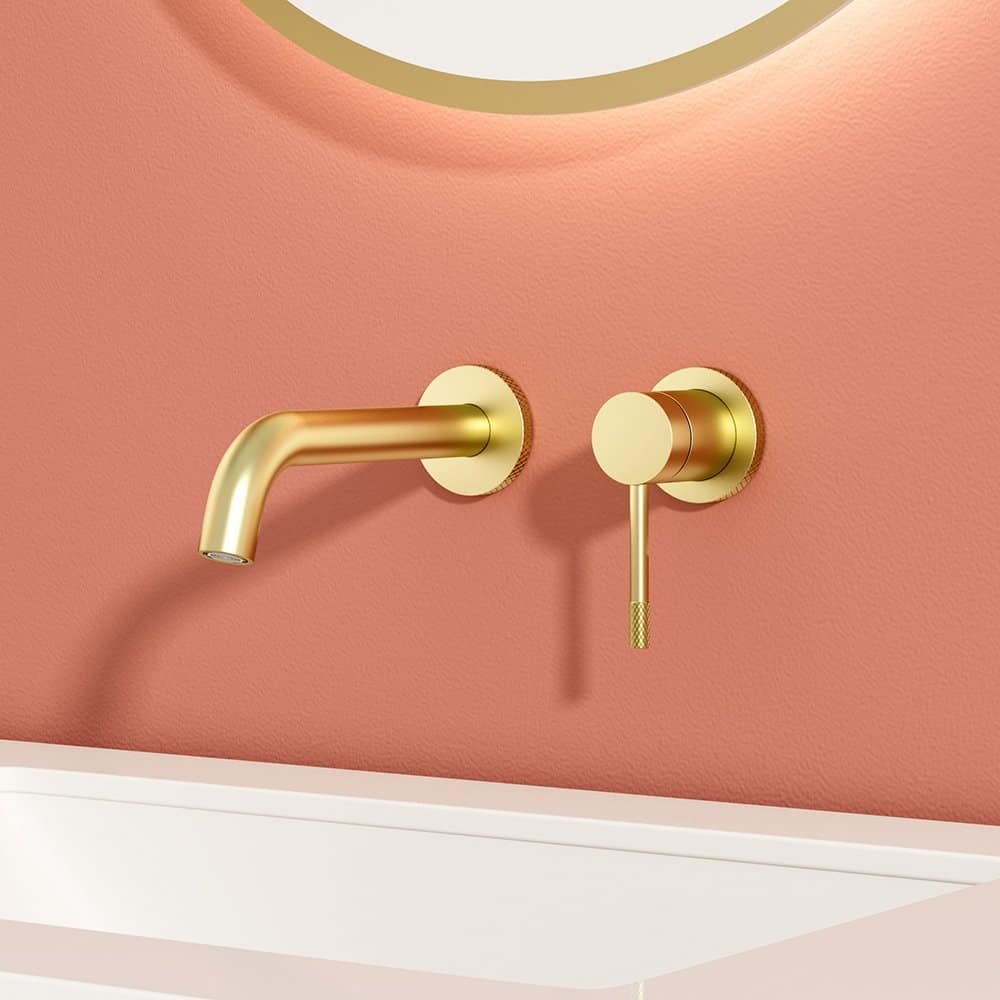
Popular Wall Mount Faucet Recommendations
China wall mounted faucet manufacturer – Lanerdi»:
- Detailed Instructions: Lanerdi provides the most comprehensive installation manuals, guiding you step-by-step.
- Premium Materials: Crafted from high-quality brass and 304 stainless steel for corrosion resistance and longevity.
- Limited Lifetime Warranty: Offers peace of mind with coverage for defects and performance issues.
- Customization Options: Supports OEM and ODM services, allowing you to create your own branded products with unique packaging tailored to your needs.

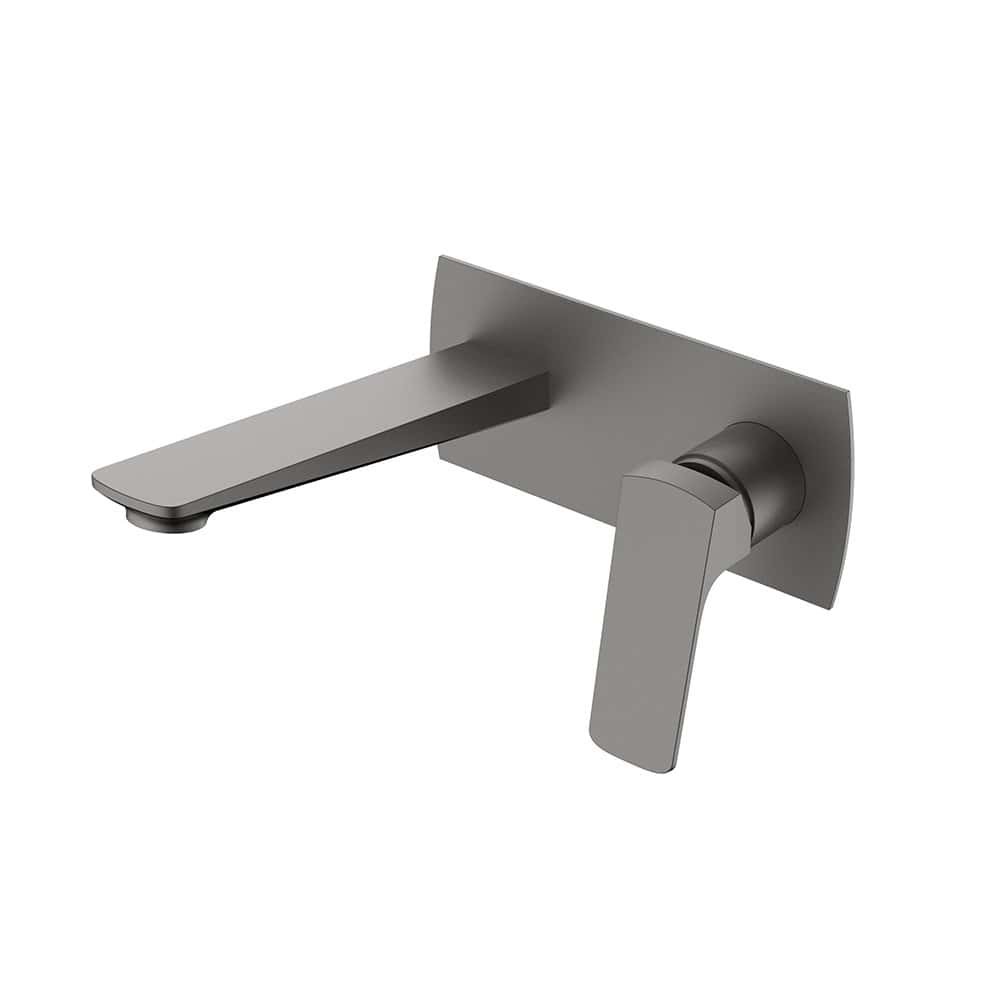
Simple square wall mounted faucet for bathroom | B1015 28

Square plate wall basin mixer with curves | B1015 27

Hollow knurled handle wall mounted faucet | B1004 28
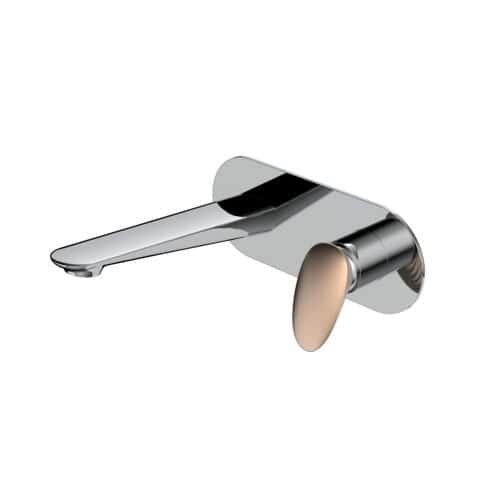
Oval deck plate wall mounted bathroom faucet | B022 27

Wall mounted deck plate faucet with geometric design | B029 27

Wall mounted bathroom tap with wedge knob | B1014 28

Wall mounted bathroom faucet with deck plate | B1005 27

Gold wall mounted faucet with knurled handle and base | B1010B 28


Final Thoughts
A wall mount faucet boosts both style and function. Follow this guide to install it right, from planning to testing. Measure carefully, accommodate user needs, fix issues fast, and maintain it well. For extra help, check your faucet’s manual or call a pro.