You’ve found the ultimate guide to replace a toilet paper holder—glad you’re here! A wobbly or outdated holder isn’t just an eyesore; it can be a daily nuisance. This small fixture plays a big role in your comfort and your bathroom’s look.
Think about it: how often do you or your family reach for that roll? If it’s loose, pulling from the wall, or no longer suits your style, it’s time for an upgrade. This guide will help you tackle this simple DIY project with confidence. You’ll learn how to remove the old holder, prep the wall, and install a new one like a pro. Let’s get started!
Table of Content
- Bevor Sie beginnen: Besorgen Sie sich Ihre Werkzeuge und Materialien
- Schritt 1: Entfernen des alten Toilettenpapierhalters
- Schritt 2: Reparieren und Vorbereiten der Wand (falls erforderlich)
- Schritt 3: Positionieren Sie Ihren neuen Toilettenpapierhalter
- Schritt 4: Bohren und Installieren von Ankern (falls erforderlich)
- Schritt 5: Montage der Halterungen und Halter
- Schritt 6: Letzter Schliff und Fehlerbehebung
- Stilvolles Badezimmer: Die Wahl des passenden Halters für Ihre Bedürfnisse
- Wann soll was gewählt werden?
- Häufig gestellte Fragen
Before You Start: Gathering Your Tools & Materials
Before we get our hands dirty (or dusty!), I always recommend gathering everything you’ll need. Nothing derails a project faster than realizing you’re missing a crucial tool halfway through!
Here’s my checklist of what you’ll likely need:
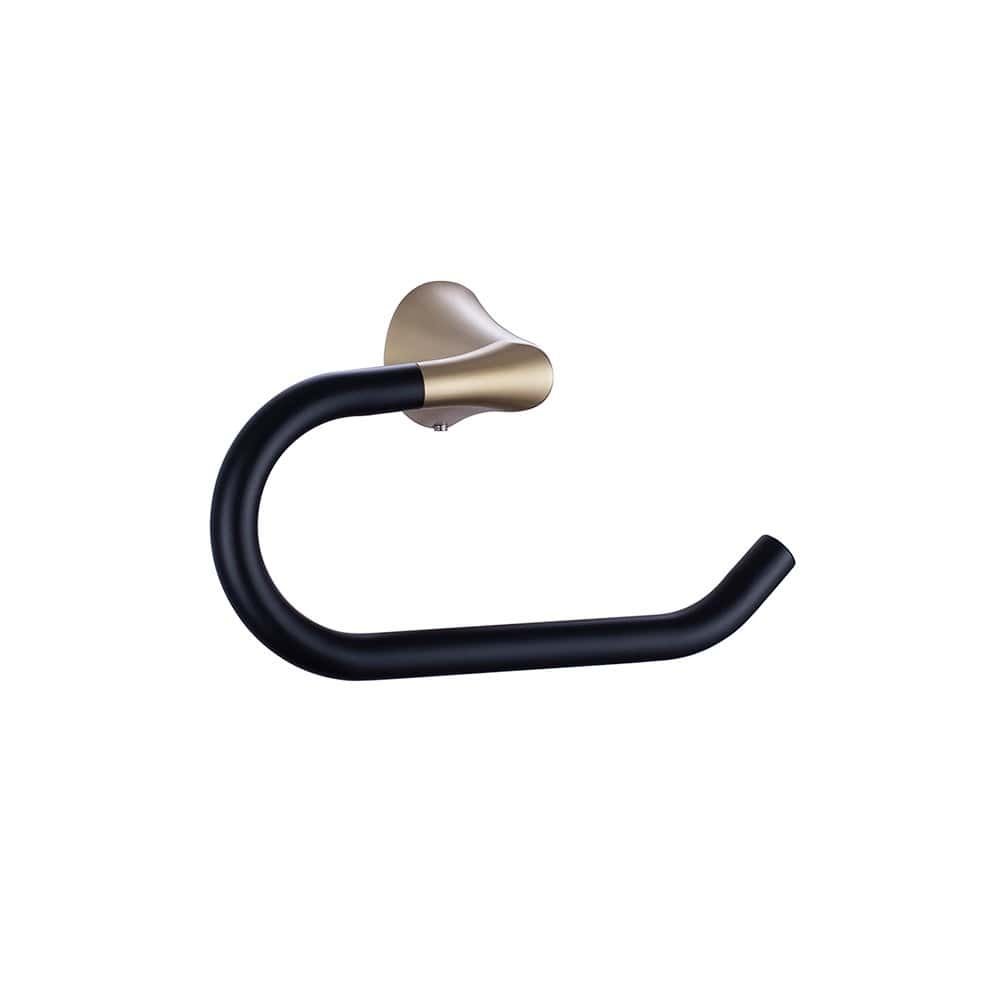
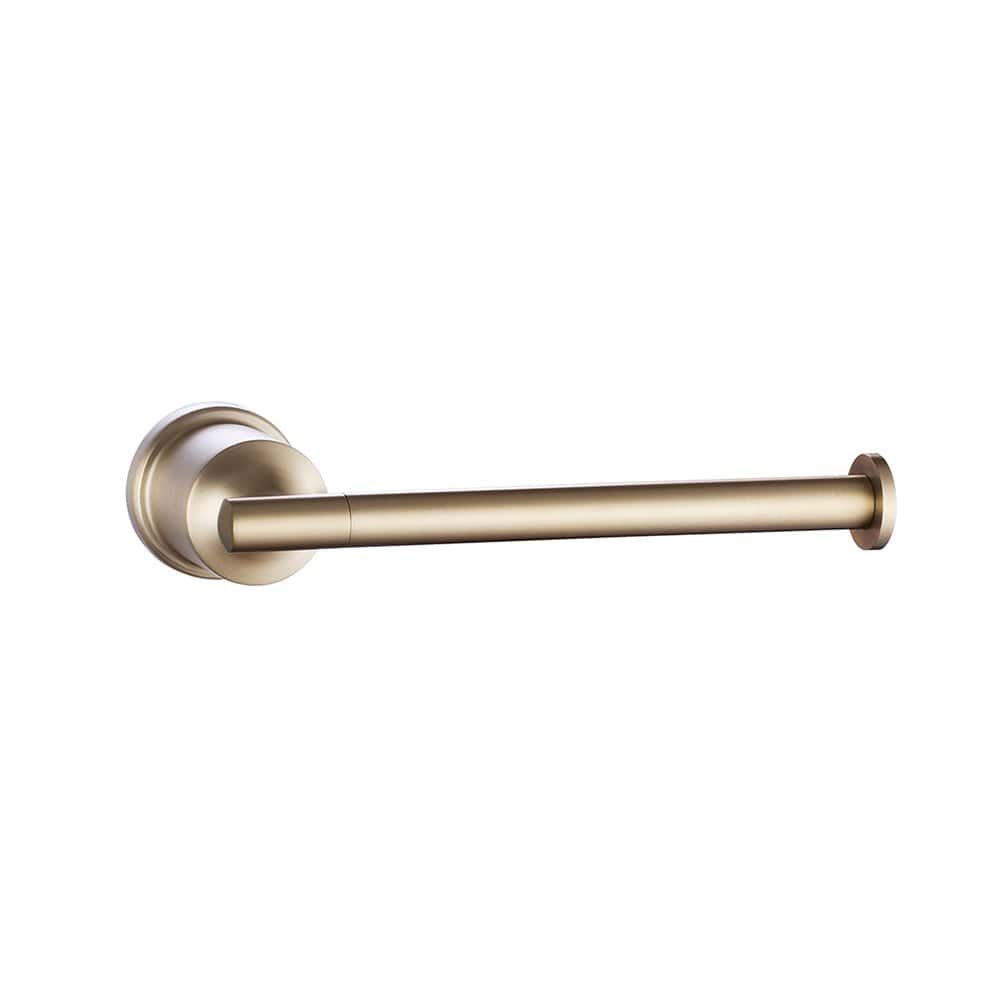
- New Toilet Paper Holder – Pick one that fits your style and needs, from spring-loaded to pivot arm designs.
- Screwdriver Set – A Phillips or flathead, depending on your current screws.
- Drill & Drill Bits – For new holes if the old ones don’t match. Use bits suited to your wall (wood, drywall, tile).
- Tape Measure – For accurate placement.
- Pencil – To mark drill spots.
- Level – Keeps your holder straight.
- Utility Knife or Caulk Gun (optional) – If the old holder was caulked or you plan to seal the new one.
- Stud Finder (optional) – Helps you mount into a stud for added stability.
- Drywall Anchors or Toggle Bolts – Needed if you can’t hit a stud. Toggle bolts work well for heavy holders or failed anchors.
- Safety Glasses – Always protect your eyes when drilling.
- Dust Cloth or Vacuum – For quick cleanup.
- Patching Compound & Putty Knife (if needed) – To fill old holes.
- Paint (if needed) – Touch up patched areas.
Step 1: Removing the Old Toilet Paper Holder
This is usually the easiest part, but sometimes the trickiest depending on how it was installed!
Locate the Set Screws
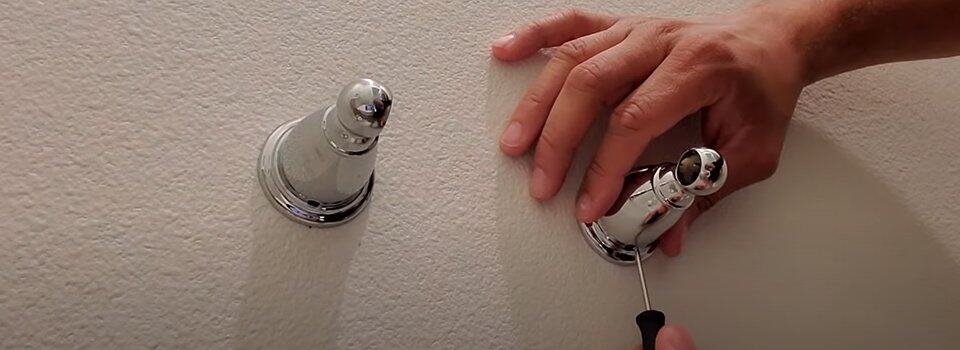
Most toilet paper holders have small set screws on the underside of the base that secure the holder to a mounting bracket. These are usually tiny hex screws (requiring an Allen wrench) or small Phillips head screws.
Loosen/Remove the Screws
Use the appropriate screwdriver or Allen wrench to loosen or remove these set screws.
(via.Adaline»)
Detach the Holder
Once the set screws are loose, the holder should either slide up and off the mounting bracket, or the entire assembly might pull away from the wall.
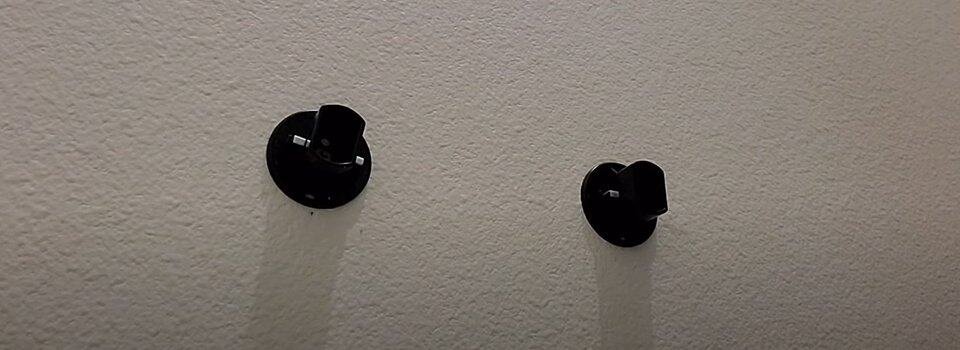
Remove the Mounting Brackets/Hardware
Now, you’ll see the mounting brackets that were screwed into the wall. Use your screwdriver to remove the screws holding these brackets.
(via.Adaline»)
Assess the Wall
Take a good look at the holes left behind. Are they clean? Are they stripped out? This will dictate your next steps.
- If you’re dealing with old, stripped-out holes or damaged drywall around them, you’ll need to patch them up before installing your new holder. For detailed instructions on drywall repair, I suggest checking out this helpful guide from Youtube on How to Patch Drywall».
- If you hit a stud previously, you’re in luck! You might be able to reuse those holes if your new holder’s mounting points align.
Step 2: Repairing and Preparing the Wall (If Needed)
This step is crucial for a secure and clean installation, especially if your old holder left a mess.
Clean the Area
Wipe down the wall to remove any dust or grime.
Patch Old Holes
- For small screw holes in drywall, use spackle and a putty knife to fill them. Apply a thin layer, let it dry completely, and then sand it smooth.
- For larger holes or damaged areas (common if the previous anchor pulled out), you might need a drywall patch kit. Follow the kit’s instructions carefully.
Sand Smooth & Clean
Once the patch is dry and sanded, give the area another quick wipe to remove any dust.
Paint (Optional but Recommended)
If you patched or sanded, a quick coat of matching paint will make your wall look brand new and ready for the new holder. Let it dry completely.
Step 3: Positioning Your New Toilet Paper Holder
Getting the placement right is key for both aesthetics and functionality.
Standard Placement
Marking Your Holes
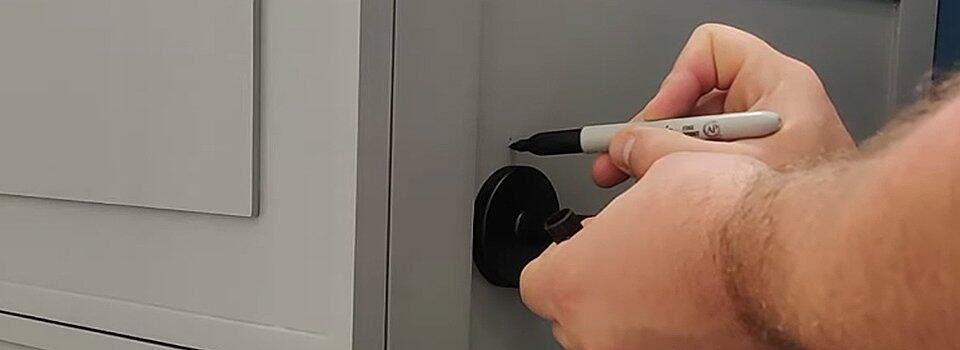
- Hold the mounting bracket(s) from your new toilet paper holder against the wall at your desired location.
- Use your level to ensure it’s perfectly straight. This is where attention to detail pays off!
- Use your pencil to carefully mark the exact spots where the screws will go. Double-check these marks with your level one last time.
(via.Home Repair Hub»)
Step 4: Drilling and Installing Anchors (If Needed)
This is where your drill comes in. Always drill safely and accurately!
Choose the Right Drill Bit
- For Wood Studs: Use a drill bit slightly smaller than your screw’s diameter.
- For Drywall Anchors: Use a drill bit that matches the size specified by your anchor manufacturer. Using the wrong size can lead to anchors that are too loose or too tight.
- For Tile: You’ll need a special tile or masonry drill bit. Start with gentle pressure and go slow to avoid cracking the tile. I’ve found that placing a piece of painter’s tape over the spot where you’re drilling can help prevent the bit from slipping.
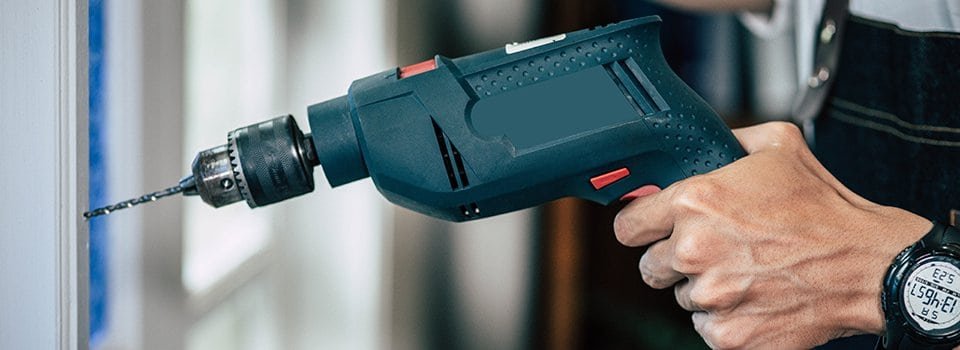
Drill Pilot Holes
Carefully drill your pilot holes at the marked spots. Go straight in, avoiding angling the drill.
Install Drywall Anchors (If Using)
If you’re not hitting a stud, insert your drywall anchors into the pilot holes. Some anchors twist in, others tap in with a hammer. Make sure they are flush with the wall surface.
Step 5: Mounting the Brackets and Holder
We’re almost there! This is where your new holder starts to take shape.
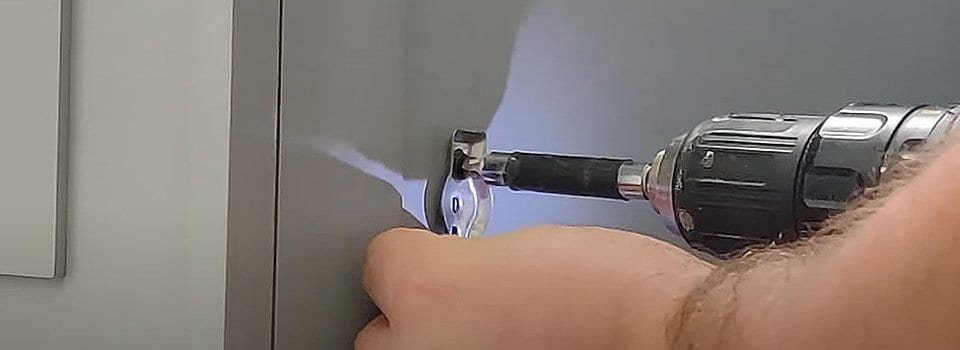
Attach Mounting Brackets
Align the mounting brackets with your newly drilled holes (or installed anchors).
Screw in Place
Use your screwdriver to firmly attach the mounting brackets to the wall. Don’t overtighten, especially if you’re using drywall anchors, as you can strip them out.
(via.Home Repair Hub»)
Attach the Holder Body
Now, slide or screw the main body of the toilet paper holder onto the mounting brackets. Most designs will either click into place or have small set screws that secure them.
Tighten Set Screws
Once the main body is on, locate those small set screws (usually on the underside) and tighten them to secure the holder firmly to the mounting bracket.
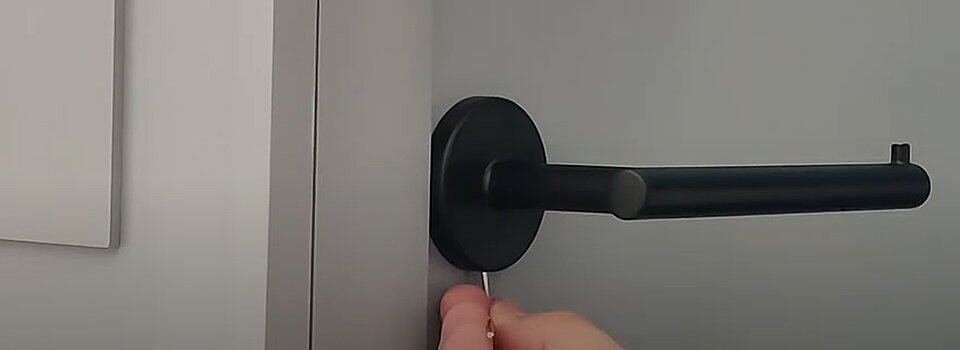
(via.Home Repair Hub»)
Test for Wiggle
Give your new holder a good tug (gently, of course!) to make sure it’s stable and doesn’t wiggle.
Step 6: Final Touches & Troubleshooting
You’re done with the installation, but a few quick checks can make all the difference.
Clean Up
Wipe away any pencil marks, dust, or fingerprints.
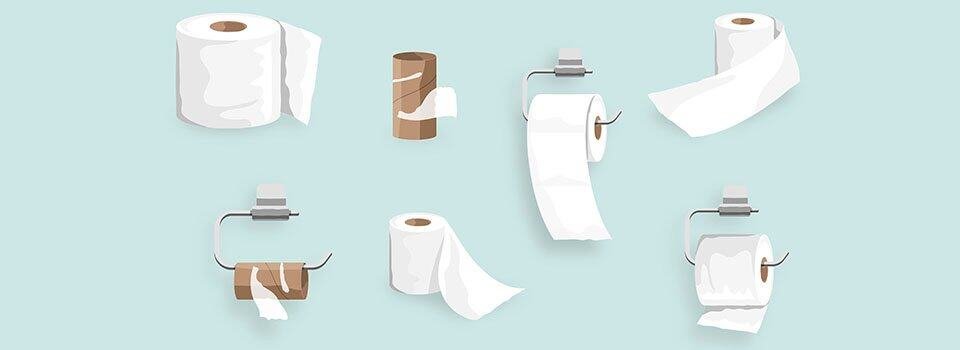
Install the Roll
Put a fresh roll of toilet paper on your brand-new holder!
Common Issues & Quick Fixes
- Wobbling Holder – Check and tighten the set screws or wall anchors; they’re likely loose.
- Stripped Screw Hole – Use a larger anchor or switch to a toggle bolt for a stronger hold.
- Holder Doesn’t Sit Flush – Make sure brackets are flat and there’s no debris behind them. A thin bead of caulk can hide small gaps—just ensure the holder is secure first.
Extending Your Bathroom’s Style: Choosing the Right Holder for Your Needs
Now that you’re a toilet paper holder replacement expert, let’s talk a bit about how to choose the best type for your space. It’s not just about aesthetics; functionality and durability play a huge role.
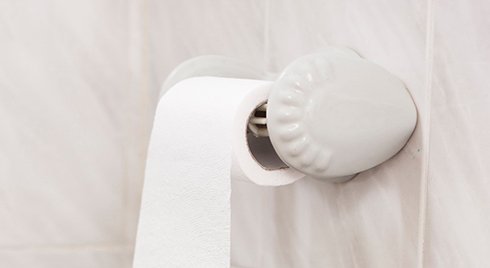
Spring-Loaded toilet paper holders
Most common and easy to use. Great for a classic look and quick roll changes.
Pivot Arm toilet paper Holders
Lift the arm, slide on the roll—simple and convenient, especially for those with limited dexterity.
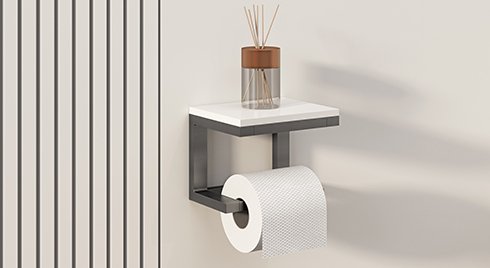
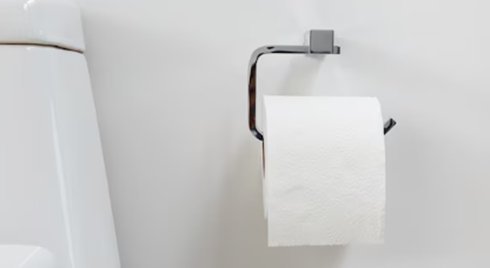
Open-Ended toilet paper Holders
One-arm design makes changing rolls fast. Minimalist and perfect for modern spaces.
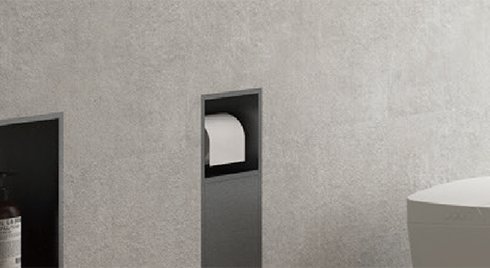
Recessed toilet paper Holders
Built into the wall for a flush, space-saving look. Installation is trickier, so stick with surface-mounted if unsure.
Freestanding toilet paper Holders
Ideal for renters or avoiding wall drilling. Portable and stylish.

When to choose what?
- For rentals or minimal effort: Go for a freestanding holder or even an adhesive-backed holder (Be cautious—use on clean, smooth surfaces only, and know they’re less sturdy than drilled-in options.).
- For ultimate convenience: A pivot arm or open-ended holder is a winner.
- For classic, reliable function: You can’t go wrong with a traditional spring-loaded model.
- For a high-end, space-saving look (and if you’re comfortable with more involved DIY): Consider a recessed holder.
No matter which style you choose, remember to consider your bathroom’s existing fixtures (faucets, towel bars) to ensure a cohesive look. Good luck with your project – I know you’ll do great!

