You know that moment when you reach for your kitchen faucet sprayer, press the button to switch from spray to stream, and… nothing happens? Or maybe it just dribbles, or water comes out of both modes at once? It’s incredibly annoying, especially when you’re in the middle of washing dishes or filling a pot.
As I see it, this is one of the most common kitchen faucet headaches, and it usually points to a few key culprits. The good news is, you can often fix it yourself without calling a plumber. Let’s break down why your sprayer is acting up and how you can get it back to normal.
Table of Content
- Start with the Quick Checks: Your First Line of Defense
- The Usual Suspects: Common Causes and How to Fix Them
- Brand-Specific Insights: What Your Faucet Manufacturer Says
- Important Safety & Misconception Alert!
- When to Call a Professional Plumber
- Keeping Your Faucet Happy: Prevention and Long-Term Care
- Your Faucet’s Future: Repair or Replace?
- FAQs
Start with the Quick Checks: Your First Line of Defense
Before you grab any tools or start disassembling anything, I always recommend checking a few simple things. You’d be surprised how often these quick checks solve the problem!
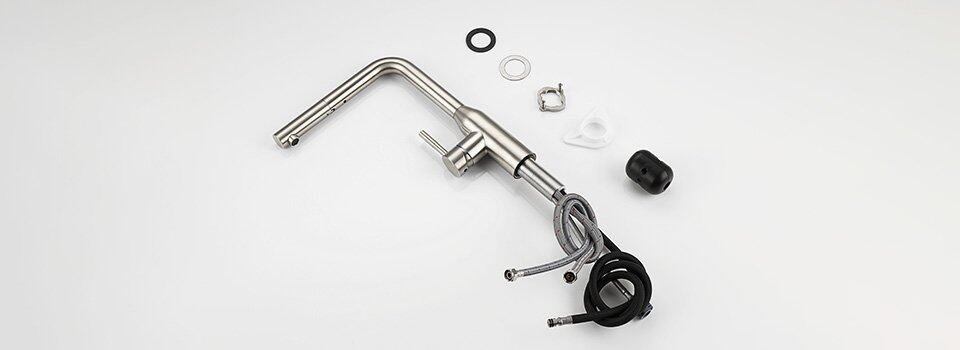
Is the Hose Kinked or Obstructed?
- Pull out your sprayer hose completely.
- Look under the sink for any twists, kinks, or anything that might be pressing against the hose. A simple kink can severely restrict water flow and prevent the sprayer from switching properly.
- Straighten out any kinks you find.
- Also, check for any leaks in the hose itself. A leak can cause a loss of pressure, affecting the sprayer’s function.
Is Your Overall House Water Pressure Low?
- Turn on other faucets in your house, like a bathroom sink or a utility sink.
- If you notice low water pressure everywhere, the problem might not be your kitchen faucet at all. It could be an issue with your main water supply, a partially closed shut-off valve, or a larger plumbing system problem.
- Make sure the shut-off valves under your kitchen sink are fully open.
If these quick checks don’t solve the problem, don’t worry. We’ll move on to the more common internal issues.
The Usual Suspects: Common Causes and How to Fix Them
Most of the time, your sprayer’s inability to switch modes comes down to one of these three issues: mineral buildup, a faulty diverter, or worn-out internal parts.
1. Mineral Deposits (Hard Water Buildup) – The Most Common Culprit
You know that white, crusty buildup on showerheads and faucets? That’s mineral deposit—mostly calcium from hard water. Over time, it clogs the sprayer nozzles and jams the internal switch or valve.
Your Solution: Clean That Sprayer!
Cleaning is often the easiest and most effective fix for mineral buildup.
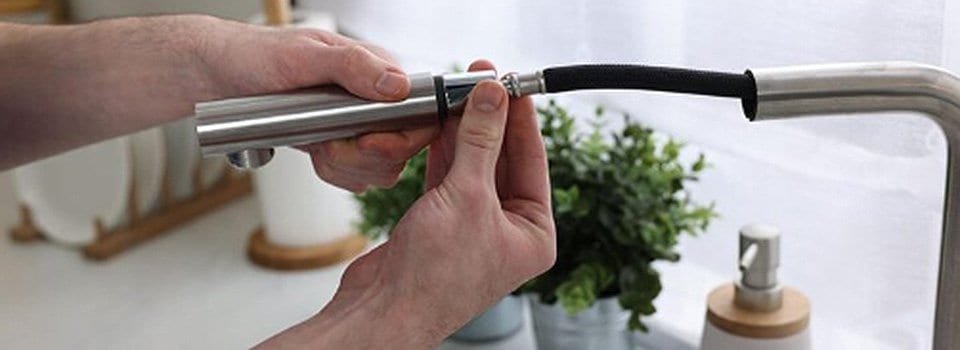
- Remove the Sprayer Head:
- Most sprayer heads simply unscrew from the end of the hose. Turn it counter-clockwise.
- Pro Tip: Once you remove the sprayer head, the hose might want to retract back into the faucet body under the sink. To prevent this frustration, use a binder clip or a piece of masking tape to secure the hose to the faucet spout or something sturdy under the sink.
- Inspect and Scrape:
- Look closely at the sprayer head. You’ll likely see a screen or aerator inside.
- Manually scrape off any visible calcium or debris you can. A small, non-abrasive tool or an old toothbrush works well.
- Soak It:
- Fill a bowl or a plastic bag with a 50/50 solution of white vinegar and water.
- Submerge the sprayer head (or its disassembled parts) in the solution. If you’re using a plastic bag, you can tie it around the faucet spout to keep the sprayer submerged.
- Let it soak for several hours, or even overnight, to dissolve the mineral deposits.
- Alternatively, you can use a commercial descaler like CLR, following the product’s instructions.
- Rinse and Reassemble:
- After soaking, rinse the sprayer head thoroughly under running water. Use your brush again to remove any loosened deposits.
- Make sure any small rubber gaskets or screens are properly seated.
- Screw the sprayer head back onto the hose.
- Turn on the water and test the sprayer. Cycle between hot and cold water a few times, and repeatedly press the spray button to help dislodge any remaining bits.
2. The Diverter Assembly: The Water Director
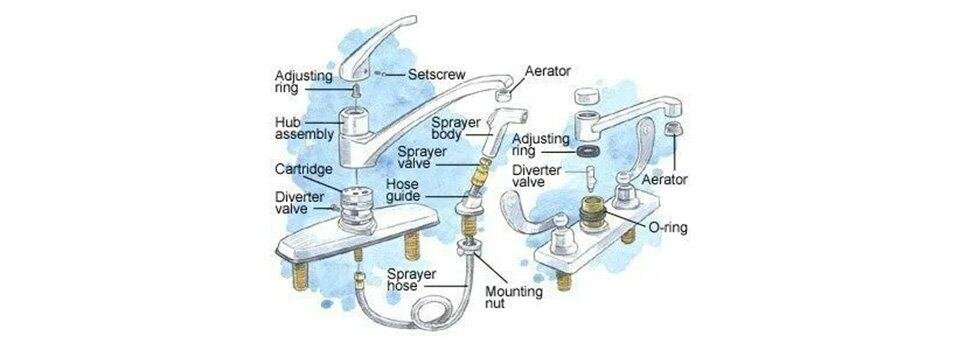
Your faucet’s diverter valve acts like a traffic cop, directing water to the spout or sprayer. If it gets clogged, worn, or damaged, it can’t switch properly—causing water to flow from both at once and creating sprayer issues.
Your Solution: Clean or Replace the Diverter
Accessing the diverter can be a bit more involved, as it’s usually inside the faucet body.
(via.1TomPlumber»)
- Safety First: Always turn off the water supply to your sink (usually via valves under the sink) before you start any disassembly. Also, cover your drain opening to prevent small parts from falling in.
- How to Access the Diverter (It Varies by Faucet Type):
- For Single-Handle Faucets:
- You’ll typically need to remove the handle, decorative cap, and then the internal cam, packing, and ball assembly.
- Gently rotate and lift off the main spout. This should expose the diverter assembly.
- You might need a flat-head screwdriver or an Allen wrench to “pop out” the diverter from its cavity.
- For Two-Handle Faucets:
- Turn off the water supply.
- Unscrew and remove the spout nut (you might need a crescent wrench for this).
- The diverter is often screwed into the top of the faucet body. You might use a coin if it’s plastic or a screwdriver if it’s metal to unscrew it.
- For Side Spray Faucets:
- Keep in mind that the diverter for a side spray might be located either within the main faucet body or at the hose connection point under the sink.
- For Single-Handle Faucets:
- Cleaning the Diverter:
- Once you have the diverter out, inspect it for any debris.
- Soak the diverter in a 50/50 vinegar and water solution for about two hours.
- Flush out any remaining debris from the diverter and its cavity in the faucet body.
- Replacing the Diverter:
- If the diverter looks damaged, or if cleaning doesn’t fix the issue, you’ll need to replace it.
- Crucial Step: Make sure you remove the entire old diverter, including any old gaskets, from the faucet cavity. If an old gasket remains, the new diverter won’t work correctly.
- Manufacturers like Delta often have specific part numbers for their diverters (e.g., Delta® diverter RP320 or RP6073). You’ll want to find the correct part for your faucet model.
- When reinstalling, be careful not to overtighten the diverter, as this can cause further damage.

3. Worn or Damaged Internal Components (O-rings, Gaskets, Springs)
Sometimes, the problem isn’t just mineral buildup, but actual wear and tear on the small internal parts within the sprayer head or diverter. This can include:
- Swollen O-rings: Small rubber O-rings can swell over time, preventing parts from moving freely and sealing properly.
- Broken Gaskets: Internal gaskets, especially water-saver gaskets, can break loose and obstruct flow.
- Weakened Springs: The tiny spring inside the spray head’s switching mechanism can lose its tension, meaning it no longer pushes the switch into the correct position.
Your Solution: Component Replacement or Adjustment
This fix requires a bit more delicate disassembly of the sprayer head itself.

(via.Sigma Faucet Parts»)
- Disassemble the Sprayer Head Further:
- Beyond just unscrewing it from the hose, you might need to carefully pry off plastic buttons or unscrew internal rings.
- Important: These plastic buttons usually pop straight off; they don’t twist.
- Once disassembled, you’ll see the internal components, including the switching button, a small spring, and various gaskets or O-rings.
- Inspect and Replace:
- Carefully examine all the small parts for signs of wear, cracks, swelling, or breakage.
- If you find a swollen O-ring or a broken gasket, you’ll need to replace it. Some manufacturers, like Moen, might offer gasket sets.
- If the spring looks weak or compressed, you can try gently stretching it a small amount (perhaps a quarter of an inch) to restore its tension.
- Reassemble:
- Put everything back together carefully, ensuring all small parts are correctly seated.
- Test the sprayer.
4. Damaged Spray Button or Trigger
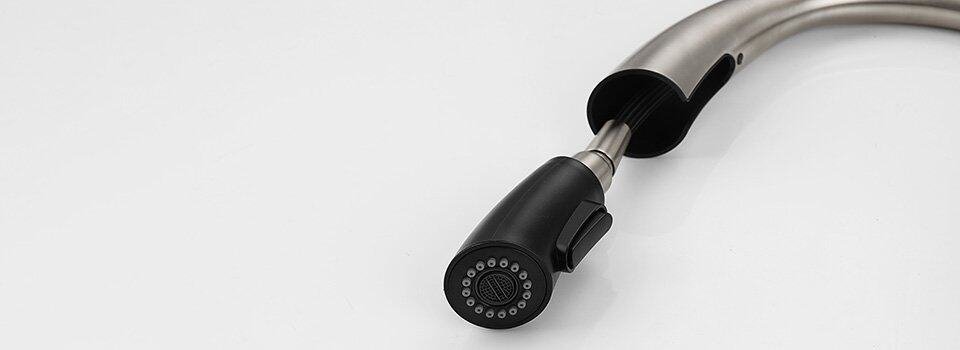
In some cases, the physical button or trigger on the sprayer head itself might be broken, worn out, or even missing. If the button can’t physically engage the internal mechanism, the sprayer won’t switch.
Your Solution: Replace the Sprayer Head
If the button is visibly damaged or missing, or if you’ve tried all other fixes and suspect the issue is purely with the external switching mechanism, the most practical solution is often to replace the entire sprayer head or wand assembly.
Brand-Specific Insights: What Your Faucet Manufacturer Says
Different faucet brands often have their own common issues and preferred solutions. Knowing your faucet’s brand can save you a lot of time and effort.
- Delta Faucets: Delta often points to mineral buildup or diverter issues. They provide clear instructions and part numbers like RP320 or RP6073 on their website.
- Moen Faucets: If Moen pull-down or pull-out wands won’t divert, they typically suggest replacing the entire wand. Some users find that swapping specific gaskets also works. Check the Moen Solutions site for your model.
- Kohler Faucets: Kohler blames worn spray buttons or clogged diverters. They usually recommend replacing the sprayhead or diverter assembly. Visit the Kohler site for model-specific help.
Important Safety & Misconception Alert!
When you’re working on anything connected to your drinking water, safety is paramount.
- Avoid Harmful Chemicals: I’ve seen suggestions to use products like WD40 inside faucet mechanisms.
- Please, do not do this. WD40 does not dissolve calcium (the main culprit), and it is poisonous. You should never use it in a potable water supply device or in a food preparation area. Stick to vinegar or food-safe oils if you need lubrication.

When to Call a Professional Plumber
While many of these issues are DIY-friendly, there are times when it’s best to call in the pros. I think you should consider professional help if:
- You’re Uncomfortable: If you’re not confident with disassembling your faucet or dealing with plumbing, it’s always better to call a professional to avoid causing further damage.
- Persistent Low Water Pressure: If you’ve checked everything and still have low water pressure affecting multiple fixtures in your home, it indicates a larger plumbing system issue that requires expert diagnosis.
- Complex Leaks: If you discover internal leaks that seem beyond a simple gasket replacement.
- You Can’t Identify Parts: If you can’t figure out your faucet model or locate the specific parts you need.
- DIY Attempts Fail: If you’ve tried all the troubleshooting steps outlined here and your sprayer still isn’t working correctly.
Keeping Your Faucet Happy: Prevention and Long-Term Care
Once you’ve fixed your sprayer, you’ll want to keep it working smoothly.
- Consider a Water Softener: If you live in an area with hard water, installing a whole-house water softener is the best long-term solution to prevent mineral buildup in all your plumbing fixtures, including your kitchen faucet.
- Regular Cleaning: Make it a habit to periodically clean your sprayer head. A quick soak in vinegar every few months can prevent significant mineral accumulation.
- Gentle Use: Avoid forcing the sprayer button or pulling the hose too aggressively, as this can contribute to wear and tear on internal components.
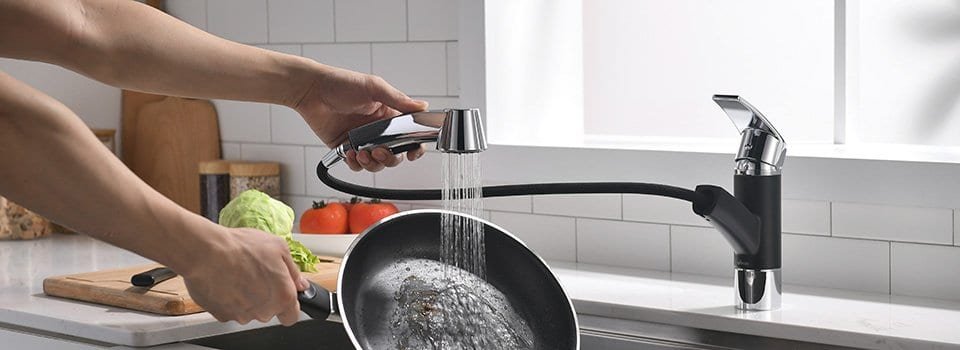
Your Faucet’s Future: Repair or Replace?
After these steps, you’ll understand your faucet’s condition much better.
If it’s fairly new, cleaning or replacing a small part like a diverter or O-ring is usually the smartest fix—saving money and extending its life.
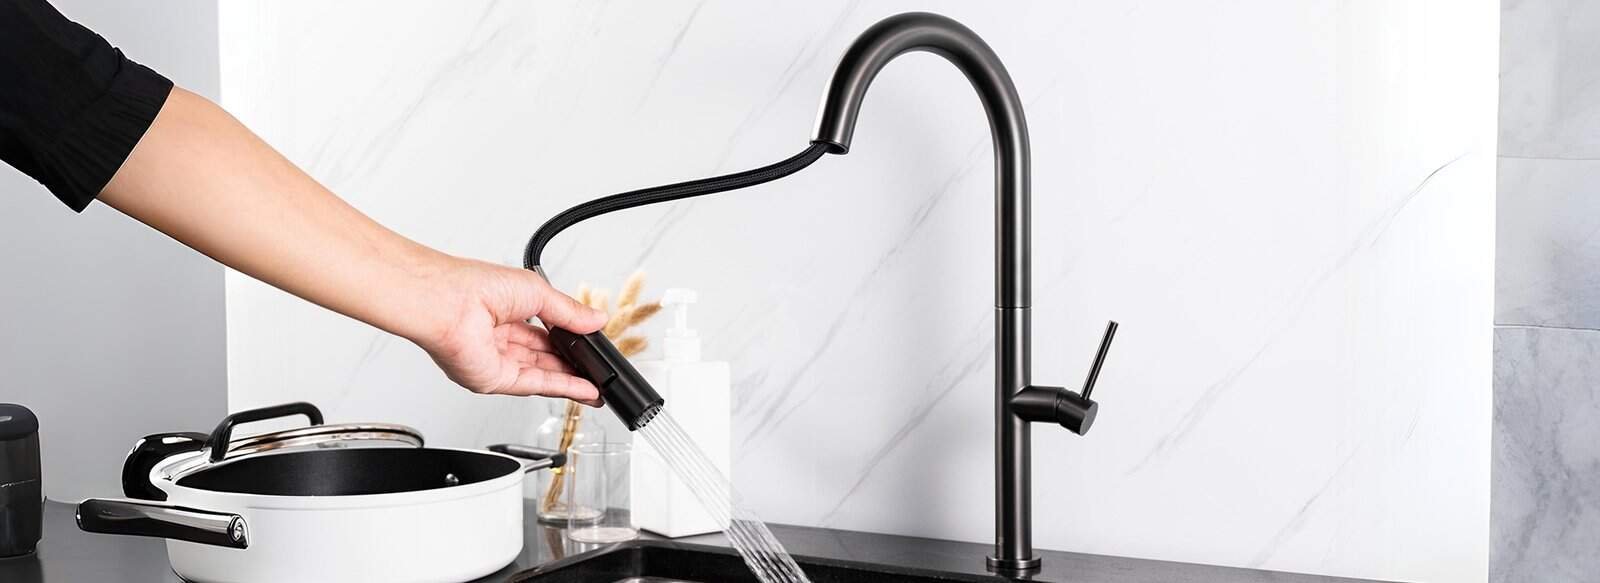
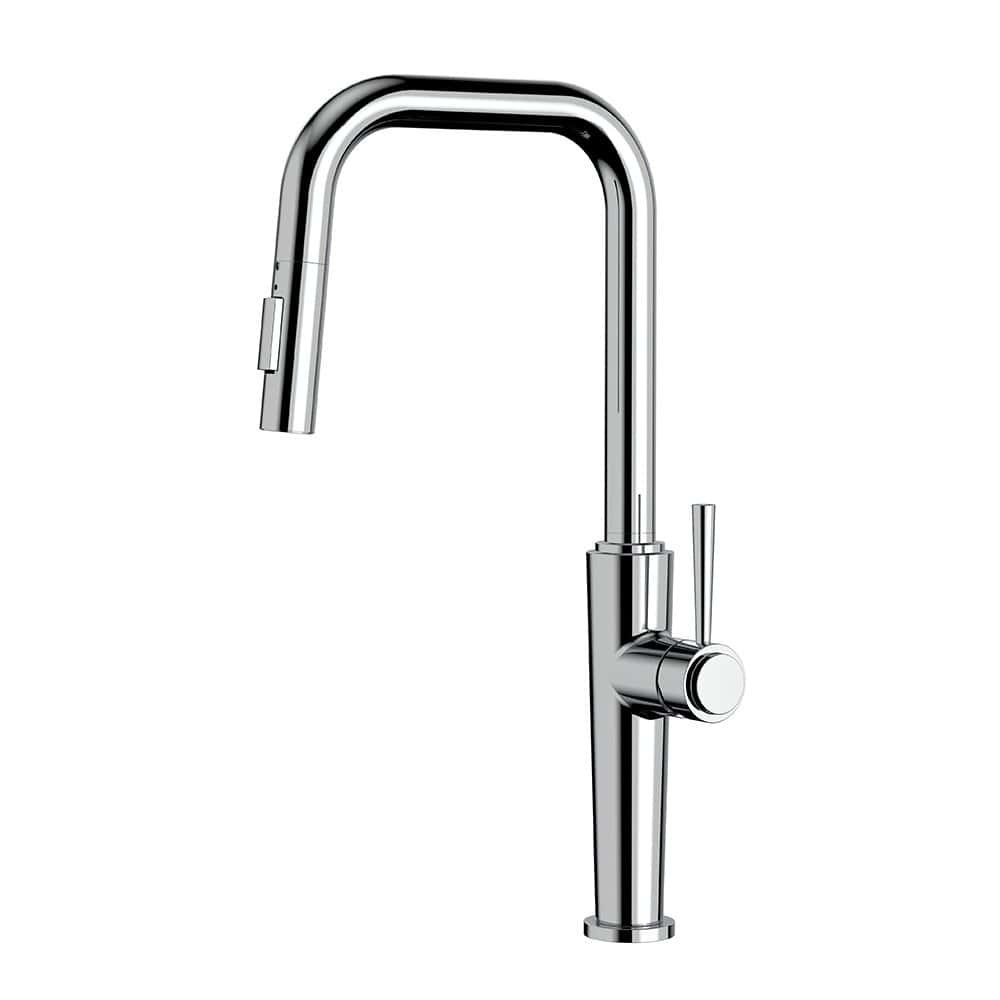
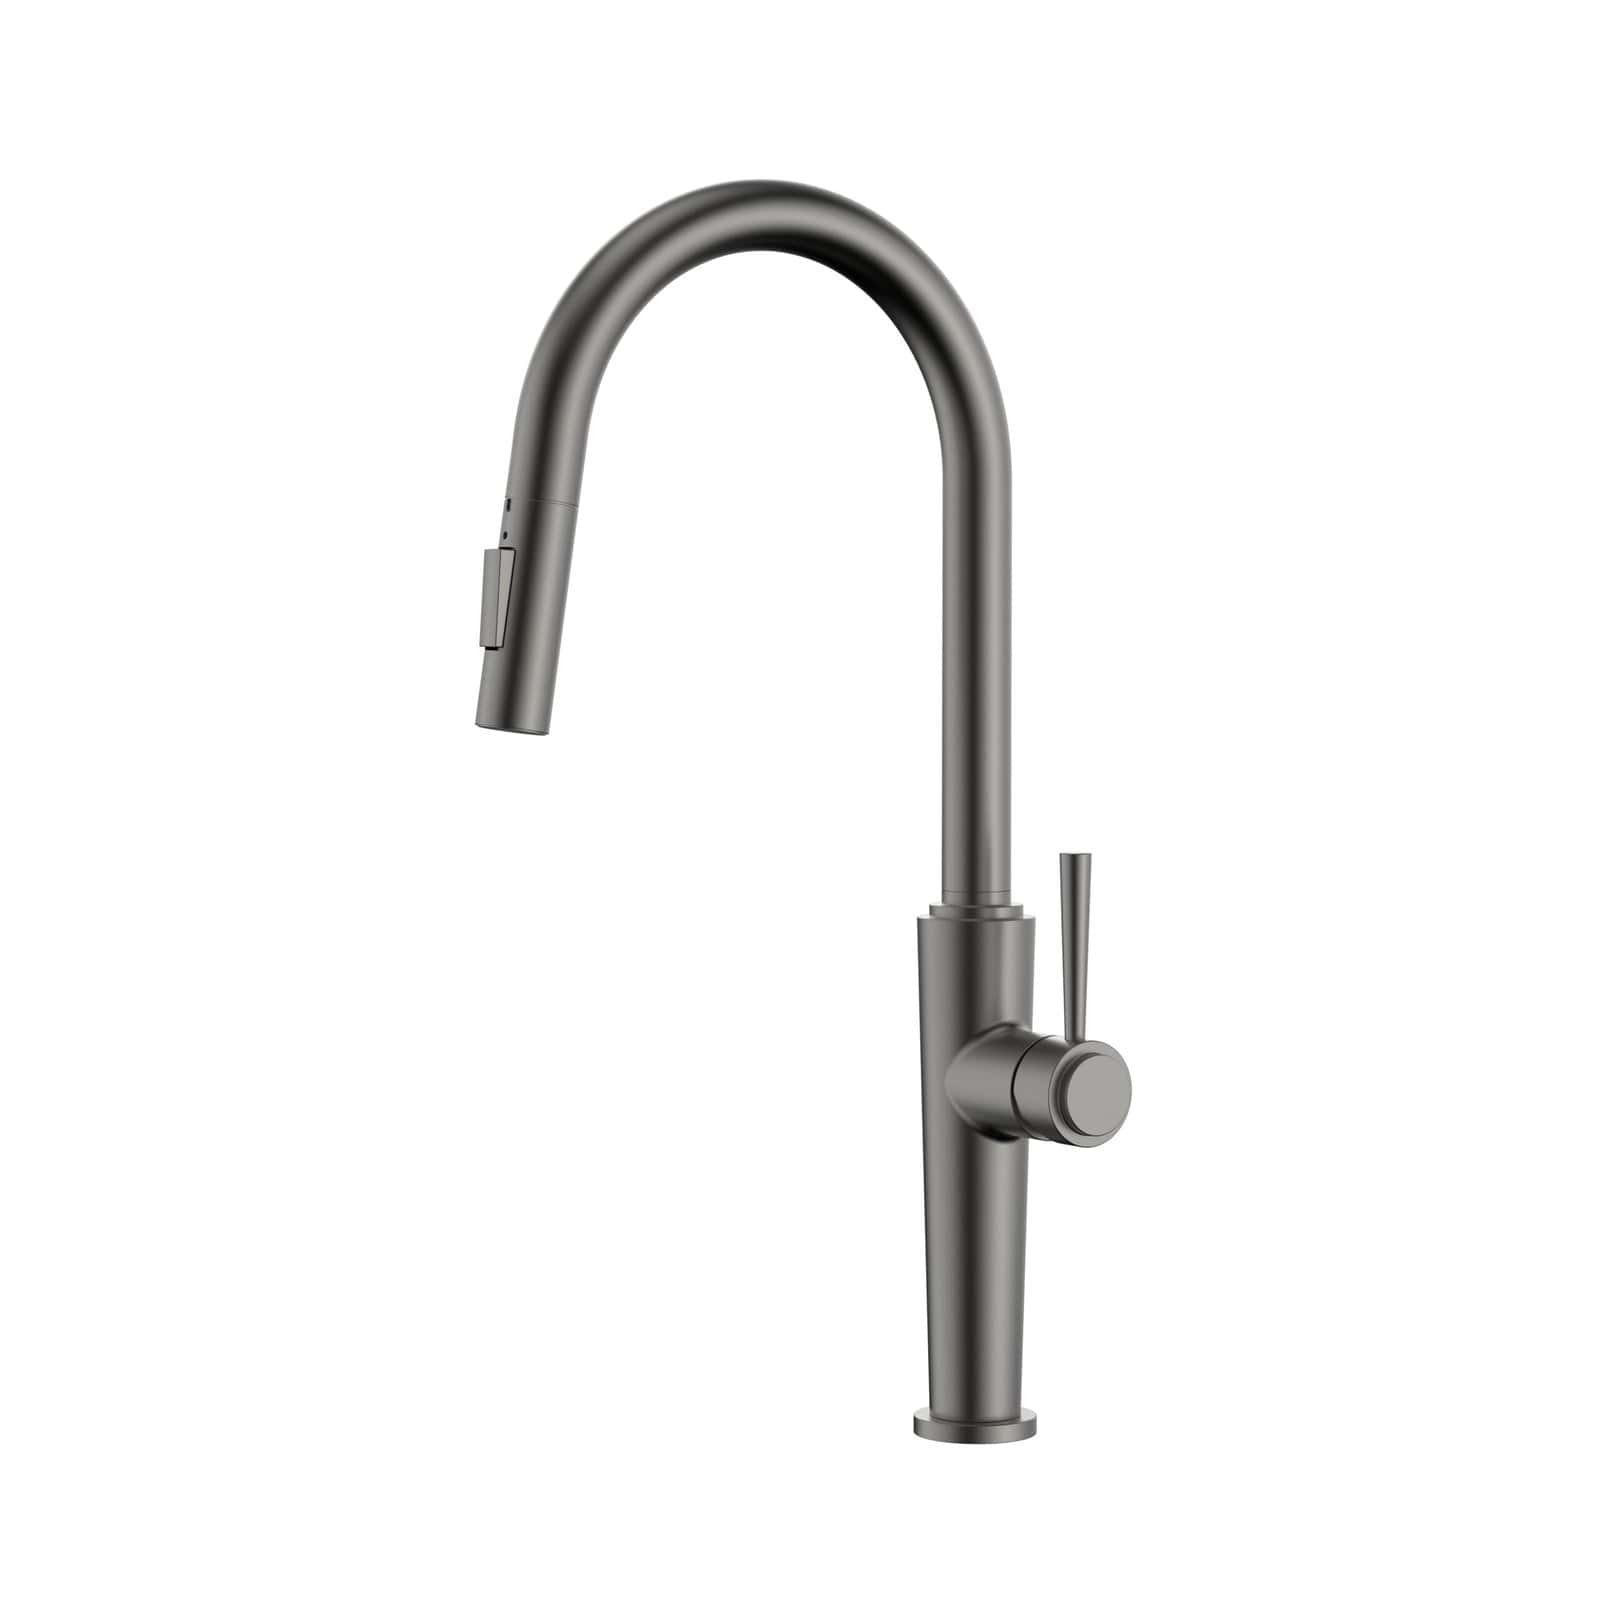
But if it’s old, parts are hard to find, or repairs cost nearly as much as a basic $40 faucet, replacing the whole thing may be more practical. A new faucet offers fresh features, a clean look, and a new warranty.
Either way, you’re now equipped to make the best decision for your kitchen!







.jpg)