When you install or replace a kitchen or bathroom faucet, the size of the hole in your sink or countertop plays a critical role. A proper fit ensures a secure installation, prevents leaks, and enhances functionality. This comprehensive guide dives deep into sink faucet hole sizes, covering how to measure them, why they matter, how to choose the right faucet, and how to tackle common installation challenges. Whether you’re a beginner or a seasoned DIY enthusiast, this article equips you with everything you need to confidently select and install a faucet.
Table of Content
Why Sink Faucet Hole Sizes Matter
The hole size in your sink or countertop must align with the faucet’s base or mounting hardware. Here’s why this is crucial:
- Secure Installation: A correctly sized hole ensures the faucet sits firmly, preventing wobbling or loosening over time.
- Leak Prevention: A mismatched hole can create gaps, allowing water to seep into the countertop or cabinet, causing damage.
- Ease of Use: A properly installed faucet ensures smooth operation of handles, spouts, or sprayers without interference from the sink or countertop.
If the hole is too small, the faucet won’t fit; if it’s too large, you’ll need additional components like an escutcheon plate. Understanding standard sizes and measuring accurately are key to avoiding these issues.
Standard Sink Faucet Hole Sizes: A Detailed Breakdown
Faucet hole sizes vary depending on the sink and faucet type, but industry standards exist. Below is a table of common hole sizes for different sink types.
| Sink Type | Standard Hole Size | Common Variations |
|---|---|---|
| Kitchen Sink | 1 3/8 inches (35 mm) | 1 1/2 inches (some models) |
| Bathroom Sink | 1 1/4 inches (32 mm) | 1 3/8 inches (widespread) |
| Utility/Laundry Sink | 1 1/2 inches (38 mm) | 1 3/4 inches (commercial) |
| Bar/Prep Sink | 1 3/8 inches (35 mm) | 1 1/4 inches (smaller sinks) |
Why Sizes Vary
- Kitchen Sinks: The 1 3/8-inch hole accommodates most kitchen faucets, often supporting additional features like sprayers or soap dispensers. High-end or commercial faucets may require a 1 1/2-inch hole.
- Bathroom Sinks: Bathroom faucets, especially widespread designs, often use smaller holes. Widespread faucets may require multiple holes spaced 4 to 8 inches apart.
- Utility Sinks: Found in laundry rooms or garages, these sinks typically have larger holes to support high-flow faucets.
- Bar/Prep Sinks: Smaller sinks mirror kitchen sink hole sizes but may vary based on faucet style.
Before purchasing a faucet, always check the product specifications to confirm the exact hole size required, as some brands or models deviate from the standard.

How to Accurately Measure Sink Faucet Hole Sizes
Precise measurement ensures your new faucet fits perfectly. Follow this detailed guide to measure correctly.
Tools You’ll Need
- Digital Caliper: Offers the most precise measurement.
- Ruler or Tape Measure: A suitable alternative if a caliper isn’t available.
- Flashlight: Helps illuminate the hole for better visibility in dim areas.
Measurement Steps
- Remove the Old Faucet: If replacing an existing faucet, fully remove it to expose the hole.
- Clean the Area: Clear debris or old sealant around the hole to ensure accurate measurements.
- Measure the Diameter:
- With a caliper, insert it into the hole, expand until it touches the edges, and read the measurement.
- With a ruler, place it across the hole’s center and measure the distance between opposite edges.
- Check for Irregularities: Due to wear or manufacturing flaws, holes may not be perfectly round. Measure in multiple directions to confirm accuracy.
- Measure Additional Holes: If your sink has multiple holes (e.g., for handles or sprayers), measure each one, as sizes may differ.
What to Do When Hole Sizes Don’t Match
If your sink’s hole size doesn’t align with your new faucet’s requirements, don’t panic. Here are solutions for both scenarios.
If the Hole Is Too Small
- Enlarge the Hole: Use a hole saw or drill to widen the hole, but the method depends on the sink material:
- Stainless Steel: Use a carbide-tipped hole saw.
- Porcelain or Ceramic: Use a diamond-tipped hole saw and work slowly to avoid cracking.
- Granite or Composite: Hire a professional, as specialized tools are required.
- Choose a Different Faucet: If enlarging the hole feels risky, select a faucet that matches the existing hole size.
For a visual guide, watch this YouTube tutorial» to see the process in action.
If the Hole Is Too Large
- Use an Escutcheon Plate: Many faucets come with or are compatible with escutcheon plates, which cover oversized holes for a polished look.
- Install Accessories: If your sink has extra holes, add a soap dispenser, side sprayer, or dishwasher air gap to utilize the space.

Choosing the Right Faucet for Your Sink
Sinks typically have one to four pre-drilled holes, and you must select a faucet that matches this layout.
Common Sink Configurations and Faucet Types
- Single-Hole Sinks: Ideal for faucets with integrated spouts and handles, such as single-handle pull-down faucets, offering a sleek, modern look.
- Two-Hole Sinks: Common for bridge faucets or separate hot and cold handles.
- Three-Hole Sinks: Typical in bathrooms for spouts and dual handles; in kitchens, may include a sprayer.
- Four-Hole Sinks: Provide an extra hole for accessories like soap dispensers or side sprayers.
When selecting a faucet, ensure it matches your sink’s hole count. If the faucet requires fewer holes than your sink has, cover extras with an escutcheon plate or install functional accessories.
Sink Depth and Faucet Compatibility
Sink depth affects faucet functionality, comfort, and aesthetics. Standard kitchen sink depths range from 6 to 12 inches, with 8–10 inches most common. Here’s how to match faucets to sink depth:
- Shallow Sinks (6–7 inches): Common in bar/prep sinks or older kitchens, these pair best with short-spout faucets (6–8 inches) to prevent splashing. Single-handle pull-down faucets work well, minimizing splashback. Avoid high-arc faucets to prevent water pooling or spilling.
- Standard Sinks (8–10 inches): Most modern kitchen sinks offer versatility. Choose medium-arc (8–10 inches) or pull-down faucets for ample clearance to fill pots or clean dishes. Ensure spout reach (5–7 inches) covers the sink’s center for balanced flow.
- Deep Sinks (10–12 inches): Found in professional or farmhouse kitchens, these suit high-arc faucets (10–12 inches) or pull-out sprayers for better reach. Wall-mounted faucets save counter space and allow flexible positioning.
- Ergonomics: Deeper sinks need longer-reach faucets (e.g., 7 inches for a 10-inch sink) to avoid straining. Check arc height and reach in product specs.
- Special Cases: For double-bowl sinks, choose a swiveling faucet to reach both basins. For farmhouse sinks, high-arc or wall-mounted faucets enhance style and function.
- Tips:
- Measure sink depth from top edge to basin bottom before buying.
- Ensure the faucet’s reach covers the sink’s usable area.
- For deep sinks, select adjustable-flow faucets to control pressure and reduce splashing.
- For sinks over 10 inches, verify countertop height allows comfortable access to high-arc faucets.

Step-by-Step Guide to Installing a Faucet
Follow these steps to install your faucet like a pro.
Installation Steps
- Turn Off the Water Supply: Locate and close the shut-off valves under the sink.
- Remove the Old Faucet: Disconnect water lines, unscrew mounting nuts, and lift out the old faucet.
- Prepare the New Faucet: Assemble components (e.g., handles or sprayers) per the manufacturer’s instructions.
- Insert the Faucet: Place the faucet into the hole, ensuring it sits flush.
- Secure the Faucet: Tighten mounting nuts from below the sink to lock it in place.
- Connect Water Lines: Attach hot and cold water lines, ensuring secure but not overtightened connections.
- Seal the Base: Apply plumber’s putty or silicone sealant around the base to prevent leaks.
- Test for Leaks: Turn on the water supply and check for drips or leaks.
Common Installation Mistakes to Avoid
- Overtightening: Excessive force can damage threads or components.
- Skipping Sealant: Failing to seal the base may cause water to seep through.
- Ignoring Instructions: Each faucet model differs, so always follow the manufacturer’s guide.
Faucet Maintenance and Care Tips
To extend your faucet’s lifespan and maintain optimal performance, follow these tips:
- Clean Regularly: Wipe with a mild cleaner and soft cloth to avoid scratching the finish.
- Inspect for Leaks: Periodically check the base and connections for moisture.
- Replace Worn Parts: If you notice dripping or reduced flow, replace the cartridge or aerator promptly.
- Winterize Outdoor Faucets: In cold climates, disconnect hoses and drain water to prevent freezing.
Exploring Lanerdi for Faucet and Sink Options
If you’re searching for a new faucet, consider Lanerdi, a trusted manufacturer offering a wide range of faucets and sinks since 2003. Lanerdi provides detailed dimension specifications and comprehensive English installation guides, ensuring a seamless fit for your kitchen or bathroom. Their products, including single-hole, pull-down, and bar/prep faucets, meet UPC/cUPC standards and come with a 5-year warranty.
Visit Lanerdi’s website» for precise measurements, high-quality materials like 304 stainless steel, and step-by-step instructions to simplify your installation process.


Matte Black & Rose Gold Basin Mixer


Hexagon bathroom faucet with lever handle | B1015 01

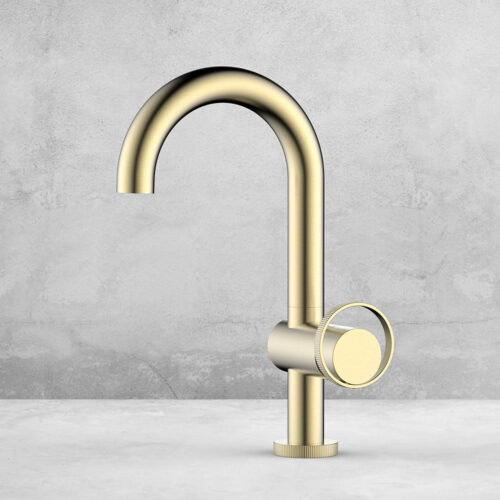
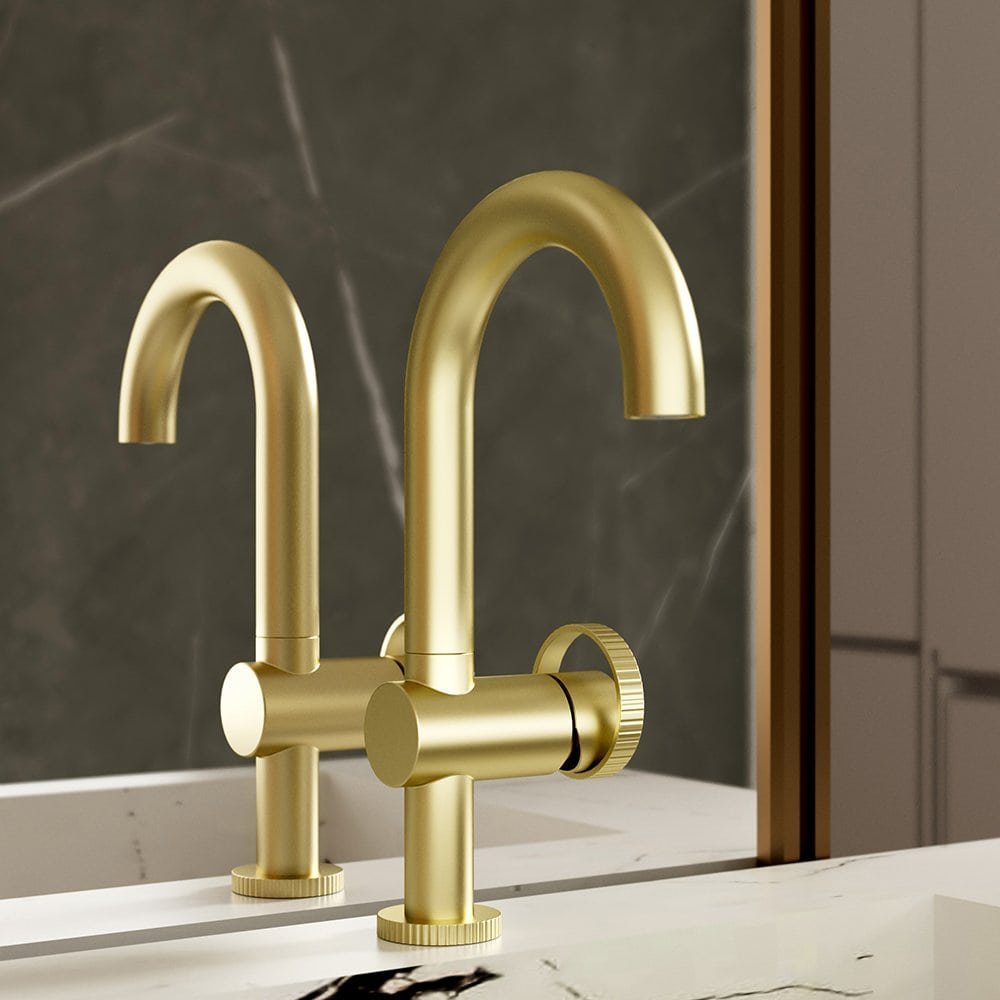
Vertical knurled knob and base bathroom faucet | B1004 01


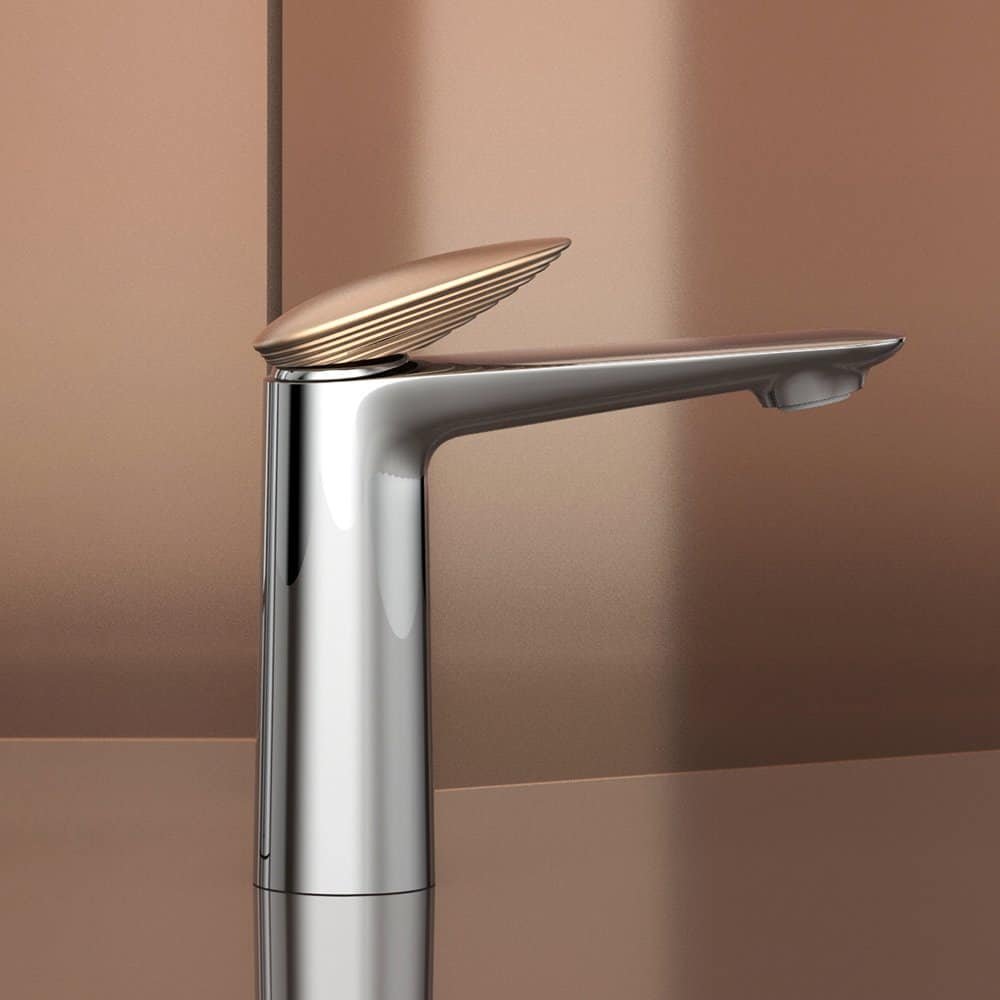
Stepped handle bathroom tap in mixed finish | B022 01


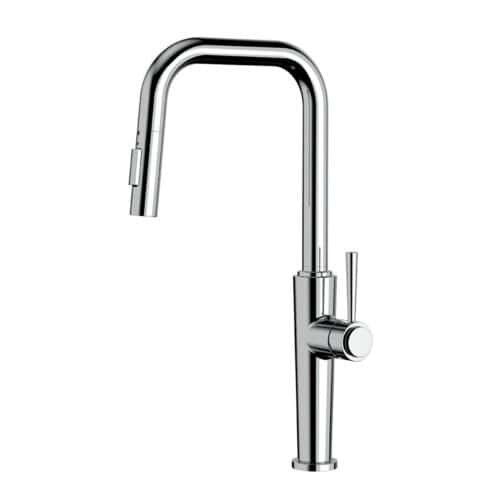
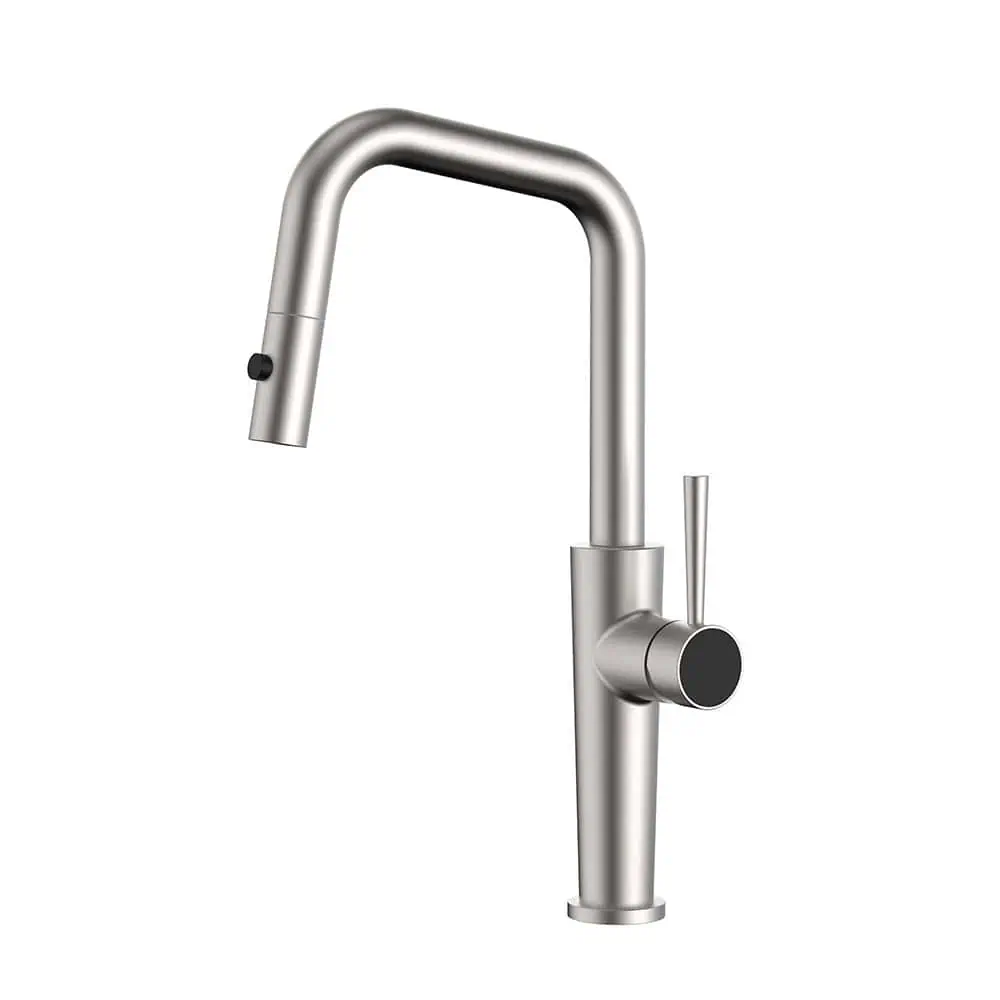
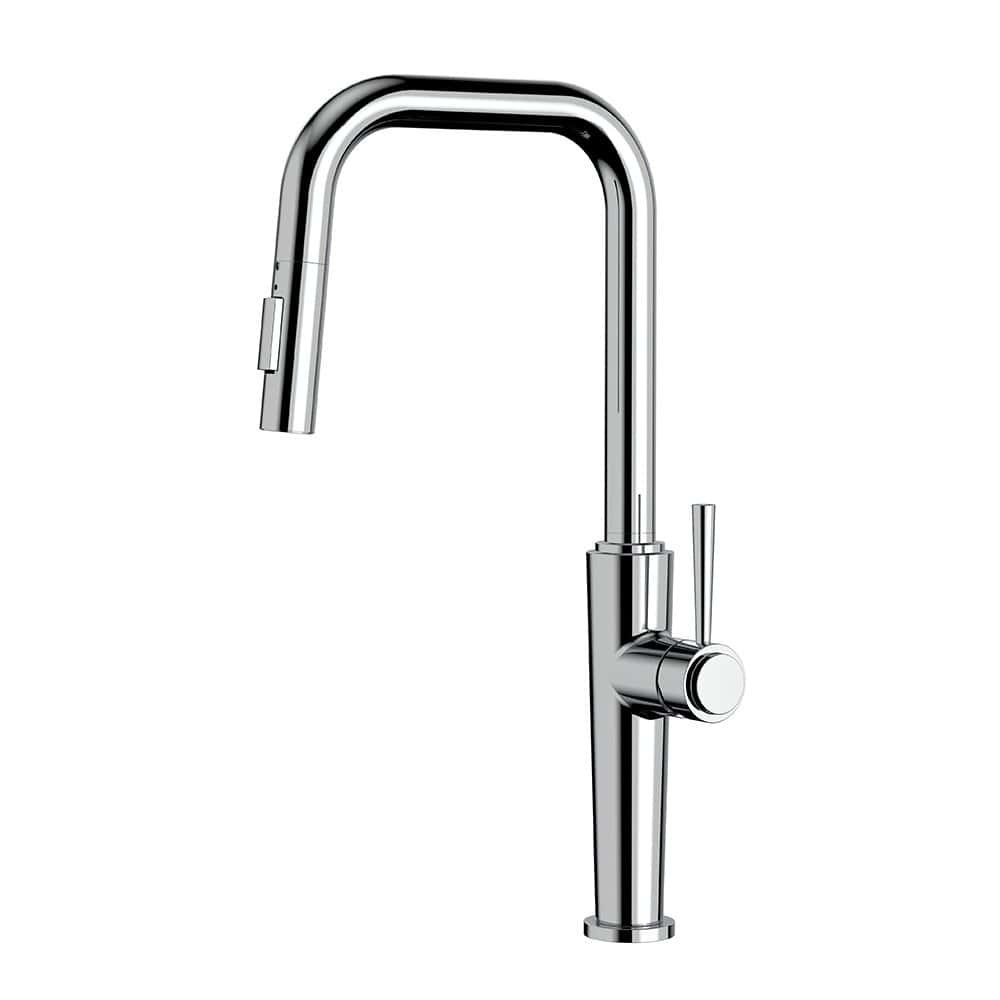
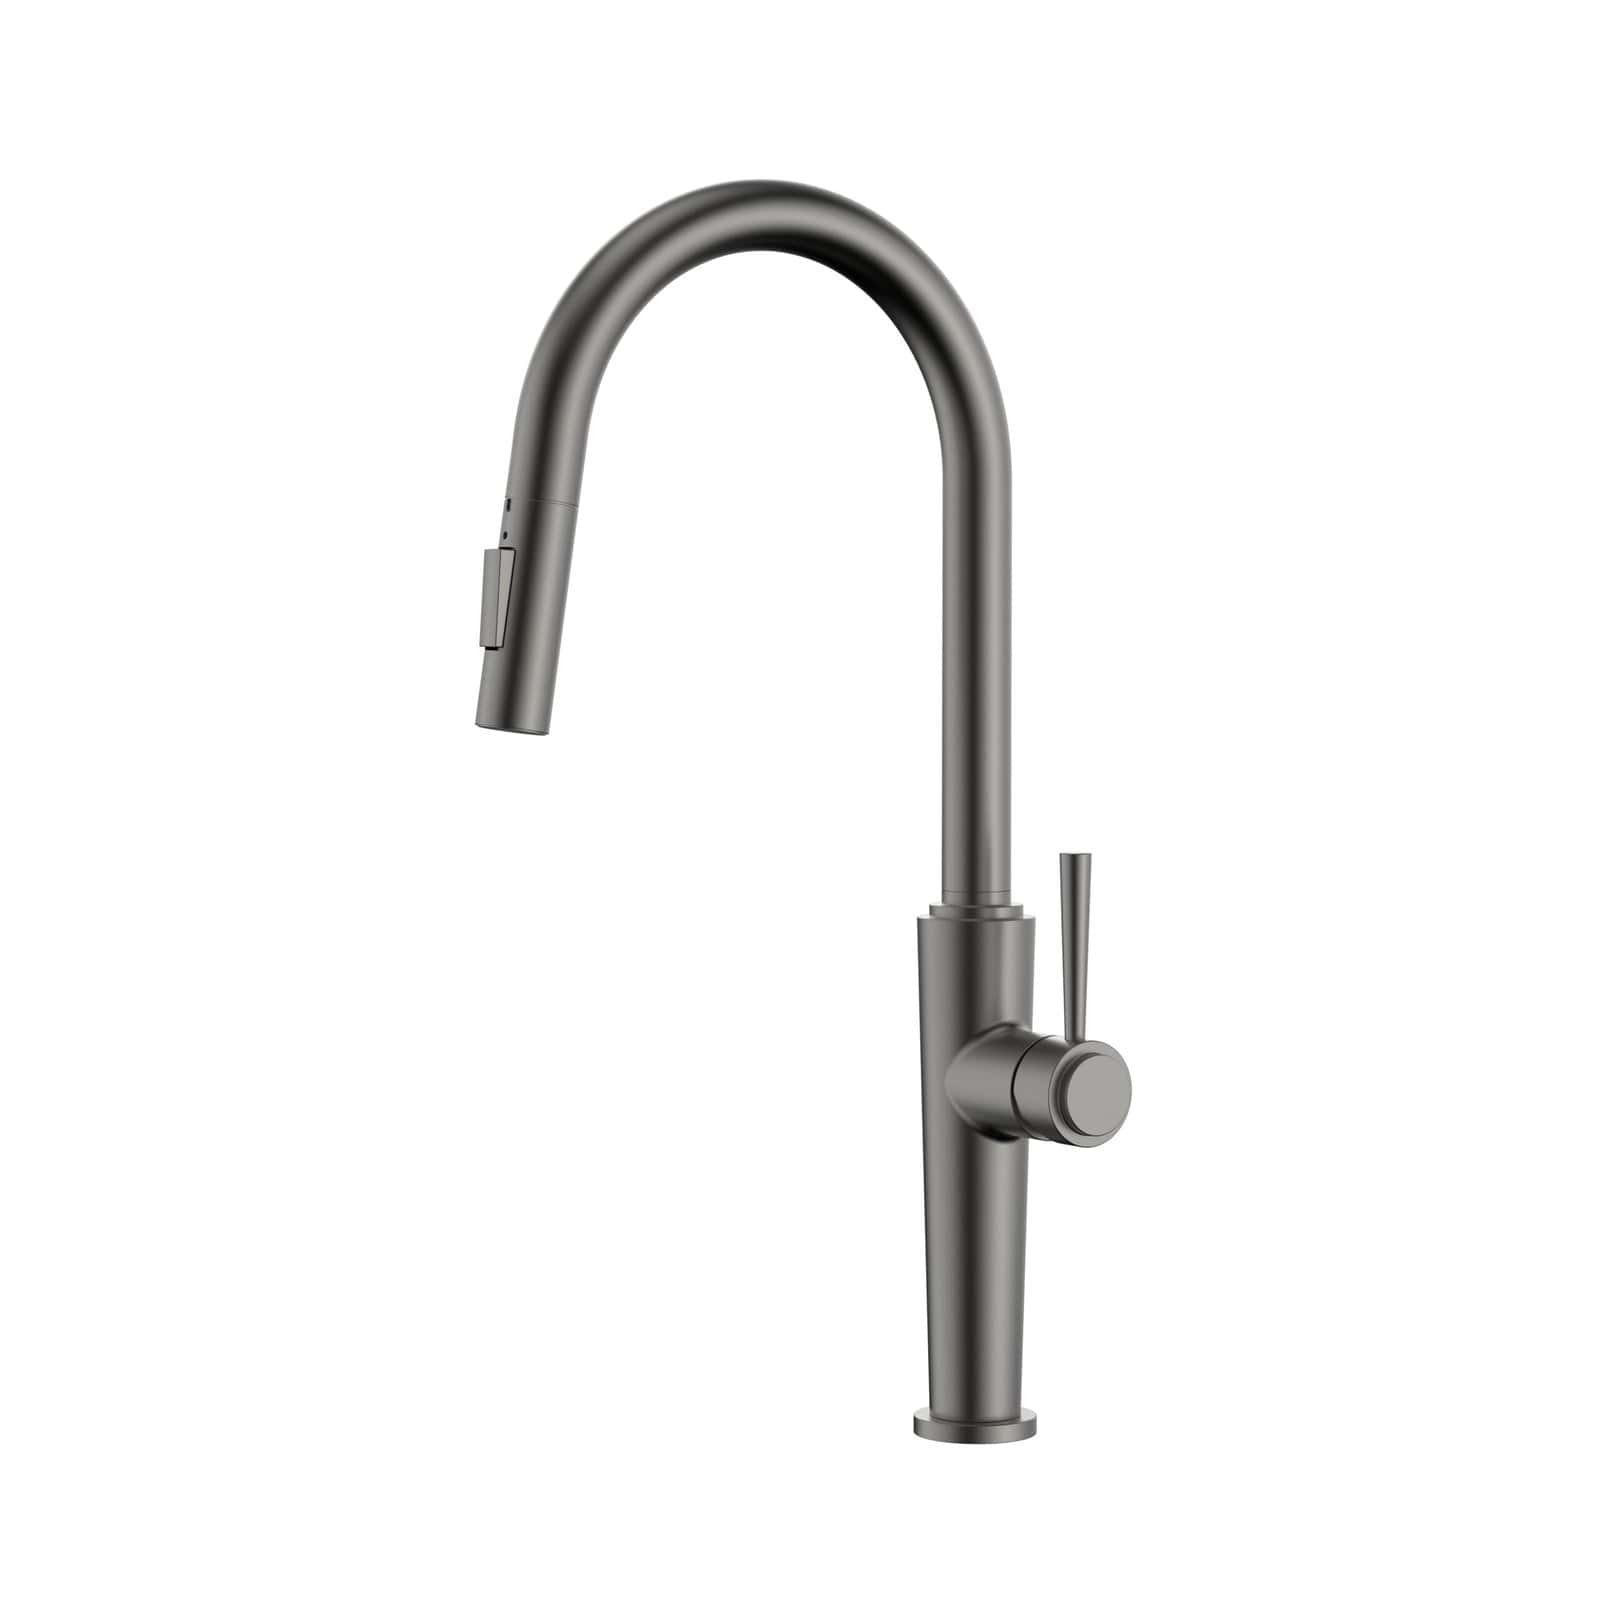
Slanted u-shaped kitchen faucet with 2 modes | K821D 01
U-shaped stepped handle pull out kitchen faucet | K821B 01
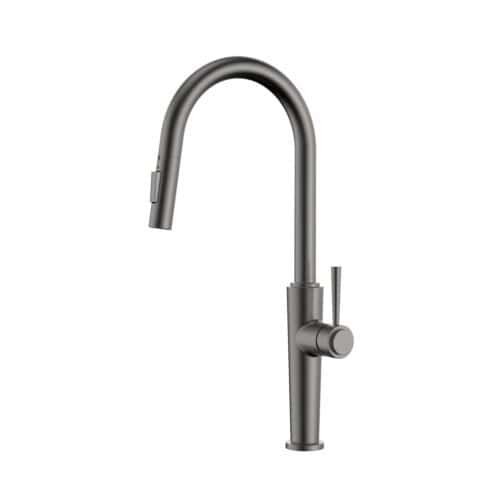
Brass stepped design pull out kitchen tap | K821A 01

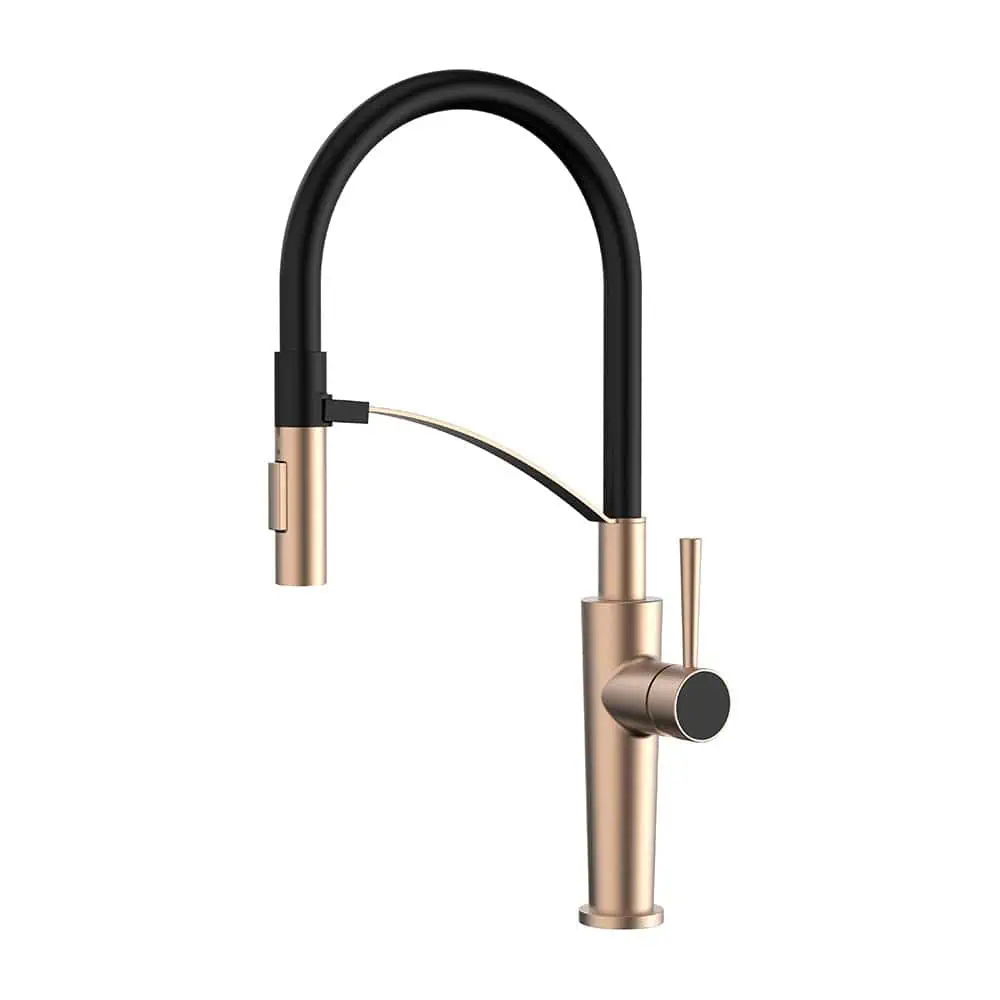
Rose gold pull down kitchen faucet with black acrylic design | K821 02
Conclusion
Understanding sink faucet hole sizes empowers you to select and install the perfect faucet with confidence. The standard kitchen sink hole size is 1 3/8 inches, with some models requiring 1 1/2 inches. By measuring accurately, addressing mismatches, and choosing a compatible faucet, you’ll achieve a seamless, professional installation. This guide provides the tools, techniques, and knowledge to tackle any faucet-related challenge.