Let’s be honest: the toilet brush and its holder are the unsung heroes of the bathroom, handling the dirtiest job in the house. But here’s the problem—those tools themselves. The brush often sits in a puddle of murky water, and we try not to think about it. You want a clean bathroom, but the tools you use can feel gross.
This guide gives you real, effective ways to clean your toilet brush and holder—without extra mess or unsafe chemicals. I’ll show you quick weekly sanitizing, deep-cleaning disinfection, and care tips for plastic, stainless steel, and wooden holders. And when it’s time to toss and replace, you’ll know.
Table of Content
Your Quick Guide to a Cleaner Brush and Holder
Not sure which method is right for you? I’ve put together this table to help you decide at a glance.
| Feature | Bleach Soak | Vinegar/H₂O₂ Solution | Soap & Water Wash | Disinfectant Spray |
|---|---|---|---|---|
| Disinfection Level | High (Kills 99.9% of germs) | Medium (Kills many, but not all, bacteria/viruses) | Low (Removes/dilutes germs, does not kill all) | Medium-High (If dwell time is met) |
| Best For | Monthly deep disinfection; post-illness cleaning | Weekly natural sanitizing; households with chemical sensitivities | Basic surface cleaning; when no other options are available | Quick cleaning after use; daily maintenance |
| Required Time | 1+ hour soak time | 30-60 min soak / 10 min spray time | 1+ hour soak time | 10+ min dwell time |
| Material Safety | Safe for most plastics. Risk for metal, untreated wood. | Safer for most materials. | Safest for all materials. | Generally safe. Check product label. |
| Key Risks | Toxic fumes, skin/eye irritation. NEVER mix with other cleaners. | Mild irritant. Low risk. | Minimal risk. | Inhalation risk in poorly ventilated areas. |
The Step-by-Step Cleaning Methods
Ready to get started? Here are the detailed instructions for each method. Remember to clean both the brush and its holder.
Cleaning the Brush
No matter what kind of holder you have, the brush itself can be cleaned the same way. The easiest method is to add 2-3 capfuls of bleach to your clean toilet bowl, then let the brush head soak in the water for about an hour. Once it’s done soaking, flush the toilet to rinse the brush in clean water.
Cleaning the Holder (Freestanding vs. Wall-Mounted)
- If your holder is freestanding:
You can soak it in a dedicated cleaning bucket filled with hot water and your cleaner of choice (bleach, vinegar, or soap) for an hour.
- If your holder is fixed to the wall:
You can’t soak it, but you can clean it just as effectively in place. The key is to protect your wall and floor. Place old towels or a plastic sheet on the floor beneath the holder before you begin.
- Method 1: The Bleach Solution (Deep Clean): In a spray bottle, mix a solution of 4 teaspoons of bleach per quart of water. Spray the inside and outside of the holder until it is thoroughly wet. Let it sit for at least 10 minutes to disinfect, then use a separate scrub brush (an old toothbrush works well) to clean any grime. To “rinse,” spray the holder with plain water and wipe it clean with paper towels.
- Method 2: The Vinegar Method (Natural Clean): Fill a spray bottle with undiluted white vinegar. Spray the holder inside and out, let it sit for 10-15 minutes, then scrub away any buildup. Wipe clean with a damp cloth.

- Method 3: The Soap & Water Wash (Basic Clean): Use a cloth or sponge soaked in hot, soapy water to scrub the inside and outside of the holder. This method is great for removing visible dirt but won’t disinfect. “Rinse” by wiping it down with a cloth dampened with clean water.
- Method 4: The Quick Clean with Disinfectant Spray: This is the easiest method for wall-mounted holders. Spray the holder inside and out with a disinfectant spray like Lysol. Let it sit for the time specified on the label (usually 10 minutes), then wipe it dry with a paper towel.

The Definitive Guide to Cleaning Different Materials
Not all toilet brush holders are created equal. Using the wrong cleaning method can damage your holder, so here’s a breakdown by material, with tips for both freestanding and wall-mounted types.
Plastic and Silicone toilet brush holder
These are the most durable. You can use any of the methods above. For wall-mounted plastic holders, be careful that bleach solutions don’t drip onto your floor or wall, as they can cause discoloration.
Stainless Steel toilet brush holder
Be careful with this one. I would advise against using bleach, as it can damage the finish. Instead, use a soft cloth with warm, soapy water or a 50/50 vinegar-water solution. For wall-mounted versions, pay special attention to the area around the mounting brackets where grime can build up. Always dry it immediately with a microfiber cloth to prevent water spots.

Ceramic toilet brush holder
For freestanding holders, you can soak them carefully. For wall-mounted ceramic holders, the risk is scratching the glaze. Use a non-abrasive cleaner like diluted vinegar or dish soap and a soft cloth or sponge.

Wood and Bamboo toilet brush holder
This is critical. Do not soak wooden or bamboo holders. They will absorb water, warp, and quickly grow mold. I’ve seen forum posts from people whose wooden brushes turned black with mildew, and it’s because they were stored wet. The correct method is a “dry clean”:
- Wipe the holder with a cloth that is only lightly dampened with a mild vinegar solution.
- Immediately follow up with a clean, dry cloth to remove all moisture.
- These holders need excellent air circulation. Some of the best designs include a terracotta dish in the base to absorb moisture.
A Note on Hygiene: Avoiding Cross-Contamination
Cross-contamination happens when germs move from a dirty surface to a clean one, and toilet brushes pose this risk. Never clean your brush or holder in the bathtub or kitchen sink, since these surfaces are used for hygiene and food prep — introducing toilet germs is a serious health risk, even if you clean afterward.
To prevent this, always follow these simple rules:
- Use a Dedicated Bucket: Have one bucket that is used only for cleaning the toilet and its tools. Store it separately from other cleaning supplies.
- Clean Your Cleaning Area: After you’ve finished, empty the bucket down the toilet. Then, thoroughly clean and disinfect the bucket itself. This closes the loop and ensures you’re actually removing germs from your home, not just moving them around.
- Use Separate Tools: It’s a good practice to use separate cleaning cloths for different parts of the bathroom—one for the toilet, another for the sink and counters—to prevent spreading germs within the same room.
When to Replace Your Brush and Holder
There’s a big debate online about this. Cleaning experts often recommend replacing your toilet brush every six months to a year. However, I know from reading forums that many people keep theirs for years, as long as they clean them regularly.
So what’s the right answer? I think it comes down to condition, not just time.
Signs It’s Time to Replace the Brush:
- The Bristles are Worn Out: If the bristles are bent, frayed, matted, or flattened, the brush simply won’t clean effectively anymore.
- There’s Permanent Discoloration or Odor: If the brush head is stained or it still smells bad even after a deep clean, it’s time to let it go.
- You See Visible Mold: This is non-negotiable. If you see any signs of mold, throw it out immediately for health reasons.
A worn-out brush is also risky. Flattened bristles expose the core, which can scratch the toilet bowl, creating grooves that trap more bacteria and stains.

Signs It’s Time to Replace the Holder:
- Cracks or Deep Scratches: Any breaks in the surface of a plastic or ceramic holder can become a breeding ground for bacteria that’s impossible to clean out.
- Rust: If you have a metal holder, any sign of rust means it’s time for a new one.
- Persistent Odor or Stains: If the holder has stains that won’t come out or a bad smell that lingers even after a bleach soak, it’s best to replace it.
Making Smart Choices for a Cleaner Bathroom
Now that you know how to care for your toilet brush and holder, you can make better choices from the start. For deep disinfection, a monthly bleach soak works well, especially after illness, while a weekly vinegar solution is a gentler option. If you’re shopping for a new brush set, here’s what I recommend looking for:
- Low Maintenance: A silicone brush is hygienic, long-lasting, and easy to clean.
- Eco-Friendly: A wooden brush with a replaceable head is sustainable but needs “dry clean” care. Choose a holder with good air circulation.
- Maximum Hygiene: Holders that suspend the brush keep bristles out of puddles, allowing air-drying and preventing bacteria.
By following these steps and choosing the right tools, you can finally end the “gross-out factor” and keep every part of your bathroom—including your cleaning tools—truly clean.


Stainless steel base wall mounted bathroom tumbler | A020 09

Zinc alloy base wall mounted toilet brush set

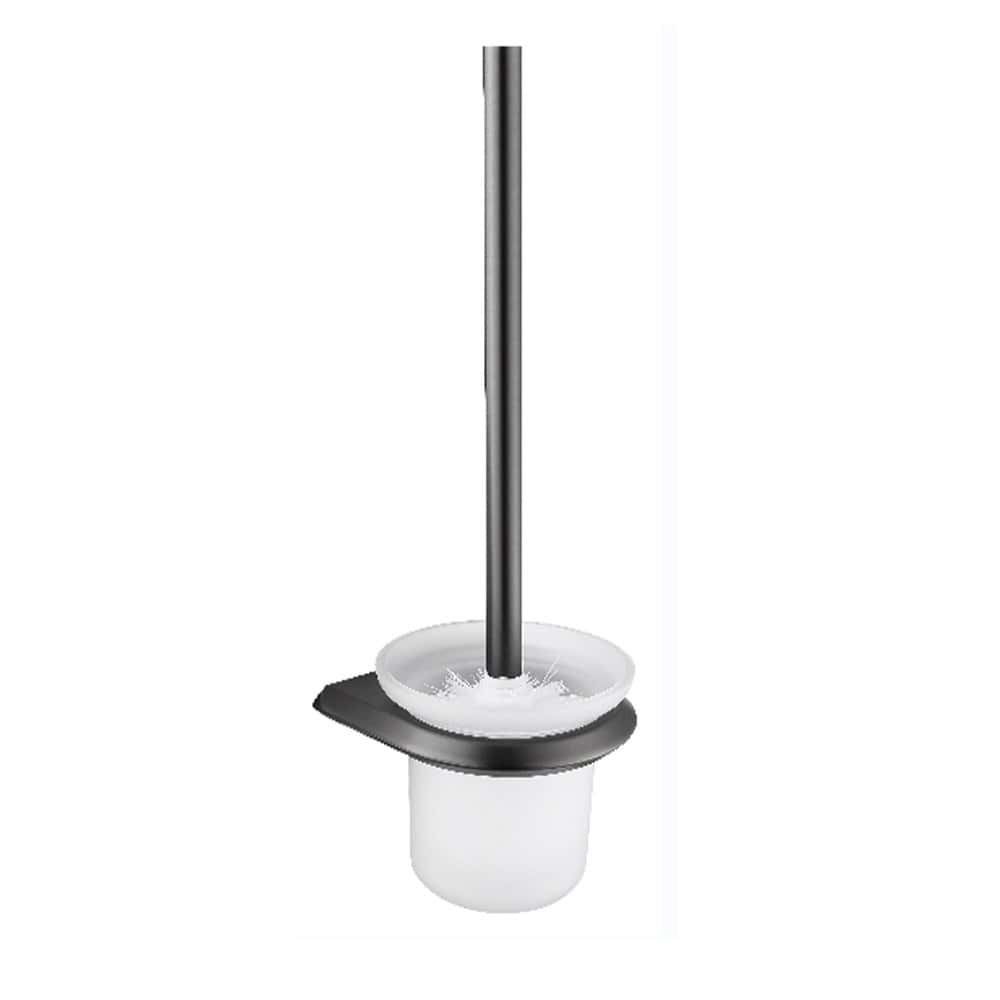
Wall mounted toilet brush set long tube | A143 09

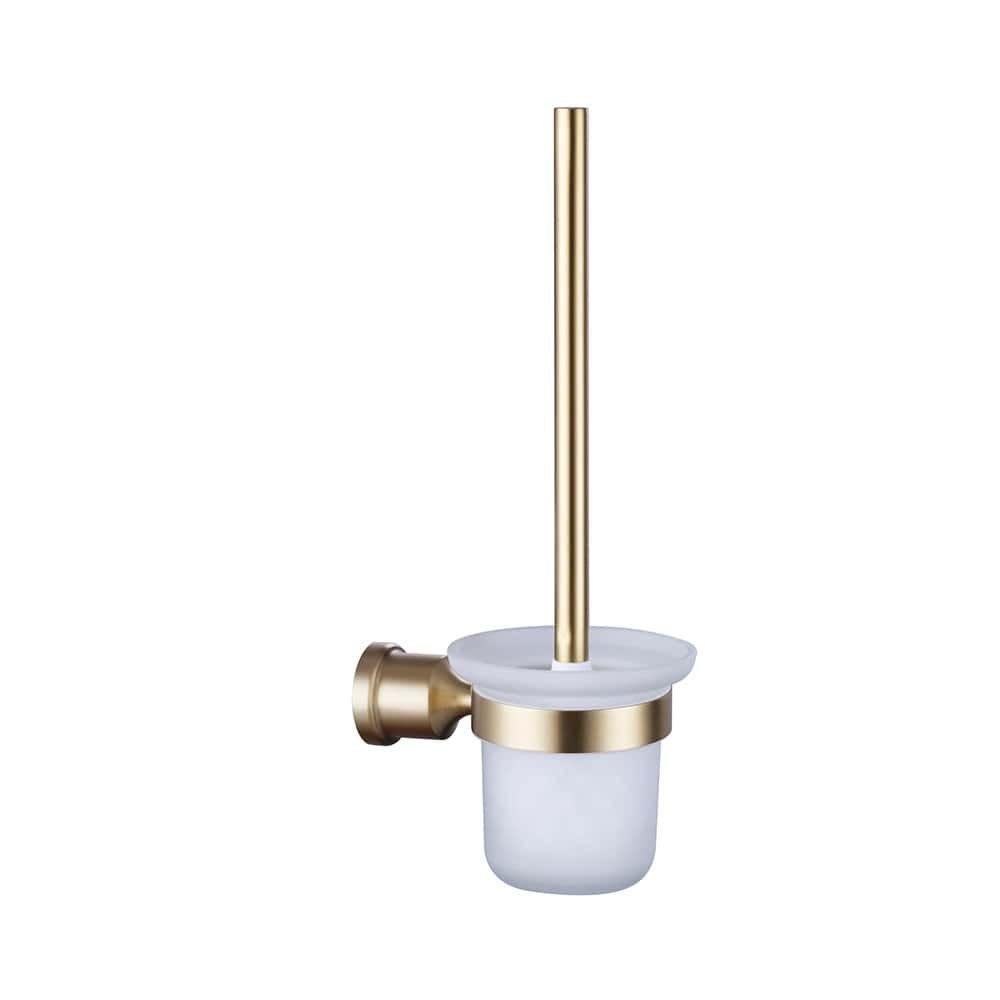
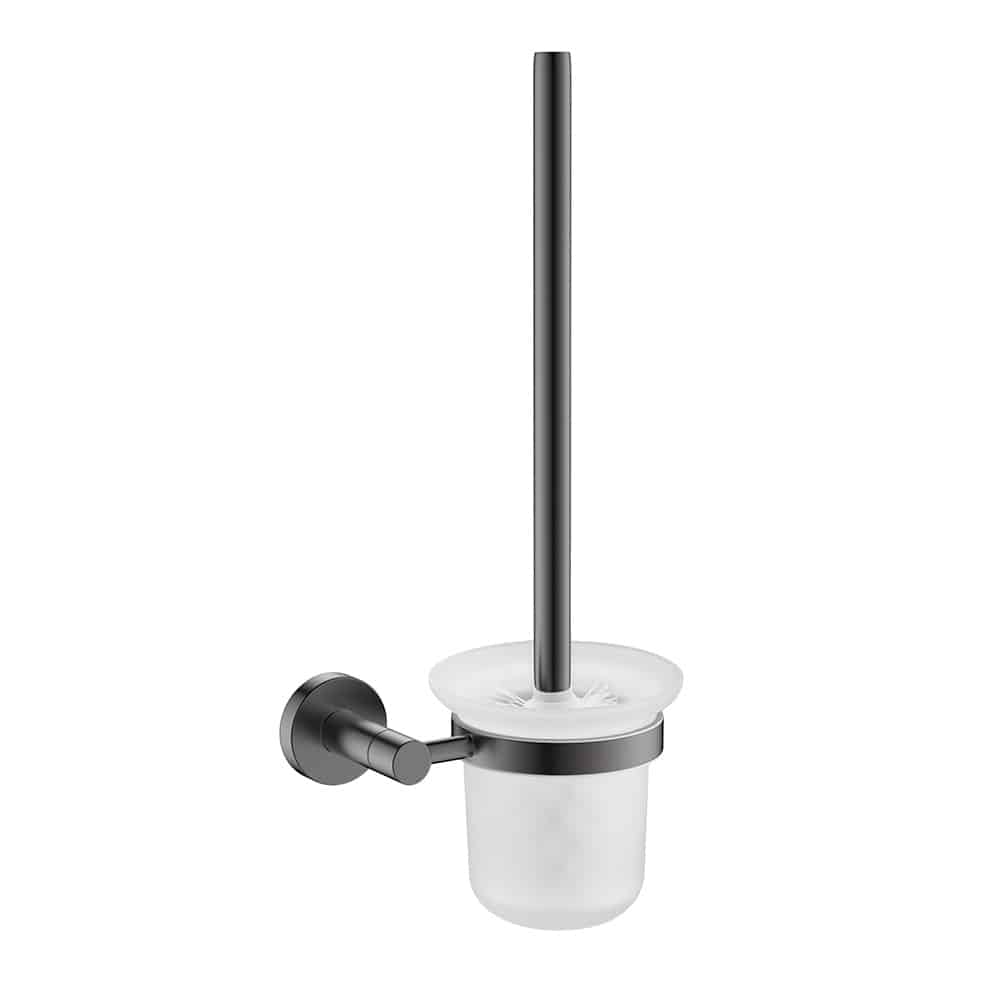
Stainless steel wall mounted toilet brush holder | A008 09

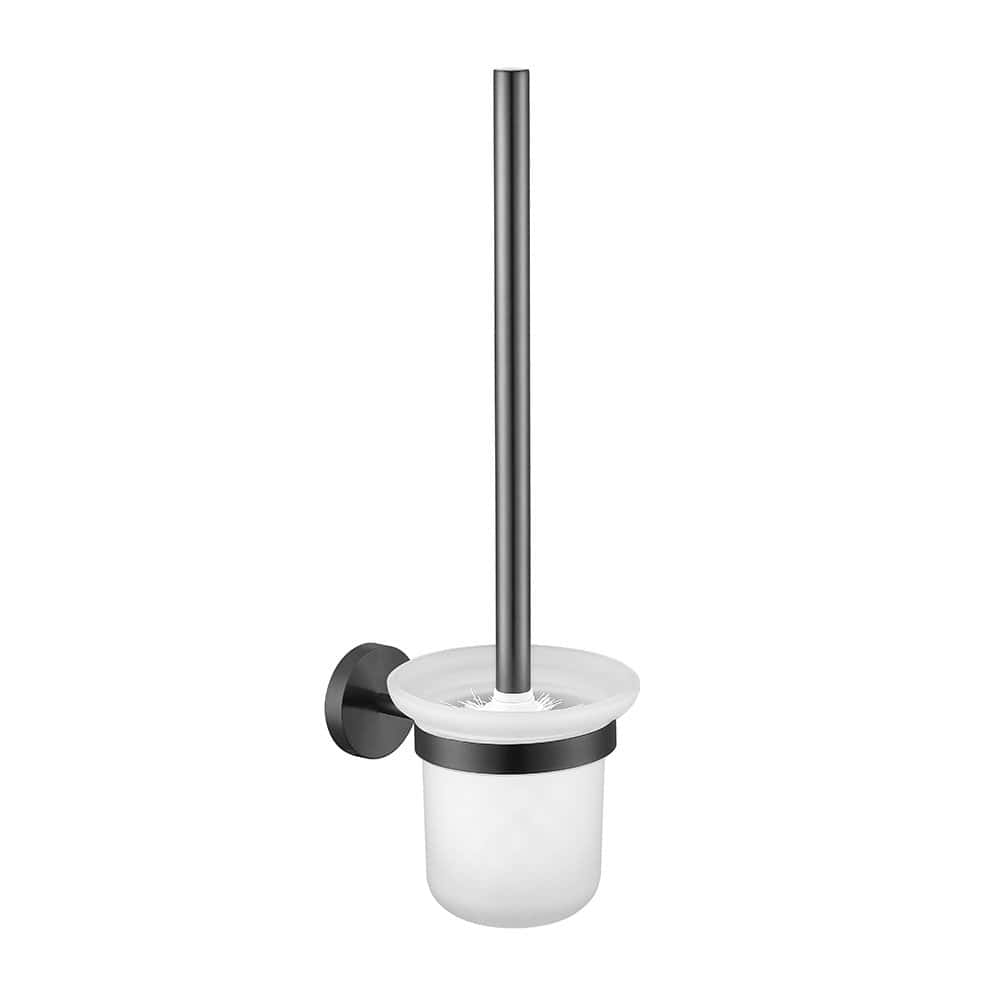
Stainless steel toilet brush wall holder | A146 09

Stainless steel gunmetal toilet brush holder set |A151 09
Stainless steel wall-mount toilet brush holder set| A148 09

Stainless steel toilet bowl brush and holder set | A149 09
Stainless steel toilet brush and holder set | A166 09

Stainless steel modern toilet brush set | A165 09

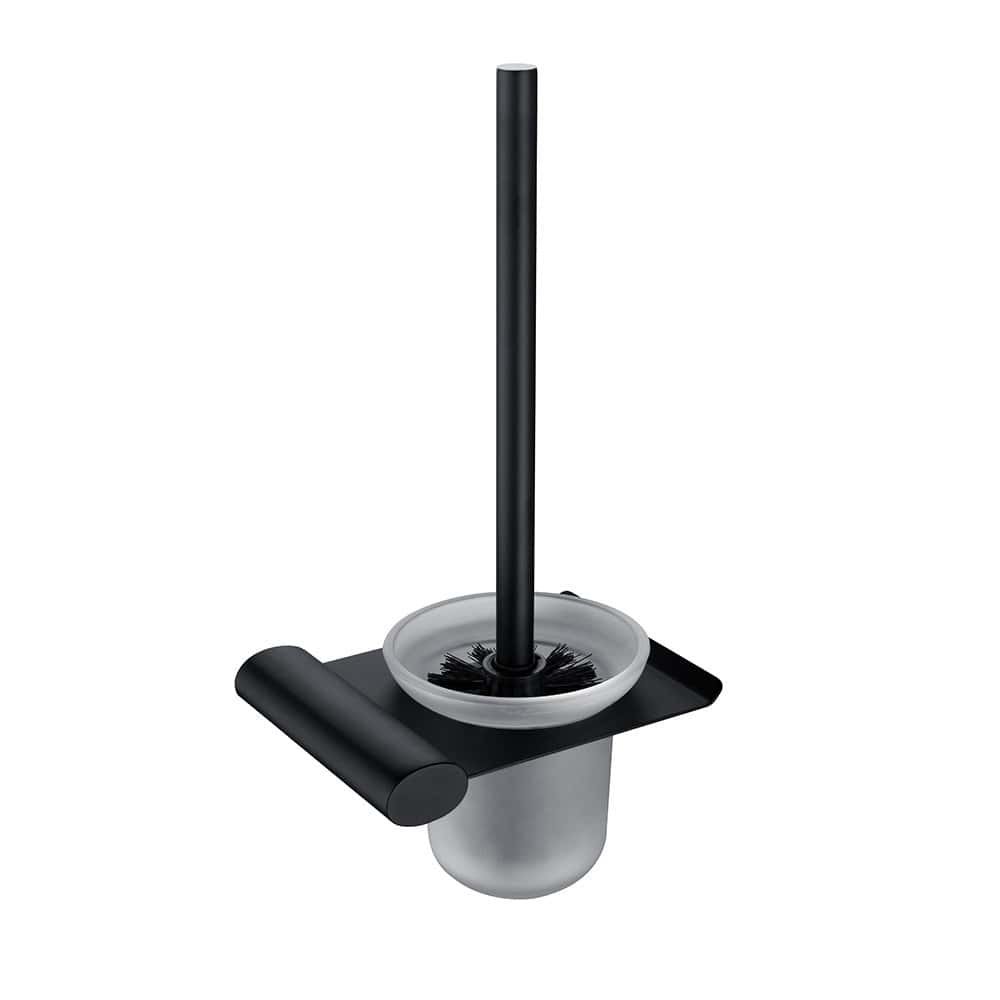
Wall hanging toilet bowl brush and holder | A015 09

