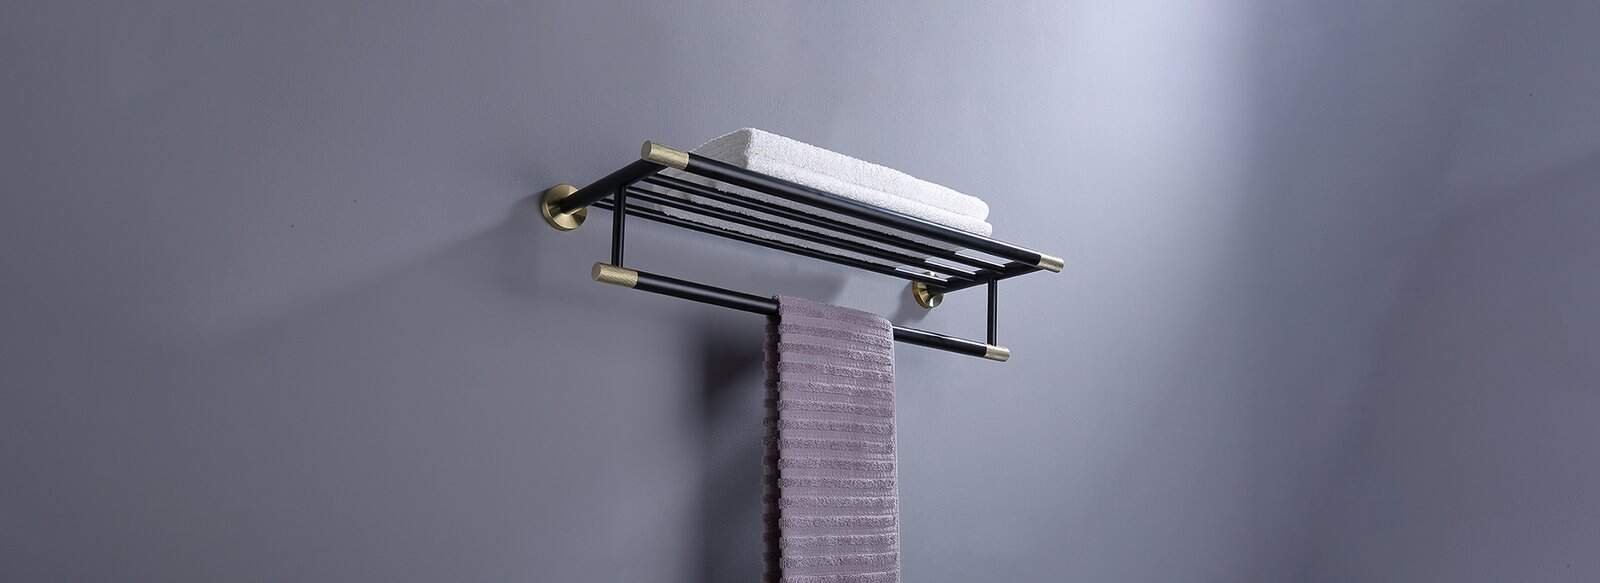
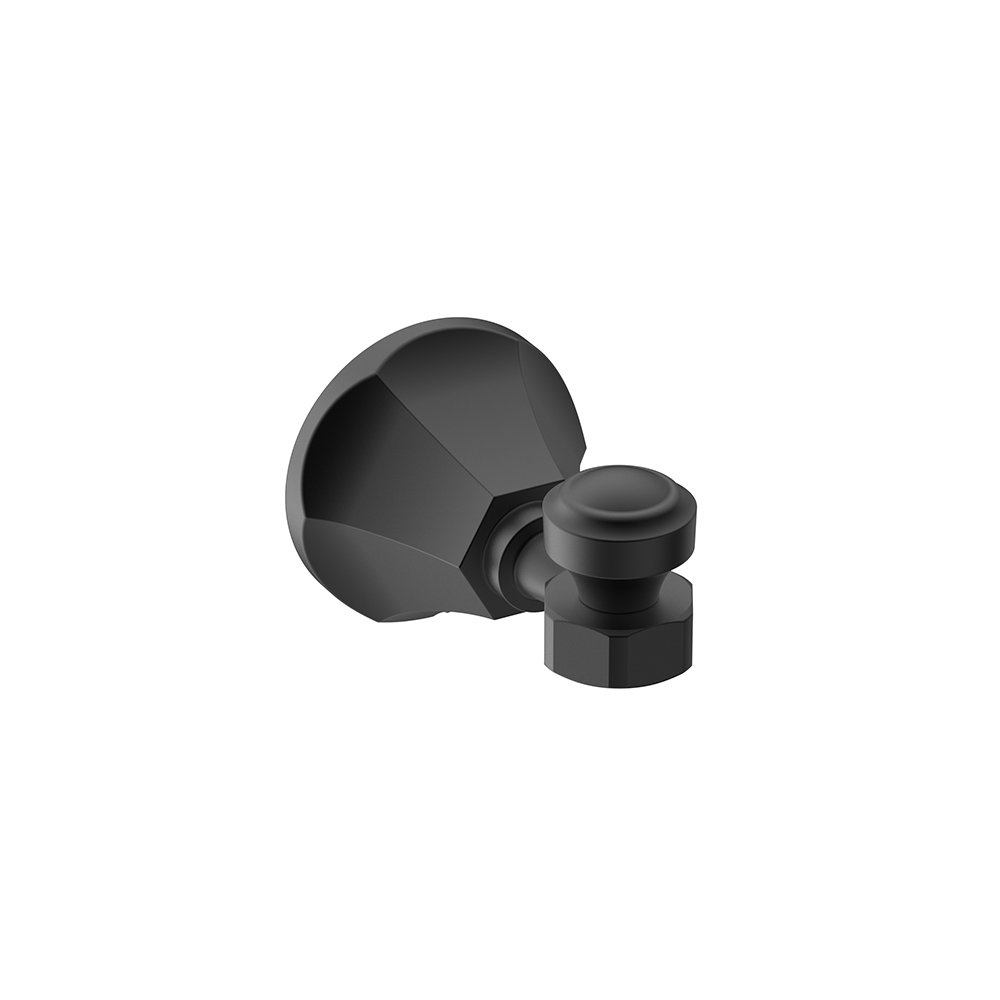
I’m here with a concise guide to remove a towel bar like a pro! Whether upgrading your bathroom or refreshing your space, this skill saves time and prevents wall damage. I’ll guide you through identifying your towel bar type, removing it with care, and patching the wall for a flawless finish. Tackle this home project with confidence!
Table of Content
- Identify Your Towel Bar Type
- Essential Tools You’ll Need
- Safety First!
- Step-by-Step Removal Process
- Post-Removal Wall Repair and Cleanup
- Tackling Tricky Situations: Troubleshooting Tips
- Wall Materials Matter: Specific Considerations
- Beyond Removal: Planning Your Next Steps
- Looking for New Towel holders? Check Out Lanerdi!
- Mastering the Details
- FAQs
Identify Your Towel Bar Type
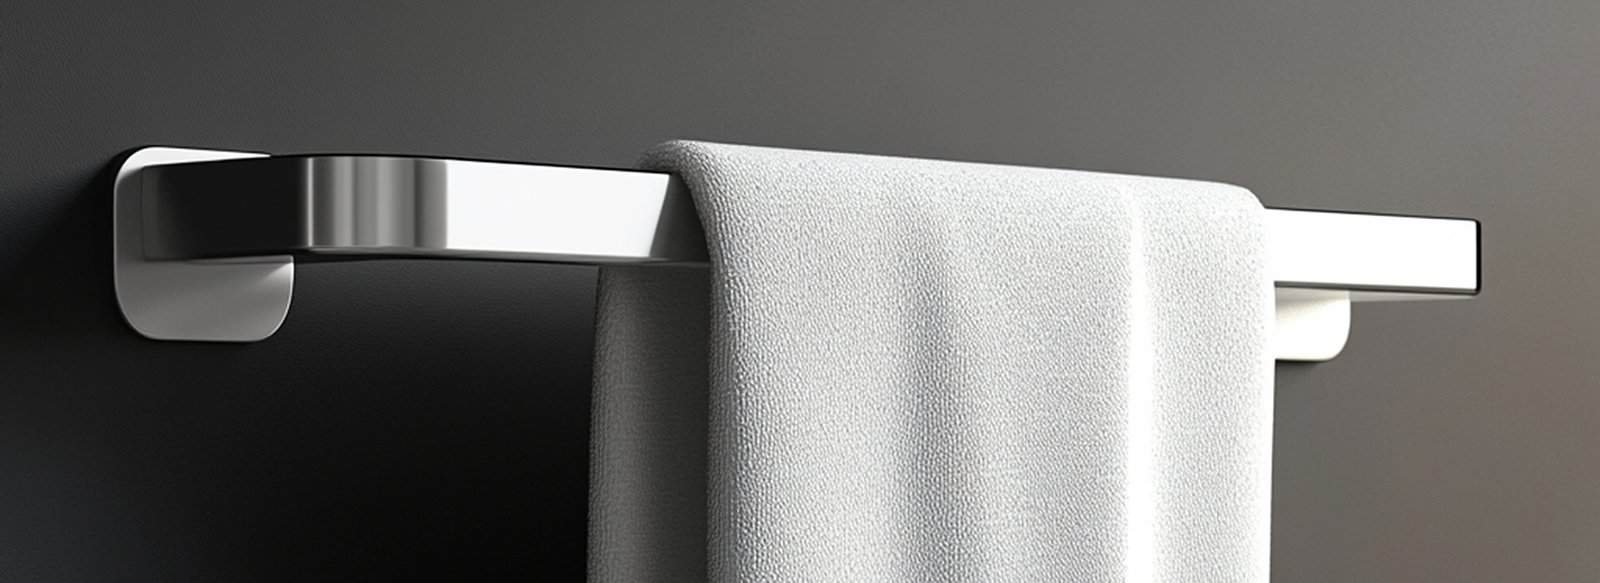
Before you grab any tools, you need to know how your towel bar attaches to the wall. This determines your entire approach. Most towel bars fall into one of three categories:
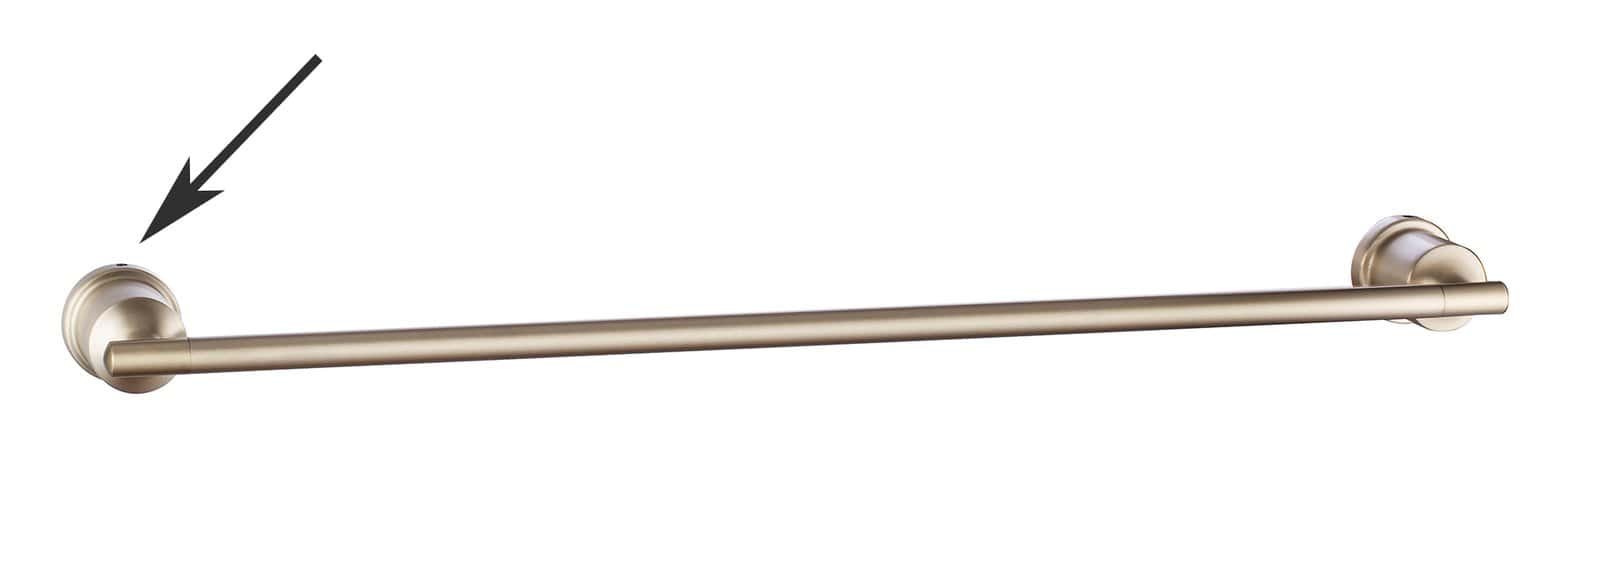
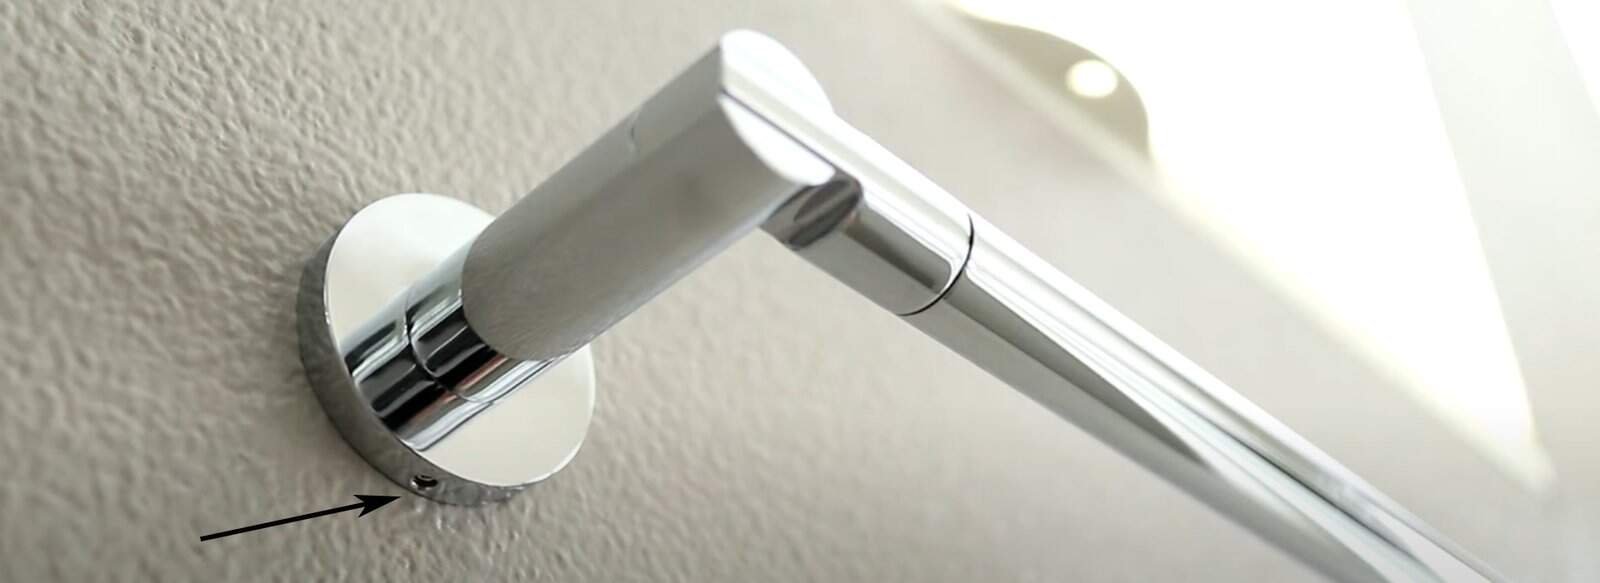
- Set Screw: These are the most common. You’ll find a small, recessed screw on the underside of the mounting bracket, usually near the wall. It might be a Philips, flat-head, or an Allen (hex) screw.
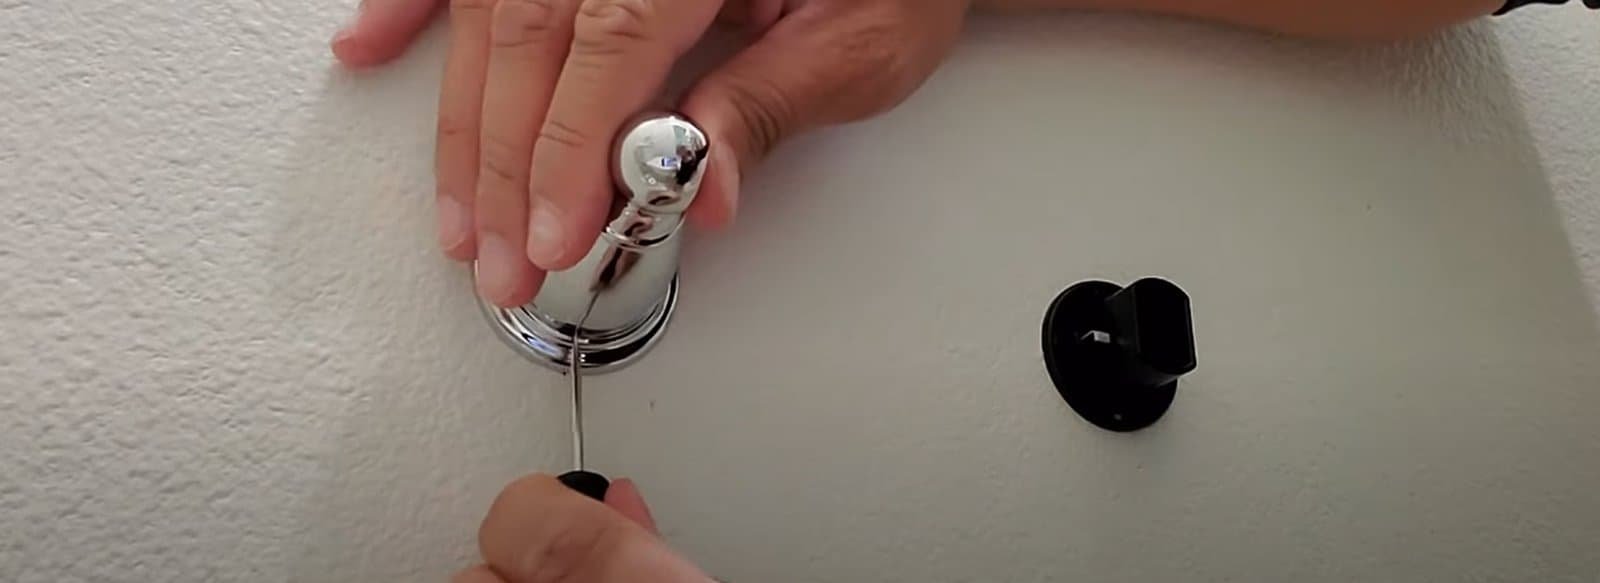
- Locking Tab: This type uses a spring-loaded or fixed metal tab that locks the bracket onto a wall-mounted plate. You won’t see any visible screws on the outside of the bracket.
(via.Adaline»)
- Adhesive: Some towel bars, especially older ones or those designed for temporary installation, simply glue onto the wall.
Essential Tools You’ll Need
Gathering your tools beforehand makes the job much smoother. Depending on your towel bar type, you might need:
| Tools | Function |
|---|---|
| Screwdrivers | Philips-head and flat-head, for various screw types |
| Allen Wrench Set | If you have set screws, you’ll need the right size hex key |
| Utility Knife or Putty Knife | Crucial for scoring around adhesive or prying |
| Hammer | For gently tapping or removing anchors |
| Pry Bar or Oscillating Multi-Tool | For stubborn adhesive or brackets |
| Level | To ensure you don’t accidentally remove a section of the wall instead of just the bar |
| Drill (Optional) | For stubborn anchors or if you plan to re-drill |
| Pliers | Handy for gripping or bending |
| Safety Glasses and Dust Mask | Always protect your eyes and lungs, especially when dealing with old dust or plaster |
Safety First!
While removing a towel bar seems straightforward, always prioritize safety:
- Eye Protection: Wear safety glasses to protect against flying dust or debris.
- Dust Mask: Especially when sanding patches or dealing with older materials, a dust mask protects your lungs.
- Check for Wiring: Although less common for towel bars, it’s always wise to be aware of potential electrical wiring or plumbing behind walls. If you see or suspect wires, proceed with extreme caution or consult a professional. Always turn off power at the breaker if you have any doubt.
- Ventilation: If using adhesive removers or strong cleaners, ensure good ventilation.
Step-by-Step Removal Process
Let’s break down the removal process for each type.
Removing a Towel Bar with Set Screws
This is often the easiest type to remove.
- Locate the Set Screw: Look on the underside of each mounting bracket, where it meets the wall. The screw is usually small and recessed.
(via.DigitalCamProducer»)
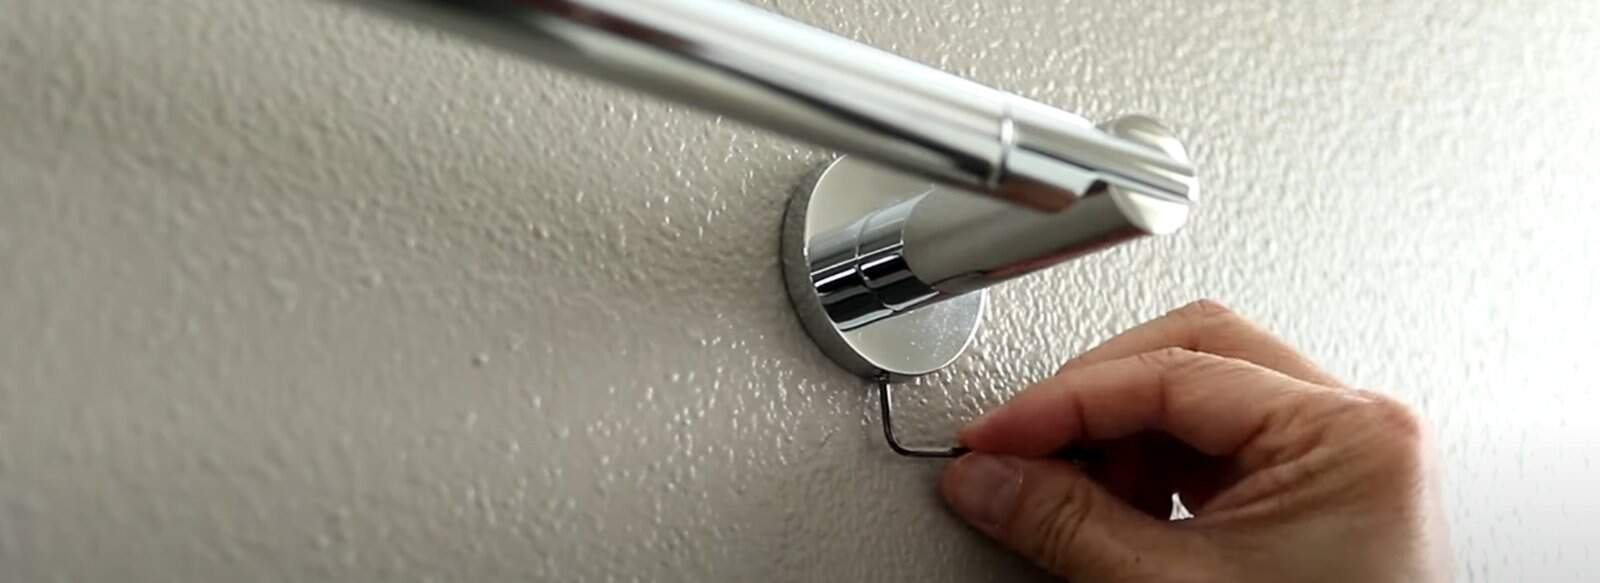
- Loosen the Screw: Use the correct screwdriver or Allen wrench to loosen the set screw. You don’t need to remove it completely, just loosen it enough for the bracket to slide off the wall-mounted plate. Turn counter-clockwise.
(via.DigitalCamProducer»)
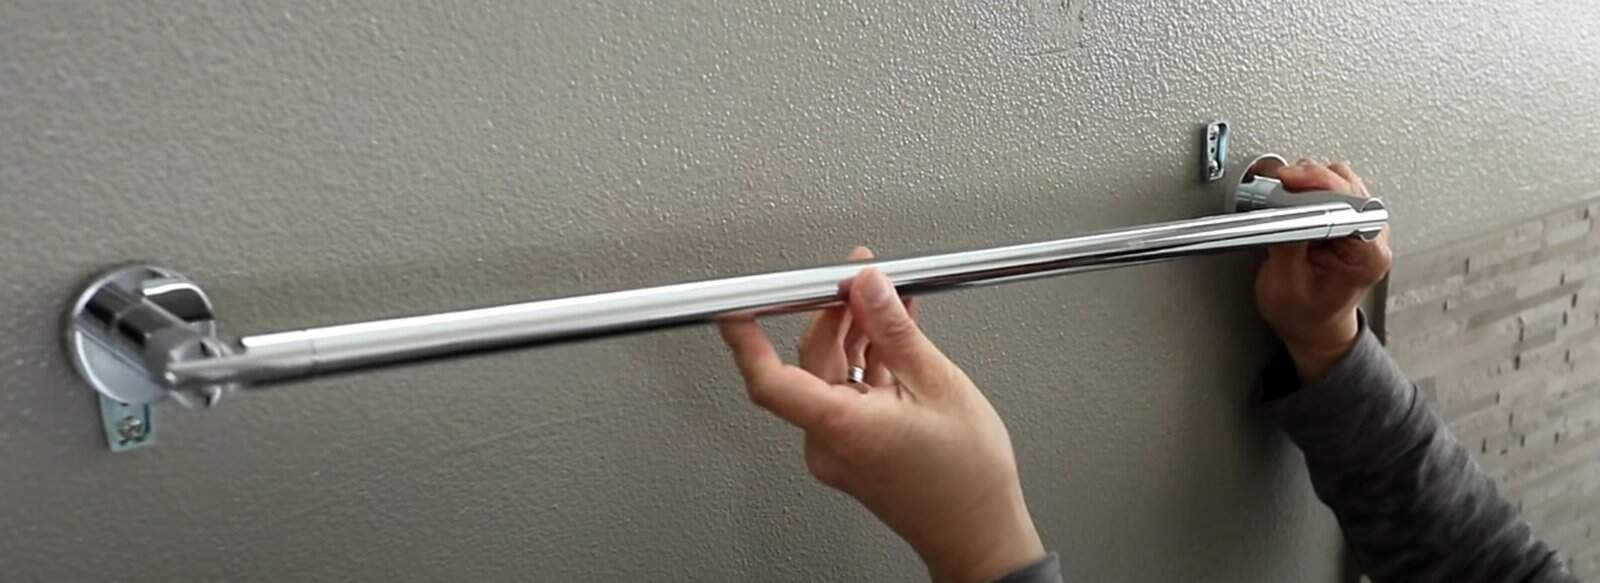
- Slide Off the Bracket: Once the screw is loose, the decorative bracket usually slides up or sometimes pulls straight off the wall plate.
(via.DigitalCamProducer»)
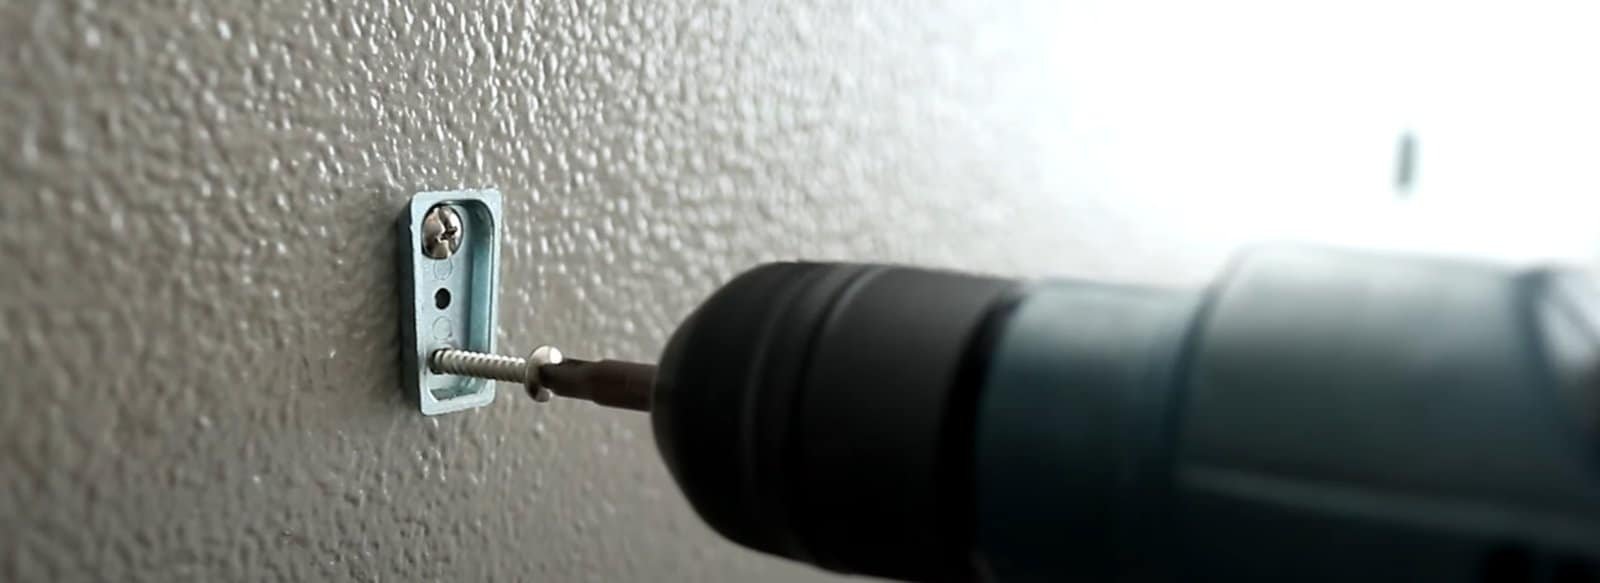
- Remove Wall Plates: After removing the decorative brackets, you’ll see the metal mounting plates attached to the wall with larger screws. Unscrew these.
(via.DigitalCamProducer»)
- Extract Anchors: If the plates used drywall anchors, you can often pull them out gently with pliers. For plastic anchors, you can often screw a screw into them slightly and then pull the screw and anchor out together.
Removing a Towel Bar with Locking Tabs
These can be a bit trickier as there are no visible screws.
- Locate the Tab: Look closely at the top or bottom edge of the decorative bracket, where it meets the wall. You might see a small slot or indentation. This indicates a locking tab.
- Release the Tab:
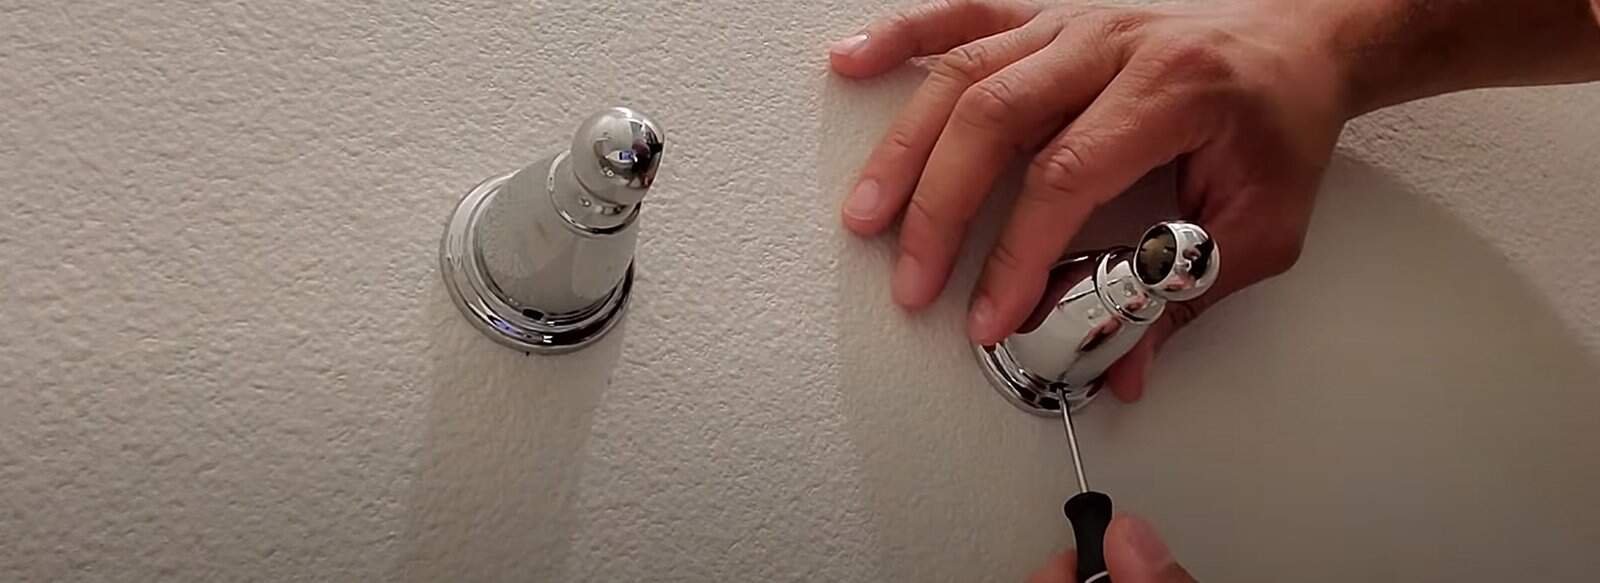
- Spring-loaded: Insert a small flat-head screwdriver or a thin, rigid tool into the slot. Push up or down on the tab while simultaneously pulling the bracket away from the wall. You might need to wiggle it gently.
- Fixed tab: Sometimes, you can gently pry the bracket away from the wall plate by inserting a putty knife or flat-head screwdriver between the bracket and the wall plate. Apply gentle, even pressure.
(via.Adaline»)
- Slide Off the Bracket: Once the tab disengages, the bracket should slide off the wall plate.
- Remove Wall Plates and Anchors: Similar to the set screw method, unscrew the mounting plates and remove any anchors.
Removing an Adhesive Towel Bar
This method requires patience to minimize wall damage.
- Score Around the Edges: Use a utility knife to carefully score along the edges of the adhesive base where it meets the wall. This prevents wallpaper or paint from tearing beyond the base.
- Apply Heat (Optional but Recommended): Heat can soften the adhesive. Use a hairdryer on a medium setting, directing the heat evenly over the adhesive pads for a few minutes. Don’t overheat.
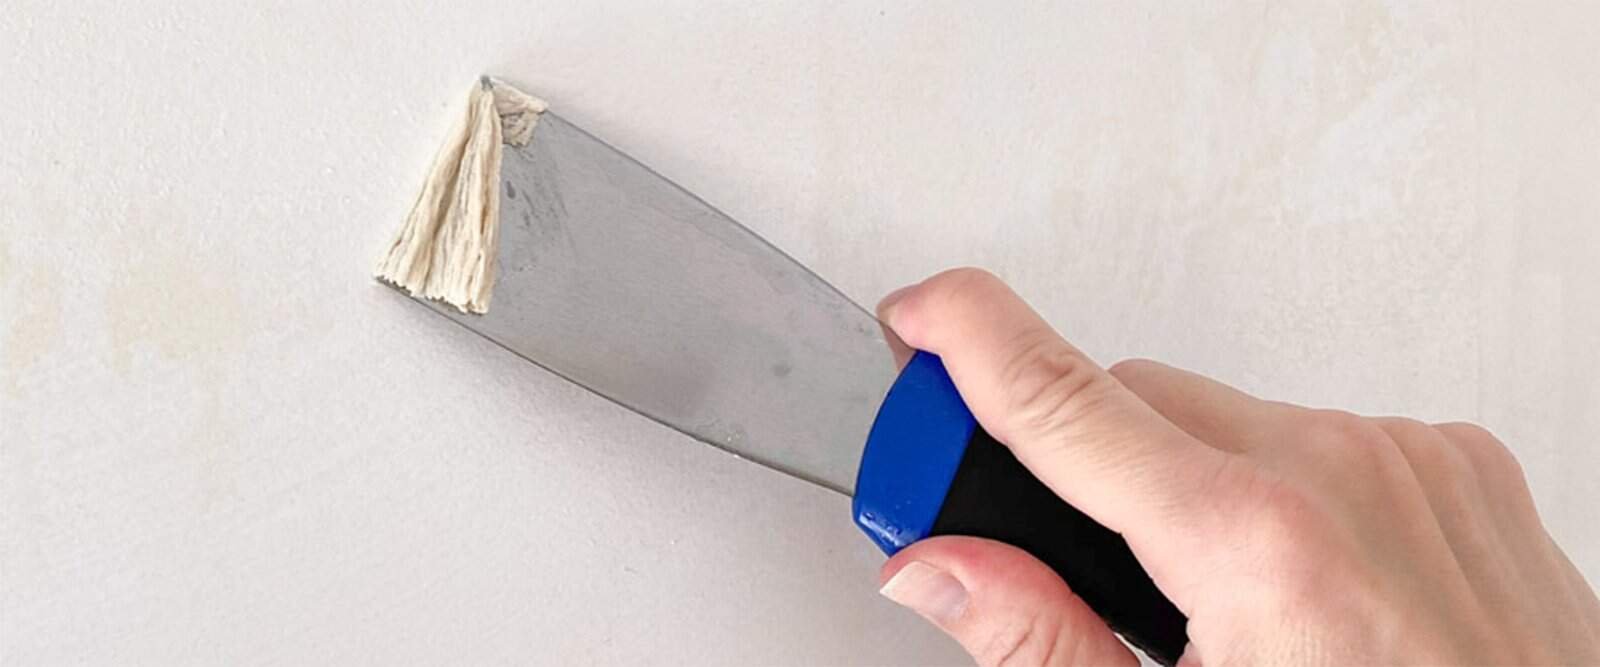
- Gently Pry: Insert a thin, sturdy putty knife or a paint scraper between the adhesive pad and the wall. Work slowly and gently, wiggling the knife to separate the two surfaces. You might need to use a hammer to gently tap the back of the putty knife to advance it.
(via.DrivenByDecor»)
- Gradual Removal: Don’t rush. Continue prying and apply more heat if needed, moving around the entire perimeter of the adhesive pad until it detaches.
- Clean Remaining Adhesive: Scrape off any adhesive residue from the wall using your putty knife. For stubborn bits, you can try rubbing alcohol or a commercial adhesive remover, but test a small, inconspicuous area first.
Post-Removal Wall Repair and Cleanup
After the towel bar is gone, you’ll likely have some holes or residue to deal with.
- Remove Debris: Clear away any dust, drywall fragments, or old adhesive.
- Patch Holes»:
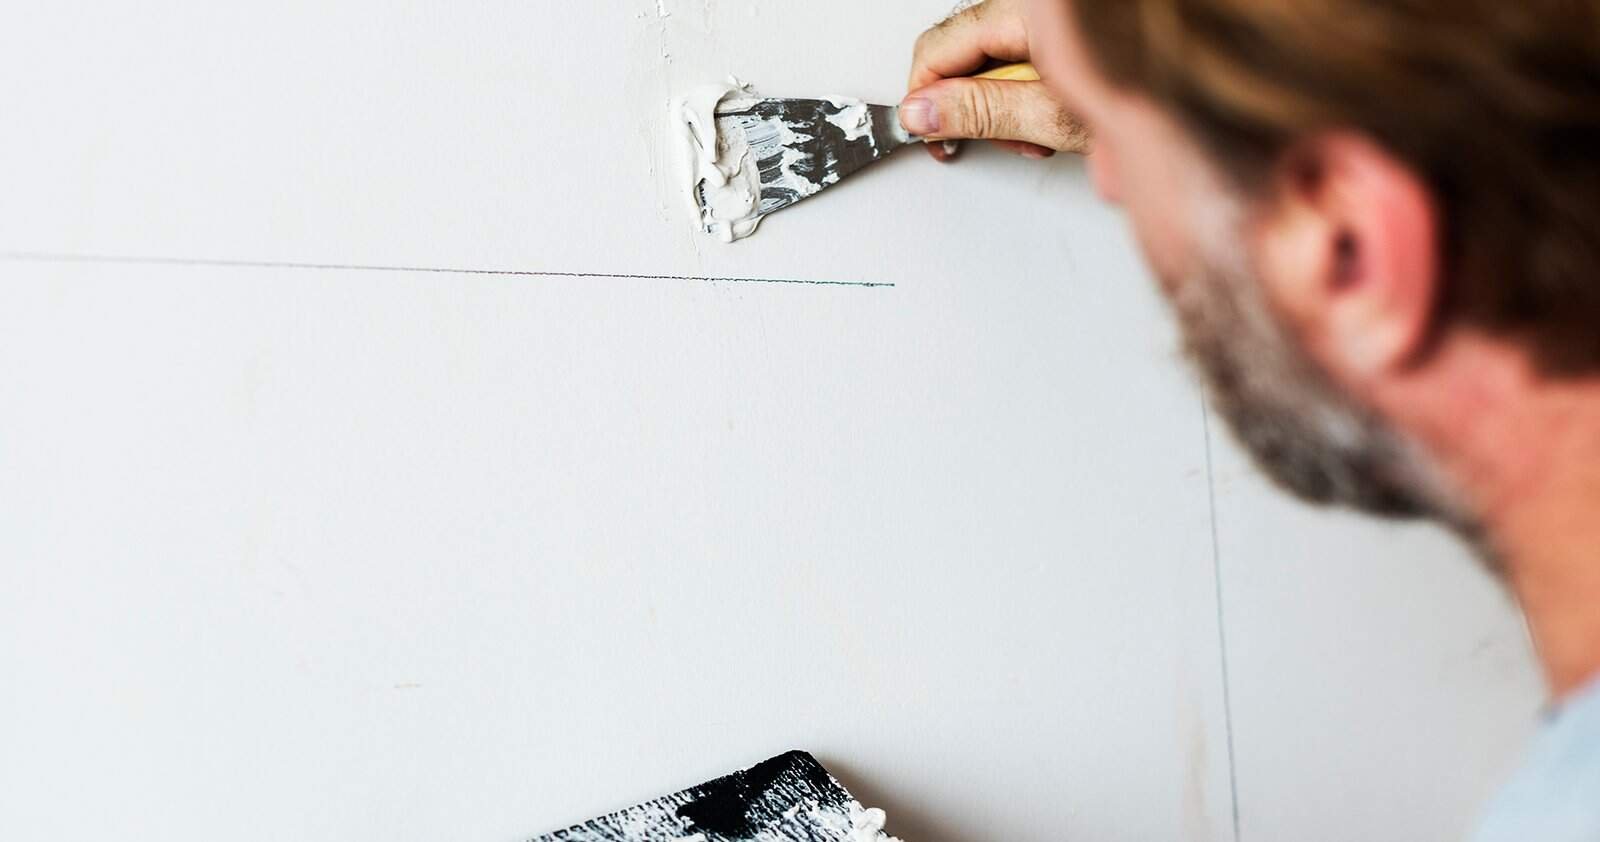
- Small screw holes: A dab of spackle applied with your finger or a putty knife usually suffices.
- Drywall anchor holes: Push any protruding bits of the anchor inward. Fill the hole with spackle or lightweight patching compound. You might need multiple thin layers, allowing each to dry.
- Larger holes or damage from adhesive: For bigger patches, you might need a drywall patch kit. Apply spackle, smooth it, and let it dry.
- Sand Smooth: Once the patch is completely dry, lightly sand the area smooth with fine-grit sandpaper.
- Clean and Paint: Wipe away sanding dust, then prime and paint to match your wall. For guidance on matching paint, check out this guide on how to match paint colors».
Tackling Tricky Situations: Troubleshooting Tips
Sometimes, things don’t go as planned. Here’s how to handle common snags:
Issue | Solution |
|---|---|
Stripped Screws | Use a rubber band over the screw head for extra grip. If needed, try a screw extractor kit. |
Rusted Screws | Apply penetrating oil, wait a few minutes, then unscrew. |
Stuck Locking Tabs | Gently tap the bracket with a rubber mallet while pressing the tab. |
Extreme Adhesive | Use an oscillating multi-tool with a scraping blade, controlling depth to avoid wall damage. |
Crumbling Drywall | Cut out a clean square around the damage and apply a drywall repair patch. |
Towel Bar on Tile | For screws, proceed normally. For glue, use heat and pry carefully to avoid cracking tile. |
Wall Materials Matter: Specific Considerations
The type of wall you’re working with impacts removal and repair.
- Drywall: Most common. Relatively easy to cut and patch. Be careful not to create larger holes than necessary.
- Plaster: Older homes often have plaster walls. Plaster is harder and more brittle than drywall. When removing anchors, be extra gentle to avoid cracking large sections. Patching plaster requires a different technique and materials than drywall; a plaster repair guide can be very helpful.
- Tile: If the towel bar is mounted directly into tile, drilling or prying can chip or crack the tile. Always use a drill bit designed for tile if you need to drill. If removing an adhesive bar, ensure you don’t scratch the tile surface with your tools.
- Concrete/Masonry: If your towel bar is attached to a concrete or brick wall, it likely uses masonry anchors. You’ll need a hammer drill for removal if the anchors are stubborn, and patching will involve masonry repair compound.
Beyond Removal: Planning Your Next Steps
Consider why you’re removing the towel bar and what comes next.
- Replacement: If you’re installing a new towel bar, you might be able to use existing holes or patch and re-drill. If you’re renovating and forgot the ideal height for your new towel bar, check out this guide on:
- Renovation: If part of a larger renovation, don’t worry as much about cosmetic damage, as walls will be repaired and painted anyway.
- Renter-Friendly Removal: If you’re a renter, the goal is zero damage. Opt for the least invasive methods. If adhesive, use minimal heat and extreme caution. If screwed, ensure you can patch the holes perfectly to avoid losing your security deposit. Document the “before” state with photos.
- Disposal: Don’t forget to properly dispose of the old towel bar and any construction debris. Check local recycling guidelines for metal and other materials.
Looking for New Towel holders? Check Out Lanerdi!
If you need to purchase new towel holders, Lanerdi» is a great choice. They offer a wide variety of styles and colors to suit any bathroom design. Whether you prefer modern, classic, or minimalist looks, Lanerdi has options to match your taste and needs. Explore their collection to find the perfect towel bar that combines quality and style!
Mastering the Details
You’ve successfully tackled this project, understanding the nuances of different towel bar types and mastering the removal techniques. Always remember the small but crucial details: that hidden set screw, the delicate prying for adhesive bars, and the importance of scoring around the edges to prevent wall damage. When it’s time to patch, apply thin layers of spackle and sand gently for a seamless finish. Keep these tips in mind, and you’re well-equipped for your next home improvement task.

