Hello there! Most people see choosing a soap dish as a small detail—but it’s actually a micro-decision with a macro impact.
Think about it: ever dealt with a soggy bar of soap stuck to your counter? The wrong soap dish makes your soap dissolve faster, wastes product, and creates a breeding ground for bacteria.
The right one, on the other hand, keeps your soap dry, your space clean, and your bathroom looking organized. Here’s your quick guide to choosing the perfect soap dish!
Table of Content
The Function and Drainage System of a Soap Dish
A soap dish’s true value lies in its function. Its design directly affects soap life and bathroom hygiene. The key difference between a great and average dish is how well it manages water flow and airflow.
The Goal: Keeping the Bar Dry and Extending Life
A good soap dish should ensure the soap can dry completely between uses, preventing it from dissolving too quickly and deteriorating. This simple action preserves the soap’s quality, texture, and shape, which translates into less waste for you.

Understanding Drainage Mechanisms
When you’re shopping, be cautious of vague “self-draining” claims, as they often don’t perform as well as dishes with clearly designed features.
- Passive Drainage: Common and effective for showers or tubs. Choose dishes with slats, holes, or ridges to lift the soap, let water drain, and keep air flowing.
- Active Drainage (Waterfall/Sloped): Best for countertops. These designs guide water and suds into the sink, preventing puddles.
- Two-Piece Systems: Efficient and tidy. The top tray drains while the base collects drips—just remember to empty and clean it regularly.
A Curated Catalog of Soap Dish Types
The market offers a wide variety of soap dishes, which can be classified according to their installation method and special design. Understanding the ideal use case for each type is key to making an informed choice.
Categorization by Placement and Installation Method
- Wall-Mounted Soap Dishes

Wall-mounted soap dishes save space and keep countertops tidy, perfect for small or minimalist bathrooms. Their installation affects stability and ease of use.
- Screw-In: Drilled and fixed with screws, this method is very secure, supports weight, and suits long-term use.
- Adhesive: Uses waterproof glue or strong tape for a no-drill option on smooth surfaces like tile or glass.
- Suction Cup: Easy to install and move, but suction can weaken over time, risking falls.
- Recessed Soap Dishes
Recessed soap dishes are installed directly into the shower wall, flush with the tiles, creating a seamless, integrated look.
- Pros: Extremely space-saving, clean appearance, and does not create an extra platform for water to collect.
- Cons: Complex installation, usually requiring planning during bathroom renovation or remodeling, and not suitable for later addition.
- Freestanding (Countertop) Soap Dishes
 Soap Dishes")
This is the most traditional and common type, which can be placed on a sink, bathtub edge, or any flat surface, offering great flexibility.
- Pros: No installation required, easy to move, and an extremely wide variety of styles and materials to choose from, allowing for easy replacement to match different decor styles.
- Cons: Takes up counter space, can be easily knocked over in a crowded bathroom, causing soap and water to spill.
Categorization by Innovative and Specialized Designs
Soap dish design has evolved from a simple container to smart solutions that protect soap and save space, addressing common pain points with improved functionality.
- Magnetic Soap Holders
This is a very modern and minimalist design. It consists of a magnetic base fixed to the wall and a metal cap embedded in the soap, suspending the soap in the air via magnetic force.
- Pros: Maximizes air circulation, dries soap from all sides, looks clean, and saves space.
- Cons: Metal parts may rust (though often treated), and very hard soaps can be tricky to press.
- Soap Bags and Foaming Nets
These products are usually made of sisal, cotton, or nylon mesh and can be hung on a faucet or hook.
- Pros: Act as storage, a foaming and exfoliating tool, and help use leftover soap, reducing waste.
- Cons: Need regular cleaning to stay hygienic and prevent bacteria.
- Travel Soap Dishes with Lids
Designed specifically for travel and portability, these soap dishes are typically lightweight, portable, and leak-proof.
- Key Design: A good travel soap dish has a removable drainage layer that keeps wet soap separate from collected water, preventing it from becoming mushy.
- Integrated Shower Caddies

Many shower caddies (such as those that hang over the showerhead or are installed in a corner) are designed with a dedicated soap dish area.
- Evaluation Criteria: Focus on the soap dish’s drainage. A well-designed integrated dish should drain like a standalone one, using slats or holes to prevent soap from softening.
The Wall-Mounted Solution: A Deep Dive
Among soap holders, wall-mounted designs are ideal for modern bathrooms, saving space and keeping counters organized and clutter-free.
The Unmatched Benefits of Going Vertical
Wall-mounted soap holders are ideal for small bathrooms, minimalist designs, or anyone looking to maximize their counter space. Placing the soap on the wall next to the sink or in the shower keeps it conveniently within reach without occupying valuable surface area. This not only prevents soap buildup on vanities and tub edges but also contributes to a sleeker, more streamlined look.

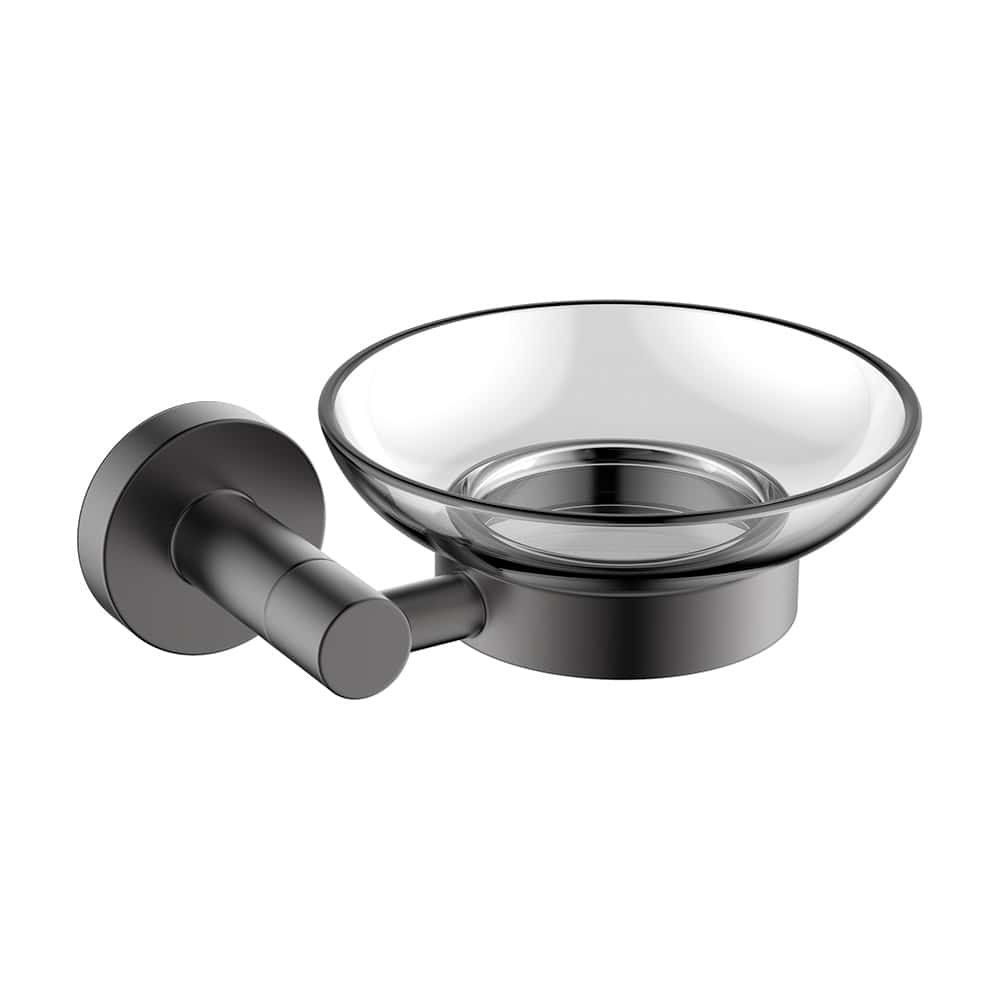
Matte black and gold small wall mounted soap dish


Zinc alloy base shower tray soap holder


Wall mounted stainless steel bathroom soap dish | A119 08
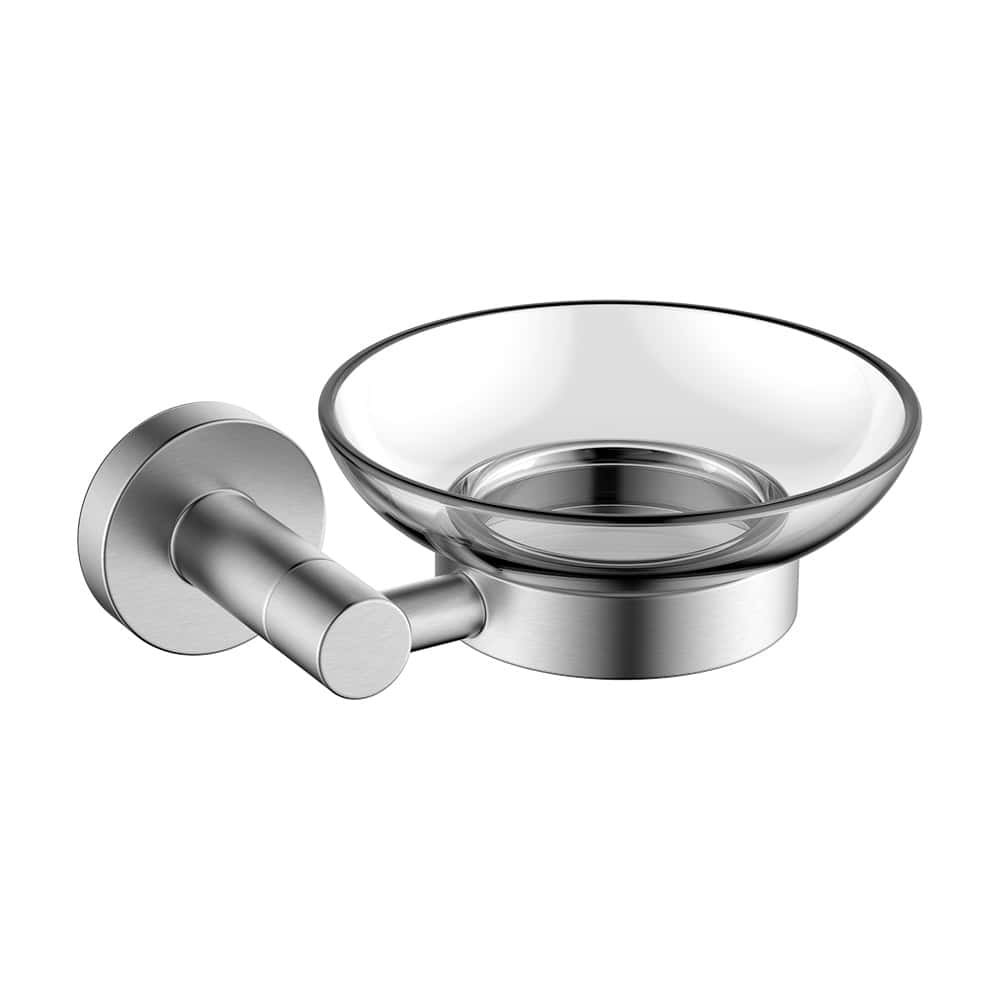
Wall mounted bathroom shower hanging soap holder | A015 08
A Guide to Wall-Mounted Installation Methods
The way a wall-mounted soap holder attaches to the wall determines its permanence, stability, and versatility. There are three primary methods, each with its own set of pros and cons.
- Method One: Screw-in Installation (Permanent)
- Tools Required: Electric drill (with a bit suitable for tile or wall), level, tape measure, pencil, wall anchors (if installing on drywall), and a screwdriver.
- Mark the Position: Place the soap dish’s mounting plate at the intended location, use a level to ensure it is horizontal, and then mark the drilling points through the screw holes with a pencil.
- Drill Holes»: Apply masking tape on tiles to prevent slipping. Drill slowly at first, then increase speed. Match hole depth to anchor length.
- Install Anchors: Tap the wall anchors into the drilled holes until they are flush with the wall.
- Secure the Backplate: Align the mounting plate with the anchors and tighten the screws with a screwdriver or drill to firmly secure it to the wall.
- Install the Soap Dish: Snap or screw the soap dish body onto the secured backplate to complete the installation.

- Method Two: Adhesive Installation (Drill-Free)
- Choose the Adhesive: Use 100% waterproof silicone or strong construction adhesive like Loctite Power Grab or Liquid Nails. Some kits combine hot melt glue for instant hold and silicone for long-term strength.
- Apply the Adhesive: Run a silicone bead around the back edge and add a few dots of hot melt glue in the center—don’t mix the two adhesives.
- Fix to the Wall: Press the soap dish firmly onto the cleaned, marked spot and hold for a few minutes.
- Support and Cure: Tape or support it while curing for 24–48 hours. Avoid placing anything on it during this time.
- Seal the Edges: After curing, remove the tape and apply waterproof silicone around the edges to prevent water seepage.
- Method Three: Suction Cup Installation (Movable)
- Surface Requirements: Suction cups work only on smooth, non-porous surfaces like glass, glossy tile, or acrylic. They won’t stick to textured or matte walls.
- Cleaning: Clean both the wall and suction cup with isopropyl alcohol to remove residue.
- Installation: Slightly moisten the suction cup, press it firmly to remove air, and lock it if applicable.
- Set Time: Wait 24 hours before placing soap to let the vacuum form.
- Troubleshooting: If it falls off, apply a little petroleum jelly to the rim or soak the cup in hot water to soften it before reinstalling.
The Material Matrix – Aesthetics, Durability, and Hygiene
Your soap dish material affects everything from its looks to how much scrubbing it requires. There’s no single “best” material, but there is one that’s perfect for your lifestyle:
- Ceramic: A classic and timeless choice with great aesthetic versatility. It is easy to wipe down, but its main drawback is that it’s fragile and prone to chipping if dropped.
- Stainless Steel: A top choice for durability and a modern, sleek look. It is naturally rust-resistant» (if high quality) and easy to maintain, standing up well to the wet shower environment.
- Wood (Bamboo/Teak): Brings a natural, warm feel to the bathroom. It is eco-friendly, but requires regular upkeep to prevent issues like warping or mold. You should opt for water-resistant or treated wood.
- Silicone: Very durable, flexible, and virtually unbreakable. It’s non-slip, easy to clean, and a great, versatile choice for families with children.
- Plastic: The most lightweight and budget-friendly option. The downside is that it may lack high-end elegance and can become brittle or discolored over time.
- Glass: Offers an elegant and classy finish. However, like ceramic, it is very fragile and can become slippery when wet.
- Stone: Gives a luxurious, substantial feel. Be aware that stone is porous, which means it can retain moisture and may require more cleaning to prevent staining and maintain its appearance.

Matching Your Soap Dish with Bathroom Style
The soap dish is a crucial accessory that ties your whole bathroom together. You can use it strategically to either blend in or stand out:
Strategy 1: Harmony and Unification
The goal here is a seamless, cohesive look.
- Match Finishes: Keep metal finishes consistent. If your fixtures are gold or brushed brass, choose a matching soap dish. Popular options include gold, matte black, and rose gold.
- Fit the Theme: Pick materials that suit your bathroom’s style—wood or bamboo for natural looks, stainless steel or glass for modern designs.

Strategy 2: Focal Point Creation
You can also let the soap dish be a visual highlight.
- Color and Design: In a neutral bathroom, a unique shape or color can add a touch of style and sophistication. For instance, a dish with gold trim or a unique design can become an interesting visual focus.
- Minimalist Style: If your décor is minimalist, opt for a simple, tidy clay soap dish or matte black porcelain. Avoid overly ornate designs to suit the clean lines.
User Manual: Cleaning & Long-Term Maintenance
Ongoing maintenance is key to ensuring your soap dish functions optimally and lasts a long time. This section will provide detailed, actionable guidance for daily cleaning and care.
General Cleaning Methods
- Daily Maintenance: Wipe the soap dish weekly with a damp cloth or disinfecting wipe. You can also place a sponge inside to absorb moisture—rinse it every 1–2 days.
- Removing Soap Scum: Soften buildup with hot water or a warm wet cloth, then scrub it off with a toothbrush, nylon brush, or plastic scraper.
Specific Material Care
- Wood: Clean weekly with mild soapy water, rinse, and air dry. Treat mold with vinegar and wipe with mineral or olive oil every few months to protect the finish.
- Silicone: Soak in hot water with dish soap to remove grease. For stains, use a baking soda paste. Most are dishwasher safe for deep cleaning.
- Metal: Wipe dry regularly to avoid water spots. Use stainless steel cleaner for shine and remove any rust immediately.
- Ceramic, Glass, Stone: Clean with mild bathroom cleaner and avoid abrasive pads to prevent scratches.
| Material | Cleaning Frequency | Recommended Cleaner | Key Maintenance Tips |
|---|---|---|---|
| Ceramic/Glass | Weekly | Mild bathroom cleaner, dish soap | Avoid abrasive tools, handle with care to prevent breakage. |
| Stainless Steel/Brass | Weekly | Dish soap, stainless steel cleaner | Dry regularly to prevent water spots, avoid chlorine-based cleaners. |
| Wood | Every 1-2 weeks | Mild soapy water, white vinegar (for mold) | Must be thoroughly air-dried, periodically treat with mineral oil. |
| Silicone | Every 1-2 weeks | Degreasing dish soap, baking soda | Dishwasher safe, avoid sharp objects. |
| Plastic/Resin | Weekly | Dish soap | Avoid strong chemicals to prevent discoloration or brittleness. |
| Stone | Weekly | pH-neutral stone cleaner | Avoid acidic cleaners (like vinegar), wipe dry promptly to prevent staining. |
Conclusion: The Final Finishing Touch
Choosing the right soap dish truly is an art. It’s about more than just picking a basic container; it’s about finding the perfect blend of form and function that enhances your daily routine.
By focusing on effective drainage, selecting a durable material like stainless steel or silicone, and ensuring the style matches your décor (perhaps a Gold or Matt Black finish set), you can select a dish that keeps your soap in prime condition, reduces waste, and adds to the overall charm and efficiency of your bathroom. Take your time, explore the options, and find the unsung hero that’s right for your home!