Ever step into your shower, ready for peace, only to hear a high-pitched squeal or whistle? We’ve all been there! That noise isn’t just annoying—it’s your plumbing sending a warning. It’s an acoustic signal of a specific issue in the system.
Ignoring this “symphony of squeals” isn’t wise. It’s a critical diagnostic indicator of problems that can lead to leaks, water damage, or major plumbing failures. The good news? You’re in the right place. This guide will show you why your shower makes that noise, how to diagnose the culprit, fix it effectively, and prevent it from coming back. Let’s bring peace back to your bathroom!
The Symphony of Squeals – Understanding Why Your Shower is Noisy
The Universal Culprit: Vibration
All sound is vibration, and that high-pitched noise from your shower is no different. Your plumbing system—from hidden pipes to tiny showerhead nozzles—can act like a musical instrument. The noise happens when a part vibrates rapidly or when turbulent water creates high-frequency sound waves. To make this clearer, let’s look at a few common analogies:
- The Woodwind Reed: A worn washer or damaged shower valve gate can flutter in the water stream, like a clarinet reed, creating a steady high-pitched squeal.
- Whistling: Just like pursing your lips to whistle, water forced through a clogged or narrow showerhead nozzle speeds up, turns turbulent, and produces that sharp sound.
- The Teakettle: High water pressure can mimic a kettle’s whistle. Forcing water through a tight opening at high velocity makes the pipes vibrate and generate noise.

Key Physical Principles at Play
A healthy plumbing system is designed for a smooth, quiet water flow, known as laminar flow. When you hear a squeal, it’s a definitive sign that this smooth flow has been disrupted.
- Fluid Dynamics and Turbulence: Calm, laminar flow is silent, but obstructions like mineral buildup or worn valve edges turn it turbulent. The chaotic eddies create pressure changes—and sound.
- The Venturi Effect: When water speeds through a narrow pipe section, its pressure drops. That shift makes pipe walls or parts like a clogged cartridge vibrate and produce noise.
- Resonance: Vibrations from turbulent water can match a pipe’s natural frequency. The pipe then vibrates in sync, amplifying even small noises into piercing echoes.
More Than an Annoyance: The True Cost of Silence
It’s tempting to ignore a noisy shower or try a quick fix like adjusting a handle. But here’s an expert tip: that noise is a critical diagnostic indicator—a symptom of a deeper issue, not the issue itself. Ignoring it means overlooking a component that’s likely failing.
Let’s talk about the real cost:
- Financial Impact: A worn valve, clogged pipe, or high pressure won’t improve on their own—they’ll worsen, leading to leaks, water damage, or costly failures. Higher water bills and expensive repairs from hidden leaks make proactive repair far cheaper than emergencies.
- Environmental Impact: Every drip and running toilet wastes water. Fixing the noise saves money and helps conserve precious resources.
Decoding Your Shower’s “Song” – A Systematic Diagnostic Guide
To pinpoint the source of the squeal, take a systematic approach. Use a “diagnostic funnel”: start with the simplest, most common causes before moving to complex ones. This saves unnecessary work and expense.
| Symptom/Observation | Most Likely Culprit(s) | Key Diagnostic Test |
|---|---|---|
| Noise occurs only when shower is on; stops when water runs from tub spout. | Diverter Valve | Toggle the diverter handle and listen for a change in sound. |
| Noise changes pitch or intensity when adjusting water temperature. | Shower Valve / Cartridge | Slowly adjust the handle from full cold to full hot. |
| Noise gets louder as water flow is increased. | Clogged Showerhead/Pipe; High Water Pressure | Remove the showerhead and run water; test system pressure with a gauge. |
| Noise is present at other faucets or appliances in the house. | High System-Wide Water Pressure | Test pressure with a gauge at an outdoor spigot or utility sink. |
| Water drips from the tub spout while the shower is running. | Diverter Valve | Visual confirmation combined with the toggle test. |
| Shower handle is difficult to turn, feels stuck, or water drips when off. | Shower Valve / Cartridge | Physical feel of the handle; observation of drips. |
Level 1 Diagnostics: External Components (Easiest First!)
Let’s start with the most accessible parts of your shower.
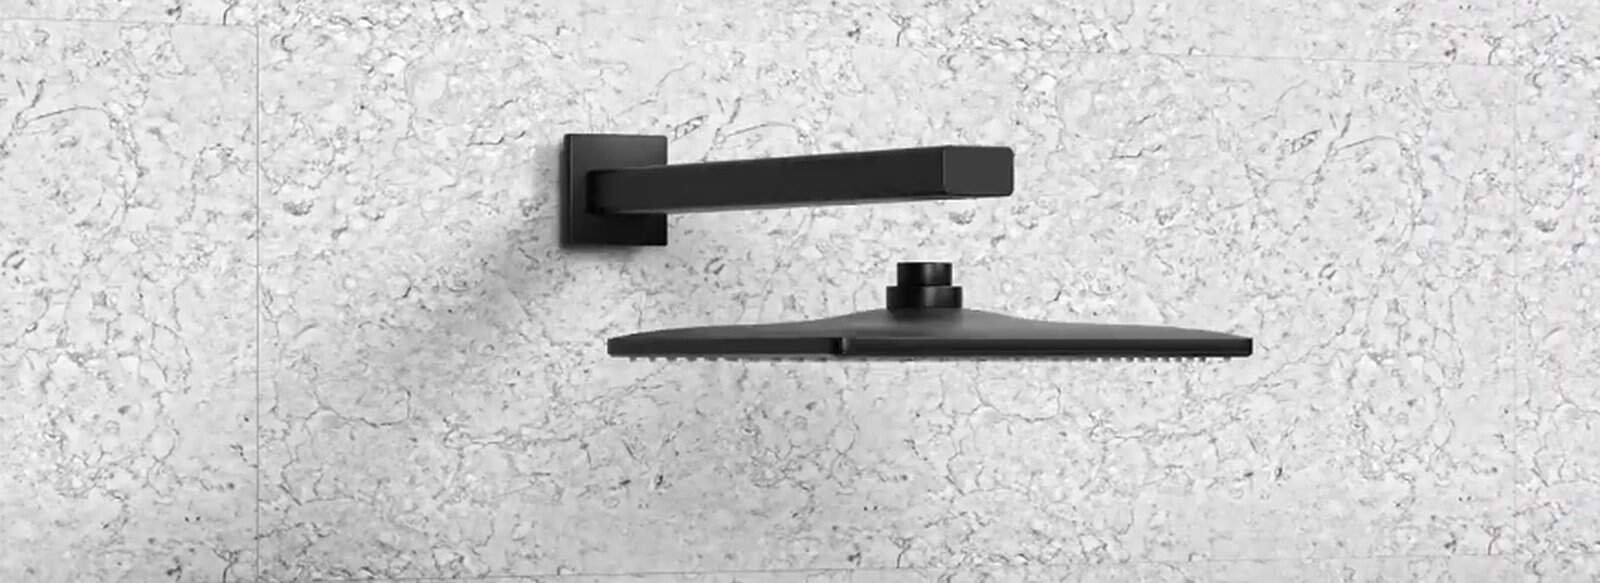
- The Showerhead Test: Unscrew the showerhead and run water directly from the arm. If the noise stops, the showerhead is the source—likely clogged or worn. This quick step can save major headaches.
- The Shower Arm Inspection: If the noise continues, check inside the arm for limescale, rust, or debris blocking the flow.
Level 2 Diagnostics: The Diverter Valve (For Tub/Shower Combos)
If you have a bathtub with a shower, the diverter valve is often a frequent culprit.
- The Toggle Test: Turn on the tub spout and engage the diverter. If the noise starts, stops, or changes pitch exactly when you operate the diverter, the diverter valve is likely the cause.
- Visual Cues: If water still drips from the tub spout when the shower is fully on, the diverter seal isn’t working, which can cause vibrations.
Level 3 Diagnostics: System-Wide Water Pressure
If the noise isn’t isolated to just your showerhead or diverter, or if other faucets or appliances in your home are also noisy, the problem might be bigger – it could be your home’s overall water pressure.
- Symptom Recognition: Watch for signs of high water pressure: banging pipes (water hammer), running toilets, dripping faucets, or unusually loud appliances.
- The Definitive Test: Use a water pressure gauge on an outdoor bib or utility faucet. Normal residential pressure is 40–60 PSI. Readings consistently above 75–80 PSI indicate a problem that needs attention.
Level 4 Diagnostics: Internal Valves and Cartridges
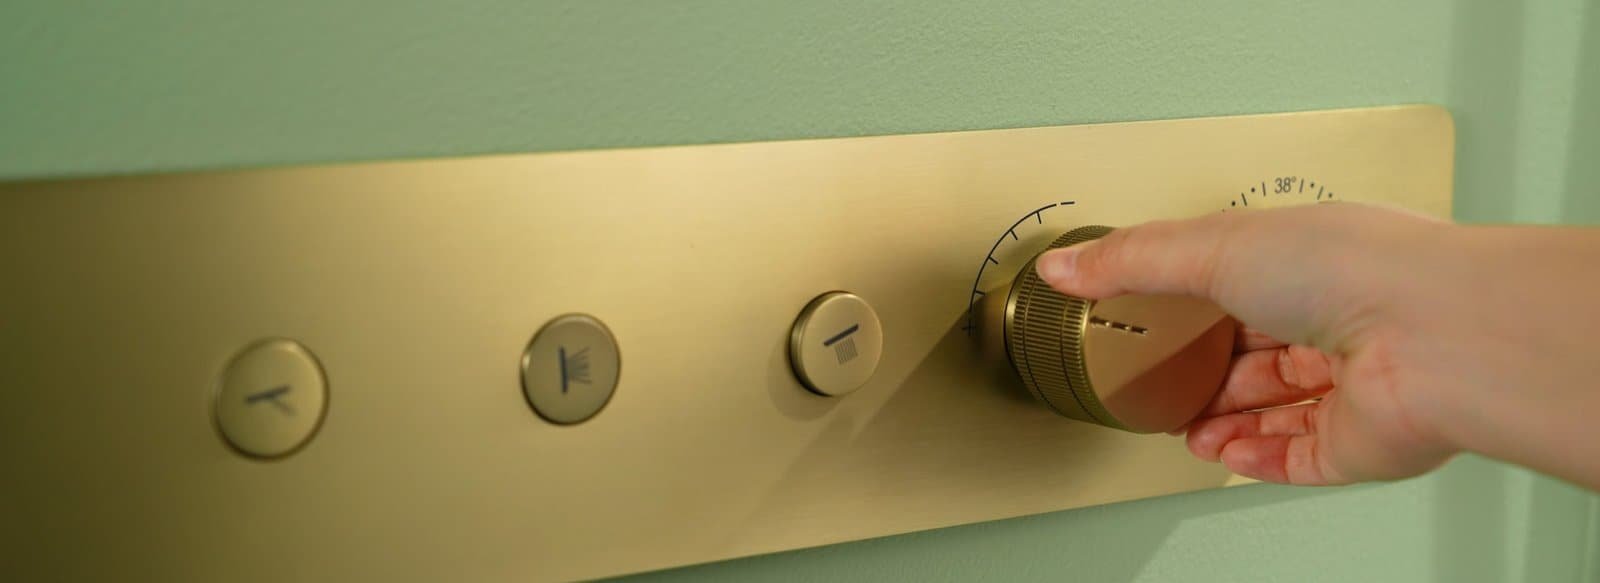
If you’ve gone through all the previous tests and still can’t find the source, the problem is likely deep inside your main shower valve assembly, behind the handle.
- Isolating by Temperature and Flow: Turn the shower from full cold to full hot and vary the water flow. If the noise appears at a specific temperature or flow, it likely points to wear inside the valve or cartridge.
- Secondary Symptoms: Check for a difficult, loose, or slipping handle, inconsistent temperature, or persistent drips from the showerhead or tub spout.
Remember, these causes are often interconnected. High water pressure can speed up washer and O-ring wear, and mineral buildup can seize a cartridge. A thorough diagnosis finds the noise source and contributing factors for a lasting fix.
Compendium of Common Culprits and Solutions
Once you’ve narrowed down the noise source, you can implement a targeted solution. This section covers the mechanisms, key diagnostic signs, and fixes for the most common causes of high-pitched shower noise.
Mineral Buildup: The Silent Constrictor
- Mechanism: In hard water areas, minerals like calcium and magnesium form limescale, which builds up in shower nozzles, arms, and valve passages. This narrows the flow, forcing water to speed up and become turbulent, generating a high-pitched whistle.
- Diagnostics: Look for white, chalky, or yellowish buildup on the showerhead nozzles. Also check for reduced water pressure or uneven spray, as some nozzles may be partially or fully blocked.
- DIY Solution: Cleaning the Showerhead and Arm
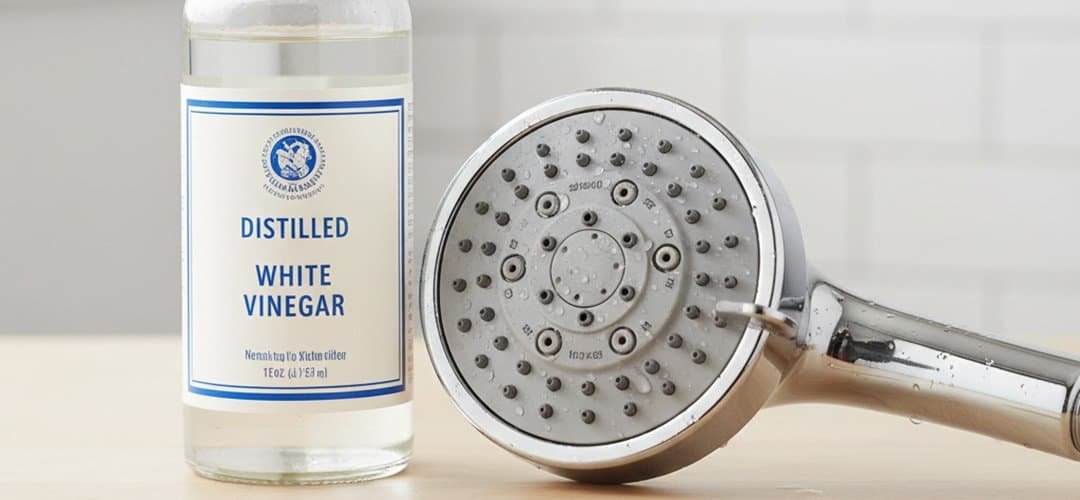
- Vinegar Bag Method (No Removal): For light buildup, fill a plastic bag with white vinegar, submerge the showerhead nozzles, and secure with a rubber band or zip tie. Soak several hours or overnight. For brass, gold, or nickel finishes, limit to 30 minutes. Flush with hot water afterward.
- Deep Soak Method (Removal): For heavy buildup, remove the showerhead and soak it in vinegar overnight. Scrub with a toothbrush and use a toothpick or paperclip to clear stubborn blockages.
- Shower Arm Cleaning: With the showerhead removed, use a flexible pipe cleaner or small drain snake to remove scale inside the arm.
- When to Call a Pro: If cleaning the showerhead and arm doesn’t fix the issue and the clog is deeper in the pipes, call a plumber. They have the tools to clear lines safely without causing damage.
The Diverter Valve
- Mechanism: In a tub/shower combo, the diverter valve blocks water to the tub spout and sends it to the showerhead. Over time, the rubber washer or gate can harden, crack, or wear, preventing a tight seal. A small jet then escapes, making the washer vibrate and squeal like a reed in a musical instrument.
- DIY Solution»:
- Step 1: Identify Spout Type. Check the underside where the spout meets the wall. A small set screw means slip-on; no screw means threaded, which unscrews directly.
- Step 2: Remove the Old Spout. For slip-on, loosen the set screw with an Allen key and pull the spout off the pipe. For threaded, use a wrench with a cloth to protect the finish and turn counter-clockwise until it comes off.
- Step 3: Repair vs. Replace. Most modern spouts have non-serviceable diverters. The reliable solution is replacing the entire spout, as disassembly often causes damage.
- Step 4: Install the New Spout. Clean the pipe. For threaded, wrap threads with plumber’s tape clockwise, screw on hand-tight, then give a quarter-turn with a wrench. For slip-on, slide on the spout and tighten the set screw.
- When to Call a Pro: Most modern diverters are built into the tub spout and cannot be repaired, so the whole spout must be replaced. If that doesn’t work, the problem may be in a three-valve diverter inside the wall that needs professional service.
The Main Shower Valve & Cartridge
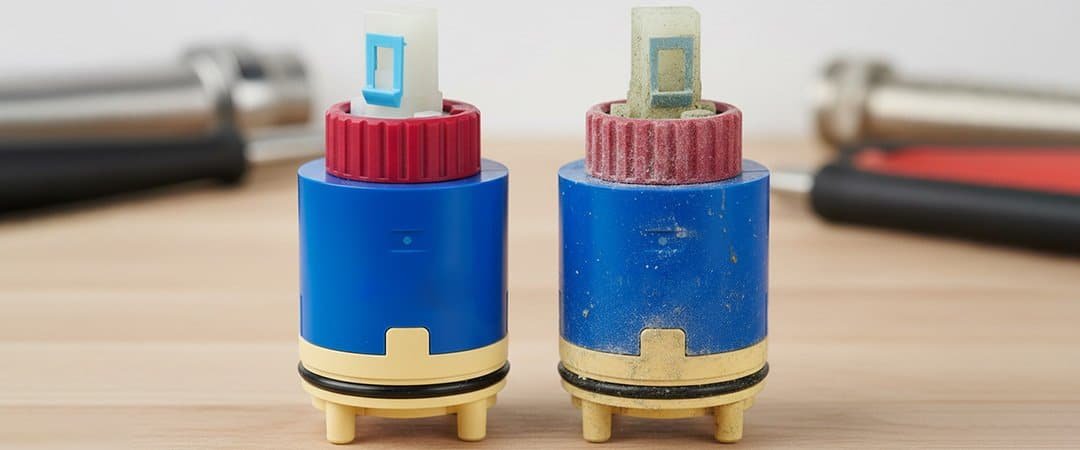
- Mechanism: The shower cartridge is the internal part of a single-handle faucet that controls water volume and temperature. Its rubber O-rings, seals, and plastic parts wear down over time from friction and minerals, allowing high-velocity leaks that cause whistling. A worn or loose part may also vibrate in the water stream, creating a squeal.
- DIY Solution:
- Step 1: Identify and Purchase the Correct Cartridge. Identify the faucet brand. Remove the handle, take clear photos, and bring them—or the old cartridge—to a hardware or plumbing supply store for an exact match.
- Step 2: Shut Off the Water Supply. Locate the main shut-off valve and turn it clockwise until fully closed. Open a lower faucet to drain the pipes.
- Step 3: Disassembly. Cover the shower drain with a towel. Remove the handle (held by a small set screw) and the escutcheon plate. If present, carefully pry out the retaining clip with a flathead screwdriver.
- Step 4: Remove the Old Cartridge. Some cartridges pull straight out with pliers. If stuck from mineral deposits, use a cartridge puller specific to the brand to remove it without damaging the valve body.
- Step 5: Installation. Clean the valve body with a cloth or soft brush. Lightly lubricate the new cartridge O-rings with silicone grease, align with notches, and slide it in until fully seated.
- Step 6: Reassembly and Testing. Re-insert the retaining clip, reinstall the plate and handle, and slowly turn the water back on. Test operation and check for leaks. If none, the repair is complete.
- When to Call a Pro: If you’re unsure about shutting off the water, the old cartridge is stuck, or the brass valve body is cracked or corroded, stop and call a licensed plumber.
Pressure Problems: When the Force is Too Strong
- Mechanism: Residential plumbing runs best at 40–60 PSI. When municipal pressure exceeds 80 PSI, it strains pipes, joints, fixtures, and valves, causing vibrations that turn small flaws into noise. This often leads to squealing in shower valves, pipes, and showerheads.
- DIY Solution:
- Step 1: Test the Pressure. Attach a pressure gauge to an outdoor spigot to get a baseline static pressure reading.
- Step 2: Locate the PRV. Find the PRV on the main water line just after the shut-off valve and meter. It’s a bell-shaped brass valve with an adjustment screw and lock nut on top.
- Step 3: Adjust the PRV. Loosen the lock nut with a wrench. Turn the screw counter-clockwise to lower pressure or clockwise to raise it, adjusting in quarter-turns.
- Step 4: Adjust and Test. After lowering pressure, release built-up water by briefly opening a faucet, then close it and recheck the gauge. Repeat until pressure is 40–60 PSI. Tighten the lock nut to secure the setting.
- When to Call a Pro: A licensed plumber must install a new PRV since it requires cutting into the main supply line. If an existing PRV fails and cannot be adjusted, a professional must replace it.
Installation and Infrastructure Issues
- Loose or Improperly Secured Pipes: Pipes not clamped properly can vibrate against studs, causing rattling or high-pitched sounds. Fixing this requires opening the wall and professional repair.
- Improper Pipe Sizing: Undersized pipes increase water velocity, creating turbulence and noise. Only a professional plumber can correct this installation flaw.
- Trapped Air: Air in the lines can cause hissing or whistling. Purge by running all faucets from lowest to highest until the flow is smooth.
This table shows the difficulty and requirements of each repair, helping you decide if it’s DIY or needs a professional.
| Repair Task | DIY Difficulty (1-5) | Required Tools | When to Call a Professional |
|---|---|---|---|
| Clean Showerhead | 1 – Beginner | Vinegar, plastic bag, toothbrush | / |
| Replace Tub Spout Diverter | 2 – Easy | Wrench, pliers, plumber’s tape | If the old spout is seized or breaks during removal. |
| Replace Shower Cartridge | 3 – Intermediate | Screwdrivers, adjustable wrench, cartridge puller tool | If the cartridge is stuck, the valve body is damaged, or if uncomfortable shutting off the main water supply. |
| Adjust PRV | 4 – Advanced | Pressure gauge, adjustable wrench | If adjustment fails to correct the pressure or if the valve itself is leaking. |
| Install New PRV | 5 – Pro Only | Pipe cutters, soldering torch, wrenches | Always. This involves cutting the main water line. |
Preventative Maintenance and Long-Term Solutions
Fixing a squealing shower addresses only the immediate cause. Preventative strategies tackle the root issues, ensuring a quieter, more reliable plumbing system for years.
Taming Hard Water
Mineral buildup causes many plumbing noises and failures. The best long-term solution is to improve water quality.
- Water Softening Systems: A whole-house softener removes calcium and magnesium, preventing limescale and protecting shower fixtures, pipes, valves, and appliances from hard water damage.
- Regular Cleaning Schedule: Without a softener, clean showerheads and faucet aerators with vinegar every 3–6 months to prevent minor deposits from becoming major, noise-causing blockages.
The Importance of Quality Fixtures
The materials and design of plumbing fixtures play a significant role in their acoustic performance and longevity.
- Material Quality: Low-quality fixtures made from thin plastic or cheap metals wear faster and vibrate more. Investing in well-made, reputable-brand fixtures» reduces noise over time.
- Advanced Design: Modern showerheads often include features to prevent problems. Choose models with flexible silicone nozzles or integrated pressure-balancing mechanisms for smooth, quiet flow.
Best Practices for Longevity
Small changes in usage habits and routine checks can significantly extend the life of plumbing components.
- Diverter Valve Care: After each use, push the diverter knob down for a few seconds before turning off the water. This releases back-pressure, reducing strain and extending the diverter’s life.
- Annual Pressure Check: High water pressure damages plumbing. Check your pressure with a gauge yearly to spot a failing PRV before it causes noisy showers, appliance issues, or leaks.
A Quieter Home Awaits!
Congratulations, plumbing detective! You’ve learned that a squealing shower is a clear symptom of an imbalance within your home’s plumbing system – be it mineral buildup, worn components, or excessive pressure.
By adopting a systematic diagnostic approach and a proactive mindset, you’re now equipped to move beyond that frustrating noise and achieve a quiet, efficient, and reliable plumbing system in your home. Understanding and caring for your plumbing ensures comfort and helps prevent costly surprises down the road. Here’s to peaceful showers ahead!
