You’re here because you want a clean, organized shower—no more cluttered caddies. A shower niche adds function and luxury, but cutting into your wall and managing waterproofing can feel overwhelming.
Don’t worry—I’ll guide you through every step, from planning to finishing. You’ll learn how to build a niche that looks great and lasts.
Table of Content
- Pourquoi vous allez adorer une niche de douche
- Avant de prendre vos outils : planification et préparation essentielles
- Choisir sa niche de douche : sur mesure ou préfabriquée
- Guide étape par étape : créer votre niche de douche
- Considérations avancées sur les niches
- Dépannage et maintenance à long terme
- Au-delà de la construction : faire le bon choix pour votre maison
- Questions fréquentes
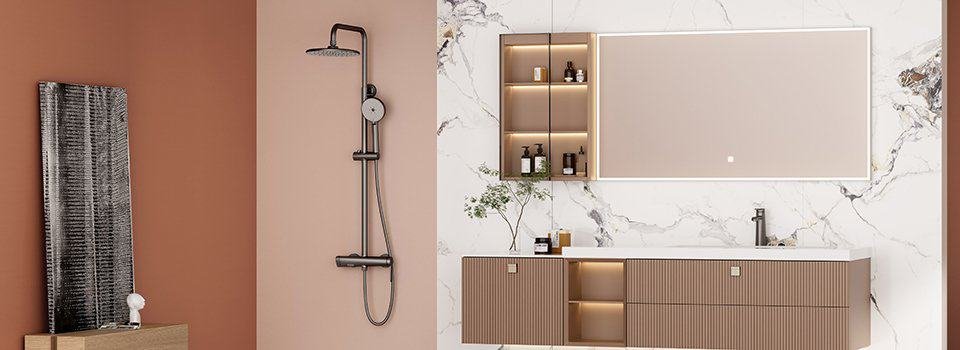
Why You’ll Love a Shower Niche
First, let’s quickly touch on why a shower niche is such a great addition. As I see it, the benefits are clear:
- Decluttering: Say goodbye to bottles precariously balanced on the edge of your tub or those rust-prone shower caddies. A niche provides dedicated, recessed storage.
- Aesthetics: It creates clean lines and a streamlined look, enhancing your bathroom’s visual appeal.
- Added Value: A well-designed niche can boost your bathroom’s appeal, especially if you ever plan to sell your home.
- Easy Maintenance: Niches often have fewer crevices than traditional shelves, making them easier to wipe down, especially with non-porous materials.
Before You Grab Your Tools: Essential Planning & Prep
Before you even think about cutting into your wall, some crucial planning needs to happen. This is where many DIYers make assumptions that can lead to big headaches later.
Understand Your Wall: What’s Hiding Inside?
This is perhaps the most critical pre-construction step. You’re cutting into a wall, so you absolutely must know what’s behind it.
- Check for Utilities: Use a stud finder that detects wires and pipes—you don’t want to cut into them. If you find any, reroute them or pick a new spot.
- Identify Studs: Find the studs accurately—niches usually sit between two.
- Load-Bearing Walls: If the wall is load-bearing, you’ll need structural planning. When in doubt, consult a structural engineer.
Tools & Materials Checklist: What You’ll Need
Having the right tools and understanding your material options from the start saves you time and frustration.
- Essential Tools:
- Tape Measure
- Level (long and short)
- Utility Knife (with plenty of sharp blades)
- Circular Saw or Miter Saw (for framing lumber)
- Drill/Driver
- Trowel (notched and flat)
- Grout Float
- Caulking Gun
- Sanding Block
- Safety Glasses
- Dust Mask
- Gloves

- Key Materials:
- Framing Lumber: Typically 2x4s for the niche structure.
- Backerboard: This is where you have choices:
- Foam Backer Board (e.g., Wedi, HydroBlok): Lightweight, easy to cut, and often pre-waterproofed—saves time and resists moisture well.
- Cement Backer Board: Heavier and dustier to cut, but very durable. Requires separate waterproofing.
- Waterproofing System: This is non-negotiable!
- Liquid Membrane: Brush or roll on to create a waterproof layer (e.g., Hydroban, RedGard).
- Sheet Membrane: Stick flexible sheets to surfaces (e.g., KERDI, Wedi Subliner Dry).
- Integrated Foam Board: Some foam boards are already waterproof.
- Thinset Mortar: For adhering backerboard and tiles. Make sure it’s compatible with your chosen waterproofing system (e.g., unmodified thinset for some membranes).
- Joint Sealant/Caulk: Crucial for sealing seams and corners (e.g., Wedi Joint Sealant, silicone caulk).
- Grout: For filling tile joints. Consider pre-sealed or epoxy grout for easier maintenance.
- Tile Sealer: Especially important for porous tiles like natural stone.
- Tiles: Your chosen aesthetic!
- Shelves: Stainless steel, glass, stone, or tiled.
Budgeting & Time: What to Expect
- Cost depends on DIY vs. hiring a pro and your materials.
- Prefabricated Niches: Inserts cost $40–$180; with labor, expect $314–$436.
- Custom Niches: Material costs are similar or slightly higher; labor costs more due to extra framing and waterproofing.
- Overall Cost: Full install runs $220–$575+, depending on complexity and whether it’s new or retrofit.
- Time: Plan for at least a full weekend. Tiling and waterproofing need curing time, especially if you’re new to it.

Local Building Codes & Permits: Don’t Skip This!
This is a big one. Any project involving structural changes or waterproofing in a “wet zone” like a bathroom often falls under local building codes.
- Check with your local building department—you may need a permit, and they’ll outline rules for framing, waterproofing, and electrical work (like lighting).
- Follow waterproofing codes, including minimum slope (e.g., 1:80 to 1:50) for drainage to avoid leaks and mold.
Choosing Your shower Niche: Custom vs. Prefabricated
You have two main paths when it comes to shower niches: building one from scratch (custom) or installing a pre-made insert (prefabricated).
Custom-Built Niches
- Pros: Unlimited design flexibility in size, shape, and shelf configuration. You can perfectly match your existing tile and create a truly unique feature.
- Cons: More labor-intensive, requires higher DIY skill, and involves more steps for framing and waterproofing.
- Pros: Much easier and faster to install. They come pre-formed and often pre-waterproofed, significantly simplifying the process. They are a great option for less experienced DIYers.
- Cons: Limited in size and shape options. You’re restricted to standard dimensions that fit between studs.


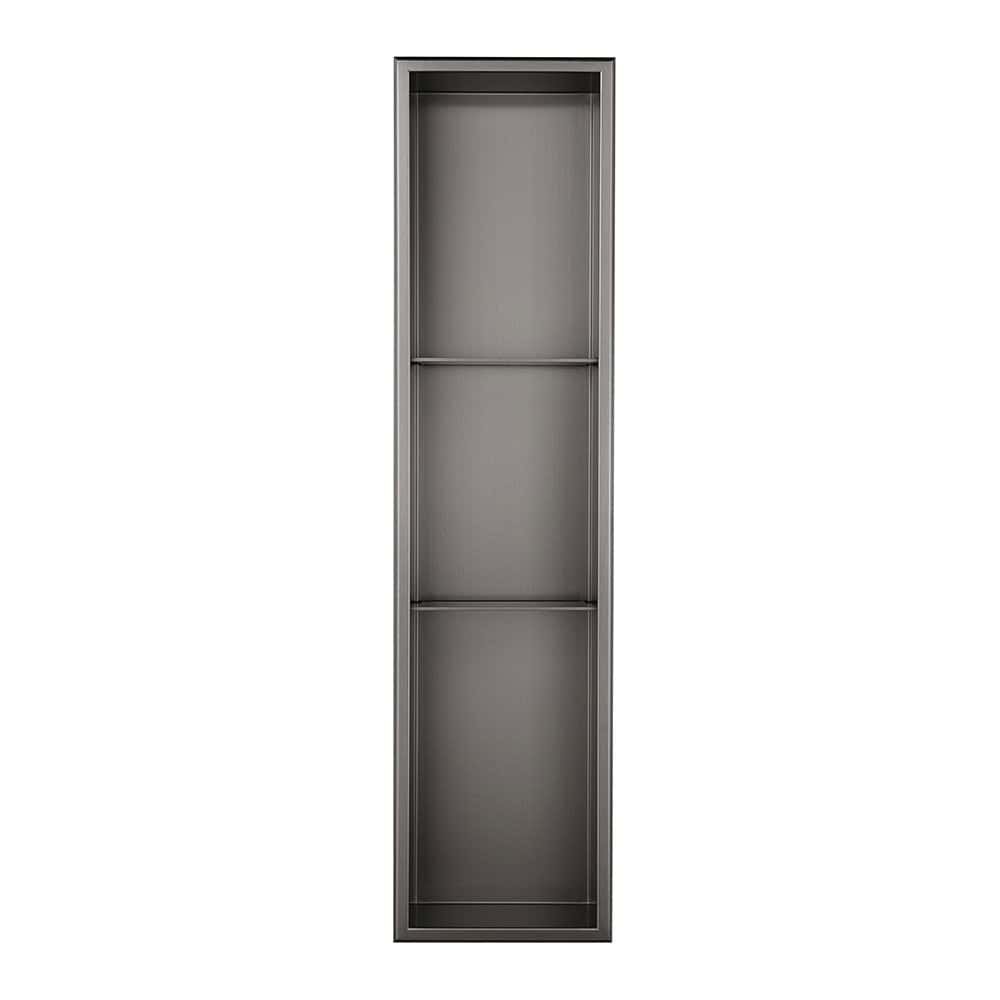
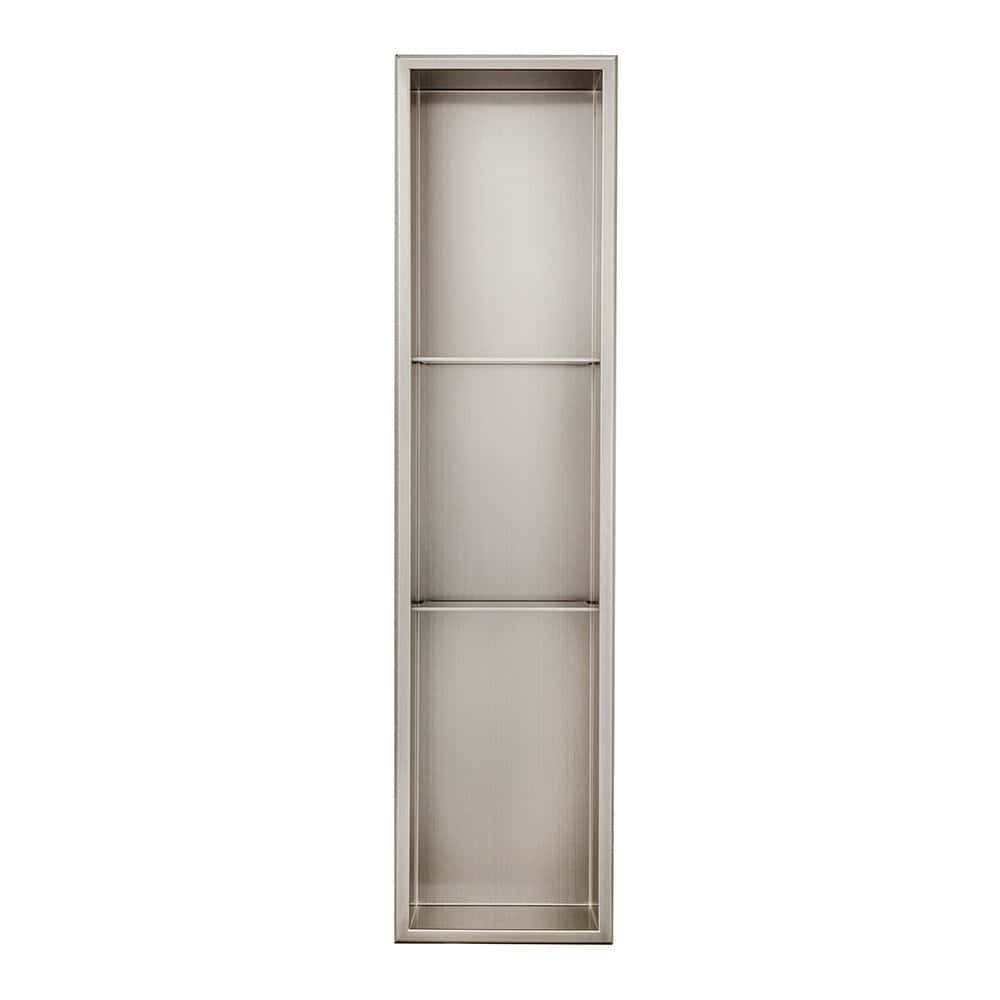
36 inch stainless steel inset shower niche | AC191 03


Stainless steel recessed shower shelf | AC190 03


Stainless steel 24 x 12 shower niche | AC189 03


12 inch stainless steel shower recess | AC188 03


Step-by-Step Guide: Building Your Shower Niche
Now, let’s get into the nitty-gritty. I’ll cover the general steps, highlighting differences for custom vs. prefabricated where applicable.
Step 1: Design & Location
- Type: Decide if you want a vertical or horizontal niche. Vertical designs often maximize storage within a standard stud wall.
- Placement: Put it on the longest wall inside the shower pan, easy to reach, and out of the splash zone. Use a story pole to match tile layout and avoid small cuts.
- Depth: Most niches fit within a standard 2×4 wall (about 3.5 inches deep finished).
- Outside Walls: If building on an exterior wall, add waterproofing and insulation to prevent condensation and heat loss. This advanced setup may need specific vapor barriers and insulation types.

Step 2: Framing the Niche
This step is crucial for both custom and prefabricated niches.
- Mark the Opening: Mark the niche dimensions based on your design and tile layout. Frame it slightly larger (about 3/4 to 1 inch) for backerboard, waterproofing, and mortar.
- Cut Out Drywall/Backerboard: Cut out the marked section carefully. Watch for pipes or wires behind the wall.
- Install Horizontal Blocking: Cut two 2x4s to fit between studs for the niche’s top and bottom. Install them level.
- Slope the Bottom: Add a slight slope (1/16 to 1/8 inch per foot) from back to front for drainage. Plane the bottom 2×4 or slope the backerboard/thinset.
- Install Vertical Supports: For wider niches or extra support, add vertical studs on each side. Make sure they’re plumb.

(via.Home RenoVision DlY»)
Step 3: Backerboard Installation
This step differs significantly between custom and prefabricated approaches.
- For Custom Niches (Foam or Cement Board):
- Cut the backerboard pieces to fit the back, sides, top, and bottom of your framed niche opening.
- Apply a continuous bead of joint sealant (for foam board) or thinset mortar (for cement board) to the framing and edges before installing each piece.
- Secure the backerboard with appropriate fasteners (e.g., Wedi screws and washers for Wedi board, specialized screws for cement board).
- Ensure all seams are tight and sealed. For foam board, seams should face the inside of the niche.
- For Prefabricated Niches:
- After framing, ensure your existing shower wall backerboard is installed around the opening.
- Apply a continuous bead of silicone caulk or joint sealant to all four inner edges of the shower niche opening on the wallboard.
- Carefully slide the prefabricated niche insert into the opening, pressing it firmly to compress the sealant.
- Anchor the niche with screws and washers, typically at each corner and along the studs.
- Smooth out any excess sealant and apply a second bead around the perimeter of the niche frame for extra waterproofing.
Step 4: Waterproofing
This is where your shower niche becomes truly functional and leak-proof. Do not cut corners here!
- General Principle: You need a continuous layer of moisture protection. Water should never reach the framing behind your niche.
- For Foam Board Systems (e.g., Wedi, HydroBlok): These boards are inherently waterproof. You primarily focus on sealing all seams and corners with the manufacturer’s specific joint sealant and reinforcing tapes/corners.
- For Cement Board Systems (and some foam board systems):
- Tape Joints: Cover all joints and gaps in the backerboard with mesh tape.
- Apply Waterproofing Membrane:
- Liquid Membrane: Roll or brush on a liquid membrane (e.g., RedGard, Hydroban) evenly over all backerboard. Apply multiple coats per instructions.
- Sheet Membrane: Use thinset to adhere sheet membranes (e.g., KERDI) with 2-inch overlaps. Smooth out air bubbles.
- Corners & Penetrations: Reinforce corners with pre-formed pieces or strips. Seal any penetrations with silicone or suitable sealant.

- Niche Bottom Waterproofing: Apply sloped thinset (1/16–1/8 inch back to front), then cover with your waterproofing membrane, fully integrated with wall waterproofing.
- Flood Test (Highly Recommended): Before tiling, plug the drain and fill the area with water (per code, usually 2 hours) to check for leaks. Fix any issues before tiling.
Step 5: Tile & Shelf Installation
This is where your niche starts to look like a finished product.
- Tile Layout: Plan cuts to avoid slivers and keep a balanced look. Most pros tile the back first, then sides, top, and bottom.
- Apply Thinset: Use a notched trowel to spread thinset, then press tiles firmly into place.
- Edge Trims: Use tile edge trim (like Schluter) for a clean finish. For stone or marble, polish the edges if needed.
- Shelf Installation:
- Tiled Shelf: Match the slope of the niche bottom for drainage.
- Prefab Shelves: Thin stainless shelves fit grout lines; thicker shelves may need adjusted tile spacing. Secure with thinset or silicone.

Step 6: Grouting – Filling the Gaps
- Choose Your Grout: Select a high-quality grout. Pre-sealed or epoxy grouts are excellent choices for wet areas as they are more resistant to moisture and staining.
- Application: Apply grout to all tile joints within the niche using a grout float, ensuring all gaps are filled. Wipe off excess grout with a damp sponge.
Step 7: Sealing – The Final Protective Layer
- Tile Sealer: If you used porous tiles (like natural stone), apply a good quality tile sealer to protect them from moisture and stains.
- Silicone Caulk: Apply a small, continuous bead of silicone caulk around the perimeter of your shelves and where the niche meets the main shower wall tiles. This creates a flexible, watertight seal at changes of plane, which is crucial for long-term performance.
Advanced Niche Considerations
Once you’ve mastered the basics, you might want to explore more sophisticated options.
Multiple Niches or Larger Configurations
- Design: Consider creating multiple smaller niches for different family members or a larger, horizontal niche that spans several studs for a dramatic effect.
- Integration: You can even integrate a niche with a shower bench for a cohesive, luxurious look.
Integrated Lighting: A Touch of Luxury
Adding LED lighting to your shower niche can transform your bathroom’s ambiance and improve visibility.
- Types of Lighting:
- LED Strip Lights: Flexible, energy-efficient, and can be cut to fit. They offer various colors and brightness levels.
- Recessed Mini Lights: Small, discreet lights that can be installed in the top or sides of the niche.
- Safety First: Wet environments require strict safety.
- Waterproof Fixtures: Use lights rated for wet locations only.
- Power Supply: Place power supply, controllers, and switches in a dry, remote area.
- Wiring: Solder all connections and seal with silicone and heat shrink tubing.
- Local Codes: Follow local electrical codes and consider hiring a licensed electrician. A GFCI outlet is typically required.
- Placement: Install strip lights at the top of the niche to avoid water pooling on them. Position wiring entry points behind the niche, away from direct water exposure.

Accessibility Considerations
If you’re designing a bathroom for universal access or aging-in-place, consider:
- Lower Placement: Position the niche lower for easier access for seated users.
- Grab Bar Integration: Plan the niche’s location so it doesn’t interfere with the placement of grab bars, or even integrate them into the niche’s design for a seamless look.
Troubleshooting & Long-Term Maintenance
Even with the best planning, issues can arise. Knowing how to troubleshoot and maintain your niche will keep it looking great for years.
Common Problems & Solutions
| Issue | Cause | Solution |
|---|---|---|
| Water pooling in niche | Bottom slope is insufficient | Use clear epoxy for minor fixes. For major issues, re-slope and re-tile. |
| Grout cracks/pinholes | Grout wears down, letting water in | Remove old grout and re-grout. Use silicone caulk at wall-bottom joints. |
| Mold/mildew | Poor drainage or ventilation | Improve slope and ventilation. Run exhaust fan 30 mins after showering. |
Long-Term Maintenance Tips
- Regular Cleaning: Wipe down your niche regularly to prevent soap scum and mineral buildup.
- Re-seal Grout/Tiles: If you used cementitious grout or porous tiles, re-seal them every year or two as recommended by the manufacturer.
- Check Silicone Seals: Inspect silicone caulk lines periodically for cracks or deterioration. Reapply as needed.
Beyond the Build: Making the Right Choice for Your Home
Building a shower niche is a rewarding project that adds value and function. Success comes from careful planning, knowing your materials, and precise execution—especially with waterproofing.
- Choose a prefabricated niche if you want quick, simple installation or you’re new to tiling. It’s a reliable, pre-engineered option.
- Go for a custom-built niche if you have a specific size, shape, or tile design in mind and you’re confident in your skills. It offers full design freedom.
Whichever you choose, proper waterproofing is essential. Always check local codes, and consult a pro if needed. With good planning, you’ll enjoy a stylish, leak-free niche.