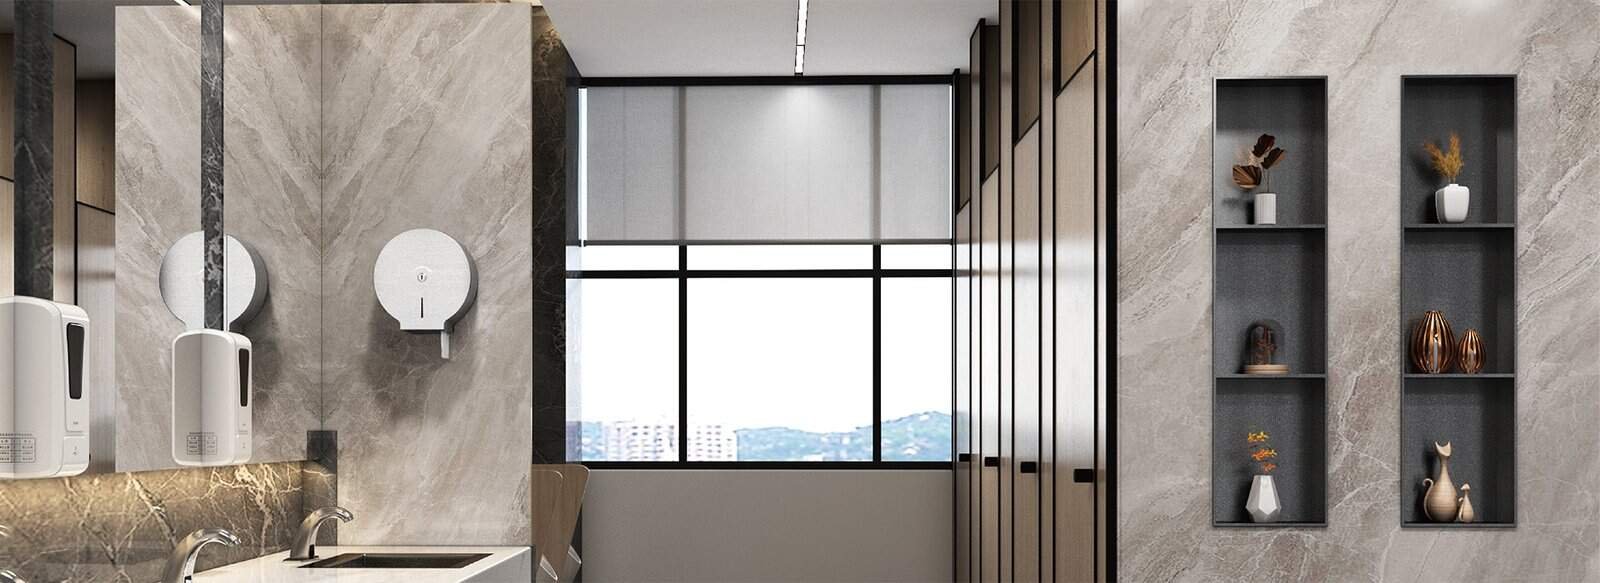
You’re planning a bathroom renovation and wondering, “What’s the right shower niche placement?” I get it—you want a sleek, practical space for your shower essentials but aren’t sure about the best height, wall, or design.
A shower niche is a game-changer. It’s a built-in, elegant solution for storing shampoos, soaps, and scrubs—far better than flimsy caddies or suction cups that always fall off. You want something permanent, functional, and beautiful—and you can absolutely have it.
This guide walks you through shower niche placement from start to finish, covering both the basics and the often-overlooked details. By the end, you’ll have a clear plan to position your niche perfectly—for both everyday use and visual impact.
Table of Content
- Pourquoi une niche de douche est indispensable
- Où placer votre niche de douche ?
- Planifier votre niche idéale : au-delà du placement de base
- Détails clés à ne pas négliger
- Faire ressortir votre niche : éléments de conception avancés
- Installation à faire soi-même ou par un professionnel : faire le bon choix
- Pourquoi Lanerdi Les niches de douche sont idéales pour vos projets
- Vos prochaines étapes : donner vie à votre vision de niche de douche
- Questions fréquentes
Why a Shower Niche is a Must-Have
First, let’s quickly touch on why a shower niche is such a popular choice. I think it’s because they offer a designated, easy-to-reach spot for your everyday essentials, keeping your shower organized and clutter-free. Beyond just storage, a niche adds dimension to a flat wall and gives you a fantastic opportunity to customize your space with unique tiles or materials. It simply feels more intentional and aesthetically pleasing than any other storage alternative.
Where to Place Your Shower Niche?
When it comes to the actual placement, I always advise considering both practicality and aesthetics. Here are the key factors:
Accessibility and Height
This is probably the most crucial aspect. You want your shower niche to be comfortable for everyone using the shower.
- The Sweet Spot: Place the niche at eye level—typically 48 to 60 inches (122–152 cm) from the floor—for easy access without bending or stretching.
- Consider All Users: For mixed users, install niches at different heights. A range of 38–48 inches (96–122 cm) works for most, including wheelchair users. Add a lower niche (24–30 inches) if kids use the shower often.
- Product Height Matters: Measure your tallest bottles and ensure the niche is tall enough. A cramped niche is frustrating to use.
Wall Selection and Water Exposure
Where you put your niche on the wall is just as important as how high it is.
- Avoid the Direct Spray Zone: Don’t place the niche under the showerhead to prevent pooling and mold. Slope the bottom shelf slightly (1/8 inch per foot) for drainage.
- Strategic Walls:
- Control Wall: Place the niche near your shower controls—less direct water and easy access.
- Side Walls: A far corner side wall offers a discreet, convenient spot.
- Visibility Preferences: If you prefer to hide mismatched bottles, choose a less visible wall like a side or half-wall out of direct sight.

Proximity to Plumbing
While not always a deal-breaker, I find it’s often best to choose a wall relatively close to existing plumbing lines. This can help minimize extra construction costs, as your contractor won’t have to run new pipes as far.
Aesthetic Integration
Your niche isn’t just functional; it’s a design element.
- Blend In or Stand Out? You have a choice: do you want your niche to seamlessly blend with the surrounding tile for a minimalist look, or do you want it to pop with contrasting colors, patterns, or materials? I think both approaches can look fantastic, depending on your overall bathroom aesthetic.
- Ledges and Shelves: Incorporating a ledge or a glass shelf can add depth and maximize functionality, especially for larger products or if you want to display decorative items.
- Matching Containers: For a truly polished look, I’ve seen people use matching toiletry containers. It really elevates the aesthetic of the niche.

Structural Limitations
Before cutting into a wall, locate studs, pipes, and wires. Use a stud finder and consult a pro if needed. Knowing your wall’s structure helps avoid costly mistakes.
- Pipes/Wiring: If a small pipe is in the way, a pro can often reroute it. For larger obstructions, use a shallower niche, a wider one across studs, or build out the wall.
- Concrete/Masonry Walls: You’ll likely need to build a “bump-out” wall in front of the existing structure or use surface-mounted shelves, as cutting into these walls is complex and expensive.
Optimal Placement Strategies (Beyond the Obvious)
- The “Behind You” Niche (If Space Allows): In larger showers, placing the niche on the wall behind where the user stands, perhaps even integrated into a bench, can keep products out of sight but still accessible. This is perfect for a minimalist aesthetic.
- Stacked Niches: For families or multiple users, consider two or more smaller niches stacked vertically. This offers individualized storage and can be a striking design element.
- Pony Wall Integration: If you have a pony wall separating your shower from the toilet or vanity, this is often an ideal spot for a niche. It’s usually out of the direct spray and easily accessible.
Planning Your Perfect Niche: Beyond Basic Placement
Once you have a general idea of where your niche will go, it’s time to dive into the details.
Key Niche Dimensions to Consider
Getting the dimensions right is crucial for both functionality and aesthetics. Think about the products you use and the overall flow of your shower.
- Depth:
Standard 2×4 walls allow for 3.5–4″ deep niches—enough for bottles and razors. With 2×6 framing or a build-out, you can go deeper (e.g., 5.5″) for more storage. - Height:
A single niche should be at least 12–14″ high to fit most shampoo and conditioner bottles. - Width:
Between studs (typically 16″ on center), a niche is usually 14–14.5″ wide.
For a bolder look, span two studs (28–30″)—this needs extra framing.
Corner niches are smaller, around 10–12″ per side.

Material Choices
Shower niches can be made from various materials, each offering a different look and feel.
- Tile: A tiled niche is a classic choice, offering durability and endless design possibilities.
- Stone: For a rustic or luxurious touch, stone niches are fantastic.
- Glass: Glass provides a sleek, modern aesthetic and is surprisingly sturdy.
- Other Options: While less common, wood and plastic are also options, but I recommend choosing a material that fits your overall design and doesn’t require excessive maintenance.
Multiple Niches
If you have the space, I think installing multiple niches can be a brilliant idea. This maximizes storage capacity and can cater to different users or different types of products. For example, you could have one higher niche for adults and a lower one for children.
Key Details You Shouldn’t Overlook
It’s easy to focus on the big picture, but missing small yet crucial details can lead to avoidable setbacks. Paying attention to these areas will make your project smoother and your niche more sustainable in the long run.
Technical Installation Deep Dive
- Waterproofing is Non-Negotiable: Many DIY projects fail here. You must waterproof your niche to prevent leaks, mold, and damage. I recommend using a liquid membrane or a pre-formed system like Schluter-KERDI. For proper techniques, check sources like the Tile Council of North America (TCNA)».
- Tiling Complexities: Tiling a niche isn’t as simple as tiling a flat wall. You’ll encounter inside corners, and achieving clean, mitered edges (where two tiles meet at a 45-degree angle to form a crisp 90-degree corner) requires precision.
Solutions for Challenging Spaces
What if your bathroom isn’t ideal?
- Small or Irregular Bathrooms: If recessed niches won’t work, try surface-mounted shelves or corner units. They’re functional and can look great. For ideas, I often check design blogs like Apartment Therapy».
- All Walls Are Splash Zones: If every wall gets direct spray, try a shallow niche with good drainage or use a freestanding caddy you can move as needed.

Long-Term Maintenance and Durability
Your niche is a permanent fixture, so think about its longevity.
- Preventing Mold and Mildew: Proper waterproofing and drainage are key. Also, ensure your exhaust fan provides good ventilation—it’s essential. Clean your niche regularly with suitable bathroom cleaners.
- Cleaning Different Materials: Different materials need different care. Natural stone requires pH-neutral cleaners, while ceramic and porcelain are easier to clean. Check your tile and grout manufacturer’s guidelines. For general tips, Good Housekeeping» offers reliable bathroom care advice.
- Signs of Water Damage: Be vigilant. Look for discolored grout, peeling paint on adjacent walls, or a musty smell. These could indicate a leak behind your niche, requiring immediate professional attention.
- Grout Maintenance: Grout can discolor over time. Regular cleaning and occasional re-sealing (especially for sanded grout) will keep it looking fresh.
Cost Implications and Budgeting
Your budget will definitely influence your choices.
- Pre-built vs. Custom: Prefab niches are cheaper and easier to install. Custom niches look more seamless but cost more in materials and labor.
- Material Costs: The type of tile or stone you choose for your niche can significantly impact the overall cost.
- Professional Installation: Hiring a pro adds cost but ensures proper waterproofing and finish—often saving money long-term. Sites like HomeAdvisor» offer rough cost estimates.
- Tile Complexity: Discuss tile cuts with your installer. A niche that perfectly aligns with full tiles will save labor compared to one requiring many small, intricate cuts.

Ergonomics and Accessibility for Diverse Users
Think beyond the “average” user.
- ADA Compliance: Follow ADA guidelines for reach and floor space to support universal access. It’s not required in homes but sets a smart design standard. Check the U.S. Access Board for details.
- Specific Needs: Install lower niches for kids and place niches within easy reach for seated users or those with limited mobility.
- Grab Bar Proximity: Ensure niche placement doesn’t interfere with potential future grab bar installation.
Making Your Niche Stand Out: Advanced Design Elements
Once the practicalities are covered, let’s talk about making your niche truly shine.
- Backlighting: Add LED backlighting for a spa-like feel and to highlight materials. Always hire a pro for electrical work in wet areas.
- Accent Tiles: Use contrasting tiles, mosaics, or patterns to make the niche stand out.
- Bench & Plumbing Integration: Build the niche into a bench or align it with fixtures for a sleek, layered look.
- Shape Variety: Try arched or wall-to-wall niches to add style and make small spaces feel bigger.

DIY vs. Professional Installation: Making the Right Choice
This is a big decision, and I think it comes down to your skill level and the complexity of your vision.
- When to DIY: If you’re comfortable with basic carpentry and tiling, and you’re opting for a pre-formed, tile-ready niche, a DIY installation is certainly manageable. These kits are designed for easier setup.
- When to Call a Pro: I strongly recommend hiring a professional if your project involves:
- Adding lighting to the niche.
- Complex waterproofing systems.
- Intricate tile work, like mitered corners or precise pattern matching.
- Relocating plumbing or electrical lines.
- If you’re simply unsure about any step, a professional will ensure the job is done correctly and durably.

Why Lanerdi Shower Niches Are Ideal for Your Projects
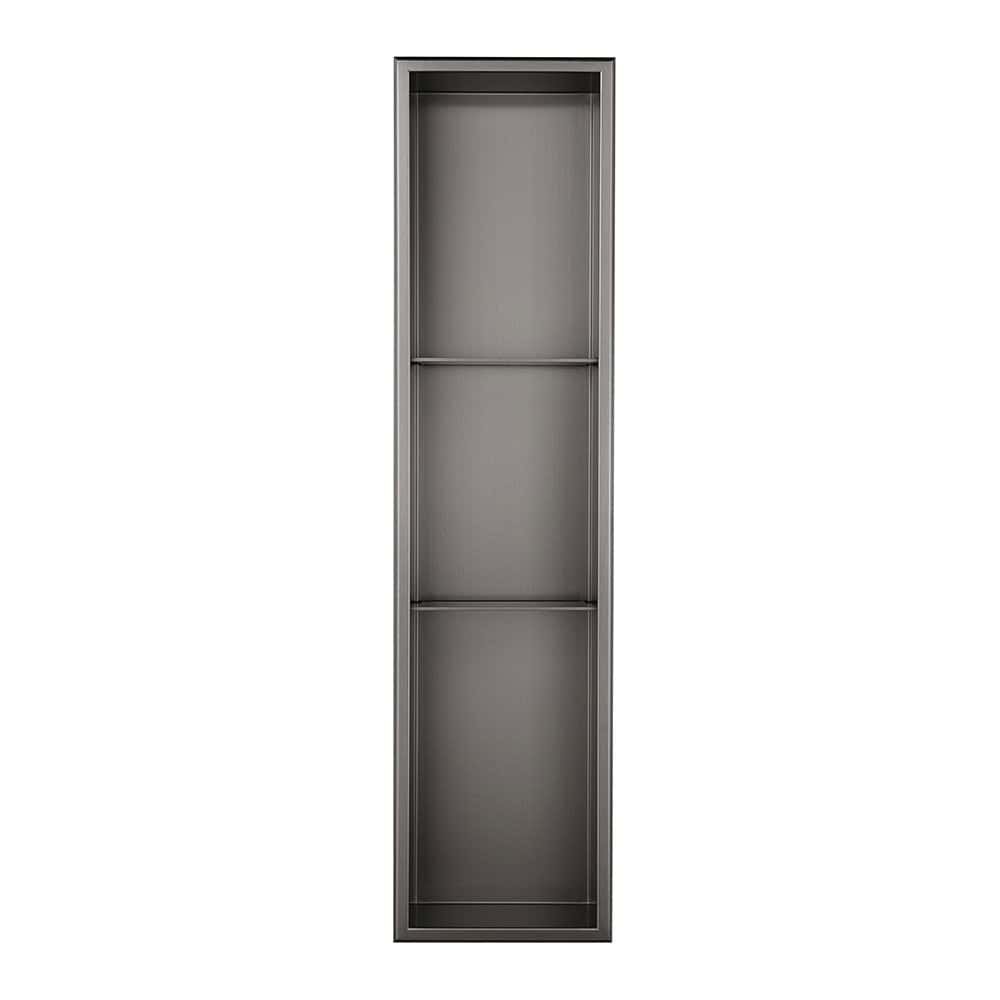
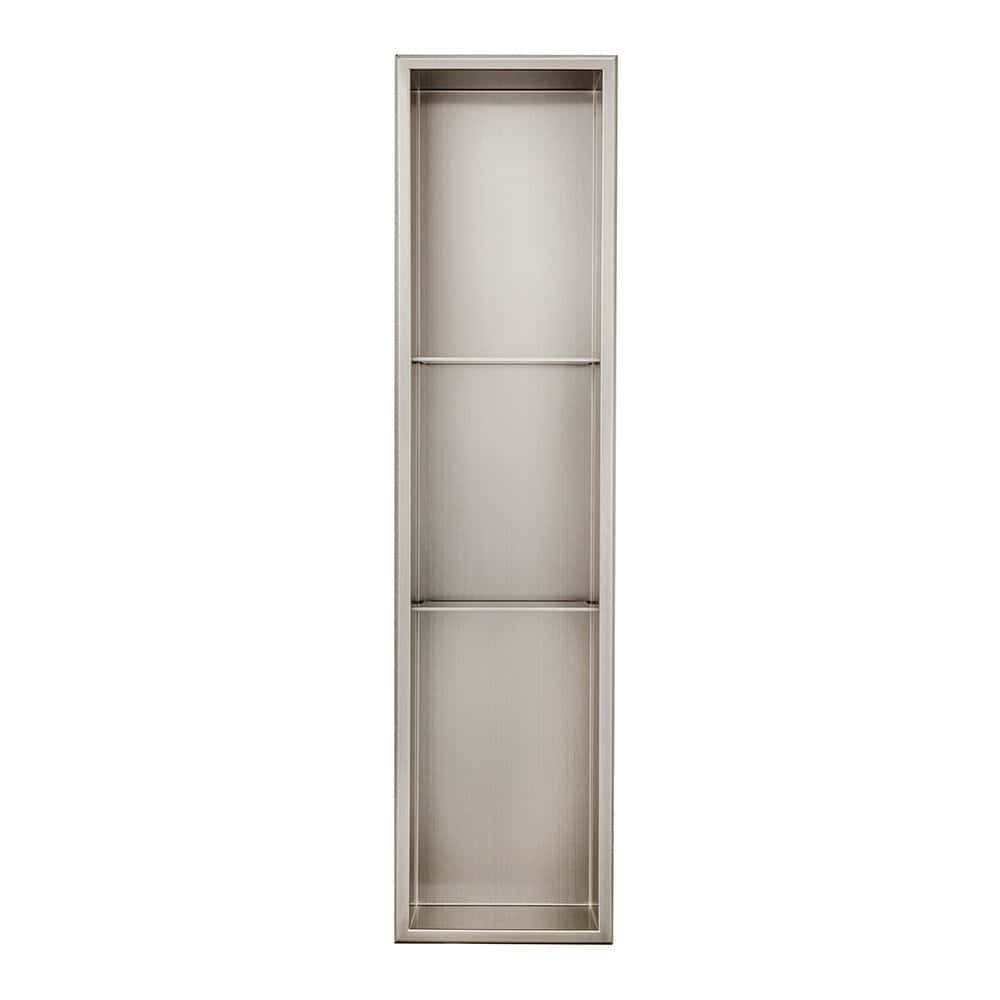
For efficient installation and reliable performance, Lanerdi’s pre-fabricated shower niches are a smart choice for contractors and builders.
Each niche is fully waterproof and designed for easy in-wall installation, reducing labor time and errors on-site. With multiple sizes available—from compact single-shelf designs to larger multi-tier options—Lanerdi niches offer flexible solutions for a variety of bathroom layouts and client needs.


36 inch stainless steel inset shower niche | AC191 03


Stainless steel recessed shower shelf | AC190 03


Stainless steel 24 x 12 shower niche | AC189 03


12 inch stainless steel shower recess | AC188 03


Your Next Steps: Bringing Your Shower Niche Vision to Life
You now have a solid understanding of how to plan and execute proper shower niche placement. With this knowledge, you’re ready to make smart decisions that lead to a bathroom that’s both beautiful and highly functional.
- Budget-Friendly DIY: Go with a pre-formed, tile-ready niche. Stick to a simple rectangular shape on a wall without complex plumbing or wiring.
- Design-Focused: For a custom look with special materials or lighting, hire a pro to ensure quality and waterproofing.
- Small Bathrooms: If space is tight, try surface-mounted shelves or a sleek corner unit—simple can be effective.
Start by sketching your layout, noting height and wall placement for your family’s needs. Measure your products and plan your style. With care, your niche will offer both storage and lasting style.